Picture this: you’re scrolling through Instagram on a lazy Sunday, and a sleek, one‑length bob with razor‑sharp ends catches your eye. The model’s straight hair glistens, the line is perfectly straight, and you think, “That’s exactly what I need to freshen up my look.” If you’ve been dreaming of that polished vibe, you’ve landed in the right spot. In the next few minutes, I’ll walk you through everything you need to create blunt cut hairstyles for straight hair that look salon‑finished, even if you’re doing it at home.
In This Article
- What You Will Need Before You Start
- Step 1: Assess Your Hair Length and Face Shape
- Step 2: Choose the Right Blunt Cut Style
- Step 3: Prepare Your Hair
- Step 4: Section and Cut
- Step 5: Refine the Edge
- Step 6: Style for a Polished Finish
- Common Mistakes to Avoid
- Troubleshooting & Tips for Best Results
- FAQ
- Summary
What You Will Need Before You Start
- Professional shears – 5‑inch Japanese steel scissors (e.g., Joewell 5‑inch, $45). Avoid cheap plastic blades; they bend and ruin the line.
- Sharp thinning shears (optional) – for subtle edge softening, 4‑inch Featherweight ($28).
- Fine‑tooth comb – a 3‑inch wide rat‑tail comb for precise sectioning.
- Sectioning clips – at least six medium‑size clips; I use Knotty Girl clips ($12 for a pack of 12).
- Hair dryer – a Dyson Supersonic (≈$399) gives high‑velocity airflow without excess heat, but a budget Conair 1875 Watt works too.
- Round brush – 1.5‑inch barrel, ceramic (e.g., Olivia Garden, $19).
- Heat protectant spray – ghd Heat Protect Spray, $12, protects straight strands from heat damage.
- Light styling mousse – Mizani Keratin Infusion, $9; adds hold without weighing hair down.
- Flat iron – CHI 2‑in‑1 ceramic titanium, $129, for that final sleekness.
- Mirror set – a wall‑mounted plus a handheld mirror for the back of your head.
Having these tools ready will shave off at least 15‑20 minutes from your total haircut time and keep the line crisp.

Step 1: Assess Your Hair Length and Face Shape
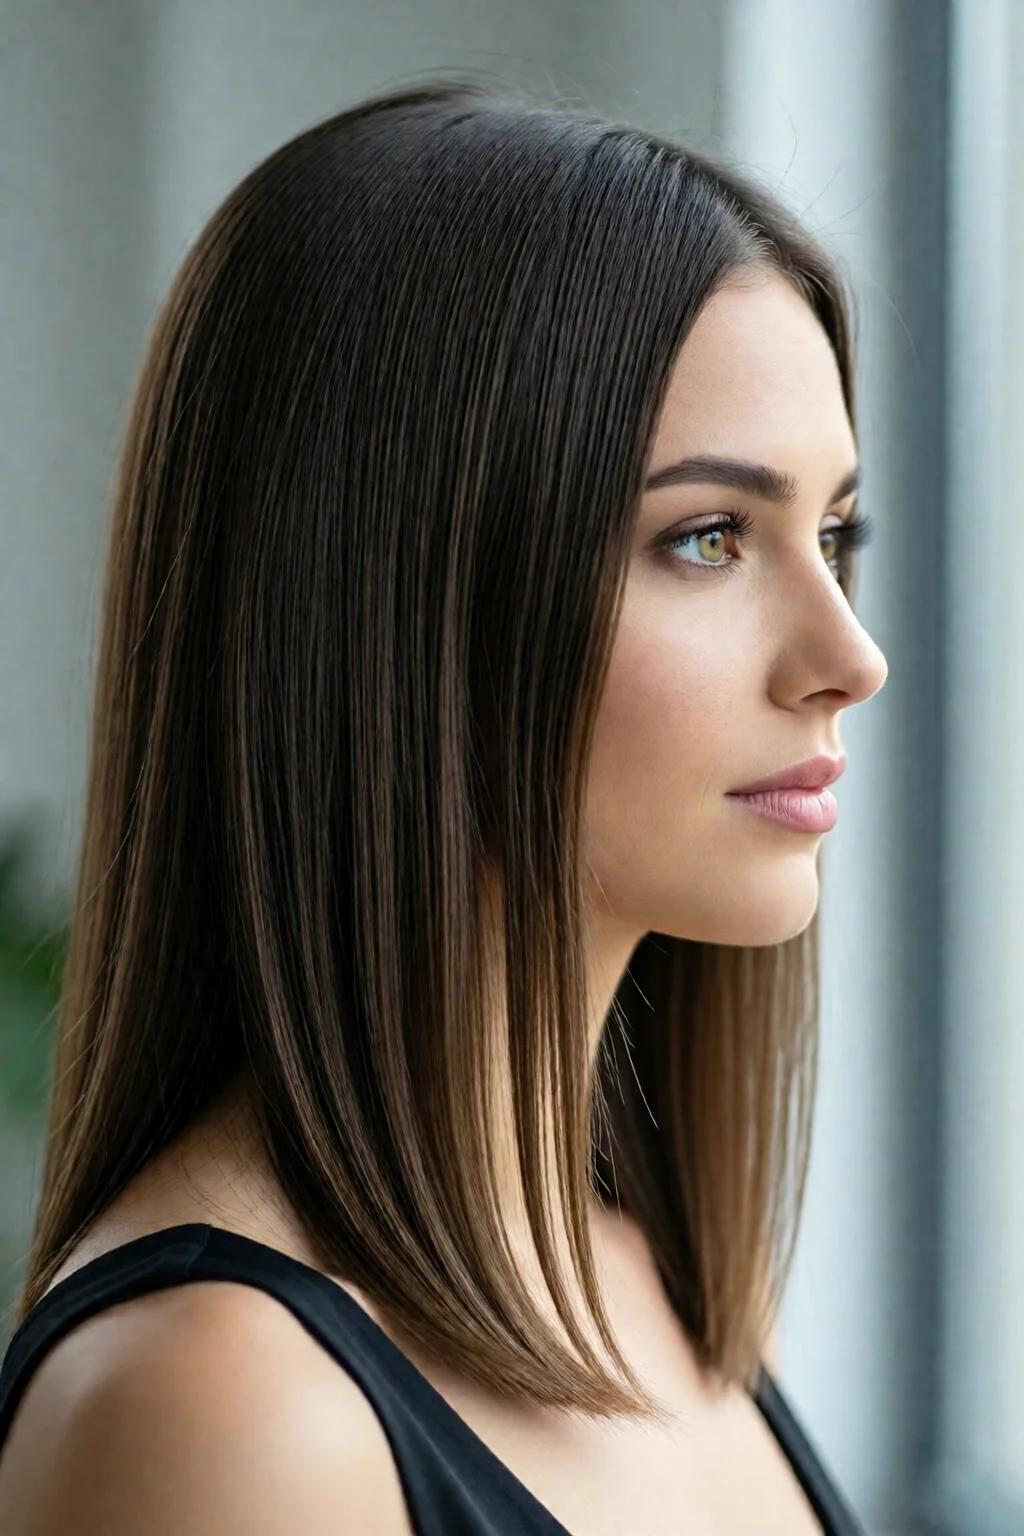
Before you even pick up the scissors, measure the length you want to keep. For a classic blunt bob, the ideal length is typically 2‑3 inches above the shoulders for most face shapes. Use a flexible measuring tape and note the distance from the nape to the point where you want the cut to end. If you have a longer mane, you might aim for a “lob” (long bob) that sits just at the collarbone.
Next, consider your face shape. Straight hair gives a clean canvas, but the cut can emphasize or soften facial features. An oval face benefits from any blunt length, while a round face looks slimmer with a slightly longer blunt cut that hits just below the jawline. Best hairstyles for oval face shape provides visual references that can help you decide.
Step 2: Choose the Right Blunt Cut Style
There are three main variations that work beautifully on straight hair:
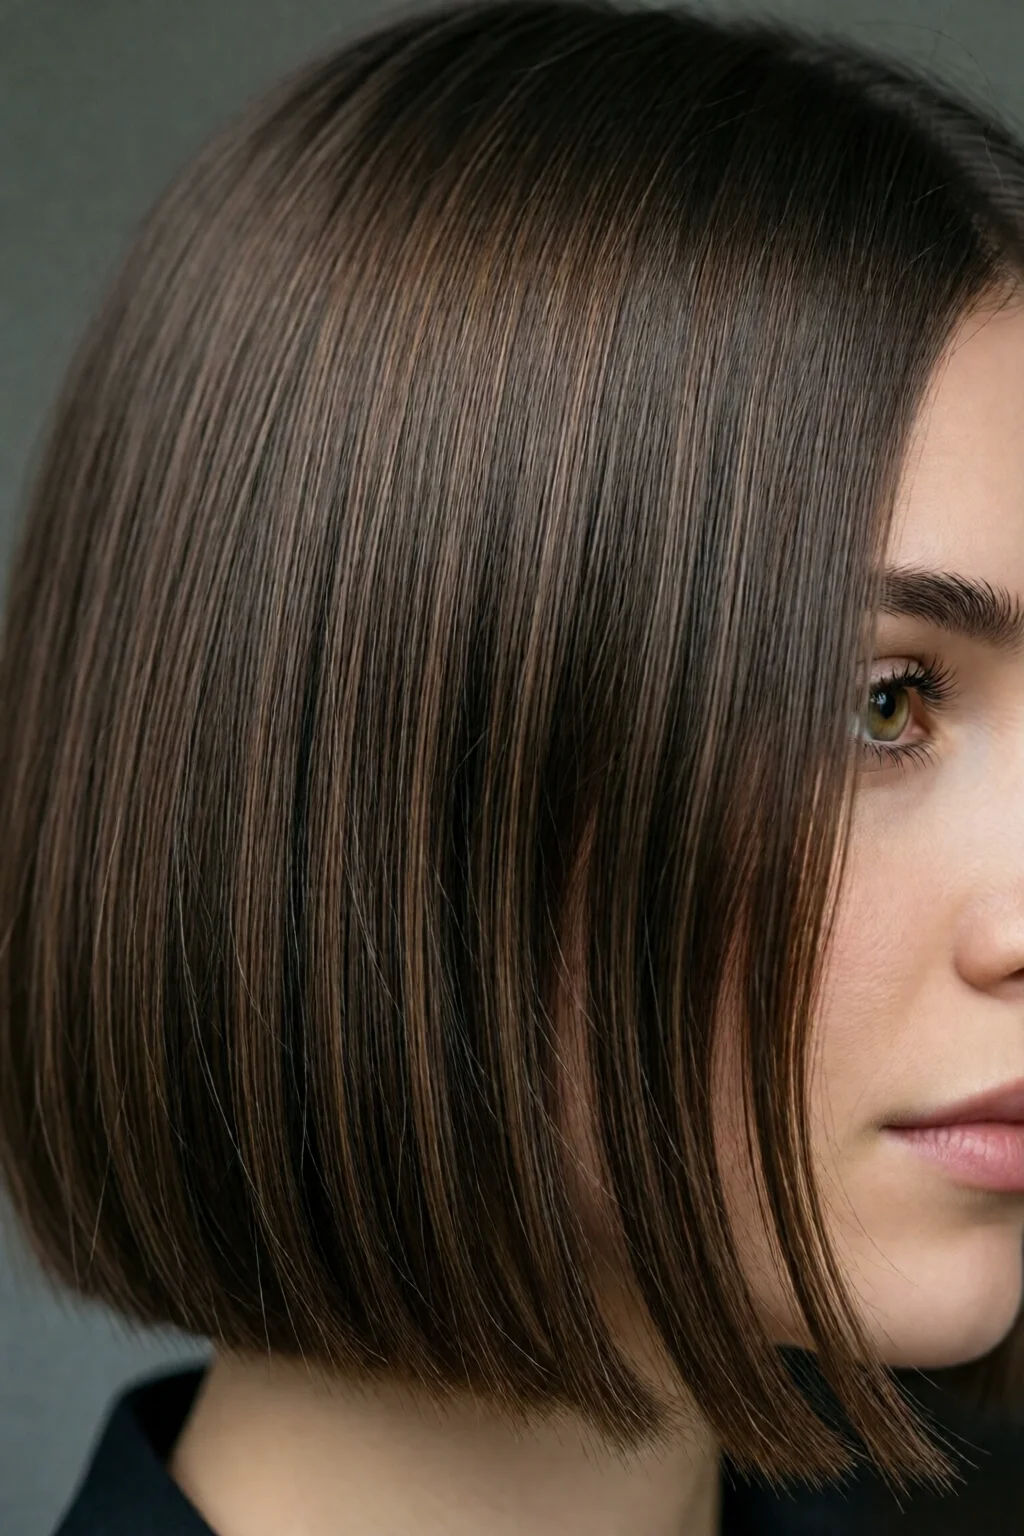
- One‑Length Blunt Bob – all hair is cut to the same length, creating a geometric line.
- A‑Line Blunt – slightly longer in the front (by ½‑inch) for a subtle forward angle.
- Layered Blunt – very fine, hidden layers added under the main line to give movement without breaking the straight silhouette.
In my salon, I often recommend the A‑Line for clients with a heart‑shaped face because it balances the wider forehead. If you’re after maximum drama, the one‑length bob is the go‑to. Whichever you pick, write down the exact measurements (e.g., “7.5 inches from the nape”). Consistency is the secret sauce.
Step 3: Prepare Your Hair
Start with clean, damp hair. Wash using a gentle sulfate‑free shampoo (e.g., Aveda Shampure, $18) and follow with a lightweight conditioner. Rinse thoroughly and pat dry with a microfiber towel – no rubbing. Apply ghd Heat Protect Spray evenly, then work Mizani Keratin Infusion mousse through the roots to 2‑3 inches length, using a wide‑tooth comb. This step adds grip for a smoother cut and prevents stray strands from slipping.
Let the hair air‑dry for 5 minutes until it’s just damp (about 80% dry). This moisture level gives you enough weight to see the natural fall but still enough flexibility to cut cleanly.
Step 4: Section and Cut
This is where the magic happens. Follow the sequence exactly; it guarantees a uniform line.
- Back Section – Pull the hair at the crown straight back, clip the top half, and let the bottom half fall. Using the rat‑tail comb, create a horizontal “baseline” at the exact length you measured. Snap a small piece of hair (about ½ inch) and hold it between your index and middle fingers.
- Cut the Baseline – With your shears parallel to the floor, cut the baseline in one swift motion. If you’re nervous, cut a little longer (¼ inch) and adjust later.
- Cross‑Check – Unclip the top half, let it fall, and comb down to see if the line stays even. Use the handheld mirror to view the back. If one side is off by more than 2 mm, trim it carefully.
- Side Sections – Divide the hair into left and right quadrants, clip each quadrant, then repeat the baseline cut on each side, making sure the angles match the central line.
- Front Fringe (if any) – For an A‑Line, pull a small front section forward, measure the extra ½‑inch length, and cut.
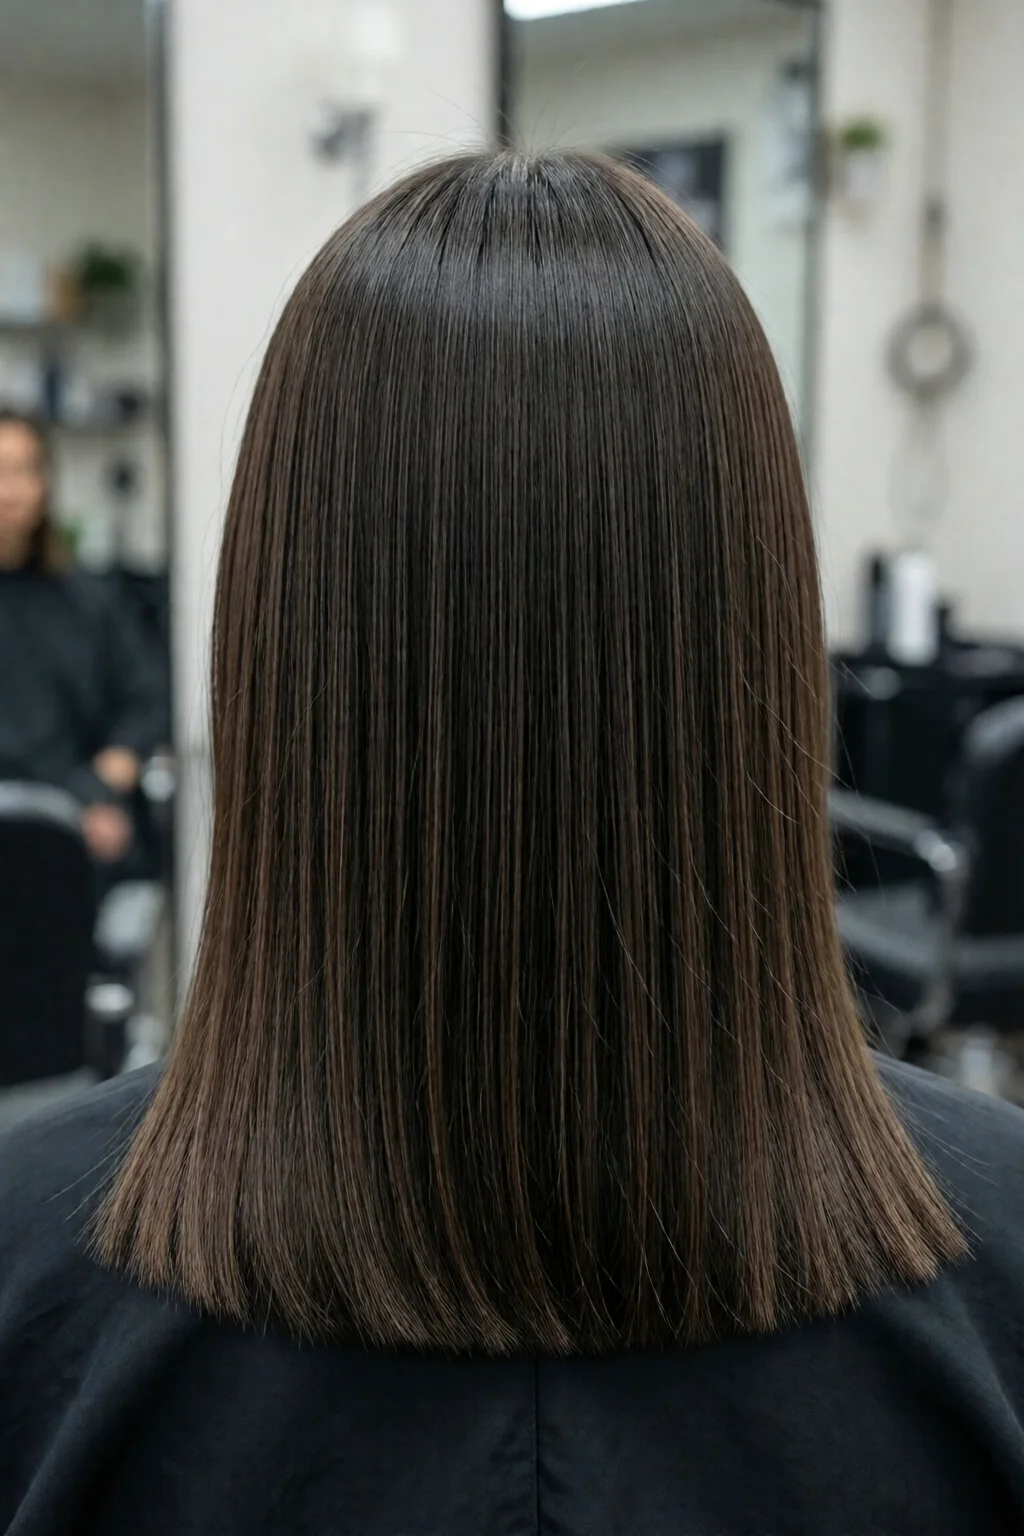
When you finish, you should see a perfectly straight edge that mirrors the floor. If you’re using a mirror set, you’ll notice the line’s geometry instantly.
Step 5: Refine the Edge
Even the best cuts need a finishing touch. Grab your thinning shears and lightly snip the outermost 1‑2 mm of the ends. This softens any harshness without compromising the blunt look. If you prefer a sharper edge, skip this step and move straight to styling.
Next, run a cool‑air setting on the dryer for 30 seconds. The sudden temperature drop locks the cut, reducing frizz. Finish with a light mist of Oribe Dry Texturizing Spray ($30) for extra hold.
Step 6: Style for a Polished Finish
Now, let’s give your blunt cut that salon‑gloss. Start with the how to blow dry hair like a salon technique:
- Section hair into 2‑inch bands.
- Use the round brush to pull each section taut, directing the airflow from the roots to the ends.
- Finish each section with a blast of cool air to set the shape.
After blow‑drying, glide the CHI 2‑in‑1 flat iron over each strand in one smooth pass, keeping the temperature at 350°F (ideal for straight hair). This temperature is hot enough for shine but low enough to avoid split ends. Finish with a micro‑spray of Living Proof No Frizz serum ($24) for a weightless, glossy finish.
Common Mistakes to Avoid
- Cutting on dry hair – Straight hair shrinks when it dries; cutting dry can leave you with a shorter-than‑expected bob.
- Using dull scissors – Dull blades crush hair, causing uneven ends and frizz.
- Rushing the baseline – A shaky first cut ruins the whole look. Take a deep breath and cut slowly.
- Over‑texturizing – Thinning shears are for subtle softening; over‑use creates a feathered effect that defeats the blunt aesthetic.
- Skipping heat protection – Straight hair is prone to heat damage; protect it every time you use a dryer or iron.
Troubleshooting & Tips for Best Results
My hair looks limp after the cut. Straight hair can appear flat if you don’t add volume at the roots. Try a light root‑lifting mousse (e.g., Redken Guts 10, $14) applied before blow‑drying, or a volumizing spray like L’Oréal Serie Expert Thickening ($13).
Ends are frizzing after the first wash. This usually means the cut was too close to the scalp or the hair was over‑processed. Use a weekly deep‑conditioning mask (e.g., SheaMoisture Raw Shea Butter, $10) and avoid harsh sulfates.
My blunt line looks uneven in photos. Lighting can distort lines. Check the cut in natural daylight and use the handheld mirror to spot any gaps. If you see a slight dip, a quick trim with the shears will even it out.
For those who love experimenting, consider adding natural looking hair color ideas like a subtle ash blonde or caramel lowlights. These shades enhance the reflective quality of straight hair, making the blunt line pop.

FAQ
How often should I trim a blunt cut on straight hair?
Every 6‑8 weeks. Straight hair shows split ends quickly, and a fresh trim keeps the line crisp.
Can I add layers to a blunt cut without losing the straight look?
Yes, opt for hidden micro‑layers underneath the main line. They add movement while preserving the sleek silhouette.
Is a blunt cut suitable for thick straight hair?
Absolutely. Thick hair benefits from the weight of a blunt line, which helps it lay flat and shine.
What styling products keep a blunt bob from looking greasy?
Lightweight mousse or a silicone‑free serum applied to damp hair. Avoid heavy oils or waxes that weigh the ends down.
Can I combine a blunt cut with an undercut?
Definitely. Pair a sleek blunt bob on top with a subtle undercut for an edgy vibe. Check out undercut hairstyles for women bold for inspiration.
Summary
Blunt cut hairstyles for straight hair are all about precision, preparation, and the right finishing touches. By gathering professional tools, measuring accurately, choosing a style that flatters your face shape, and following the step‑by‑step cutting and styling process, you can achieve a salon‑level, razor‑sharp line at home. Remember to protect your hair from heat, avoid common pitfalls, and keep up with regular trims. With a little practice, you’ll walk out of the bathroom feeling as confident as the model you admired on Instagram.
2 réflexions au sujet de “How to Blunt Cut Hairstyles For Straight Hair (Expert Tips)”