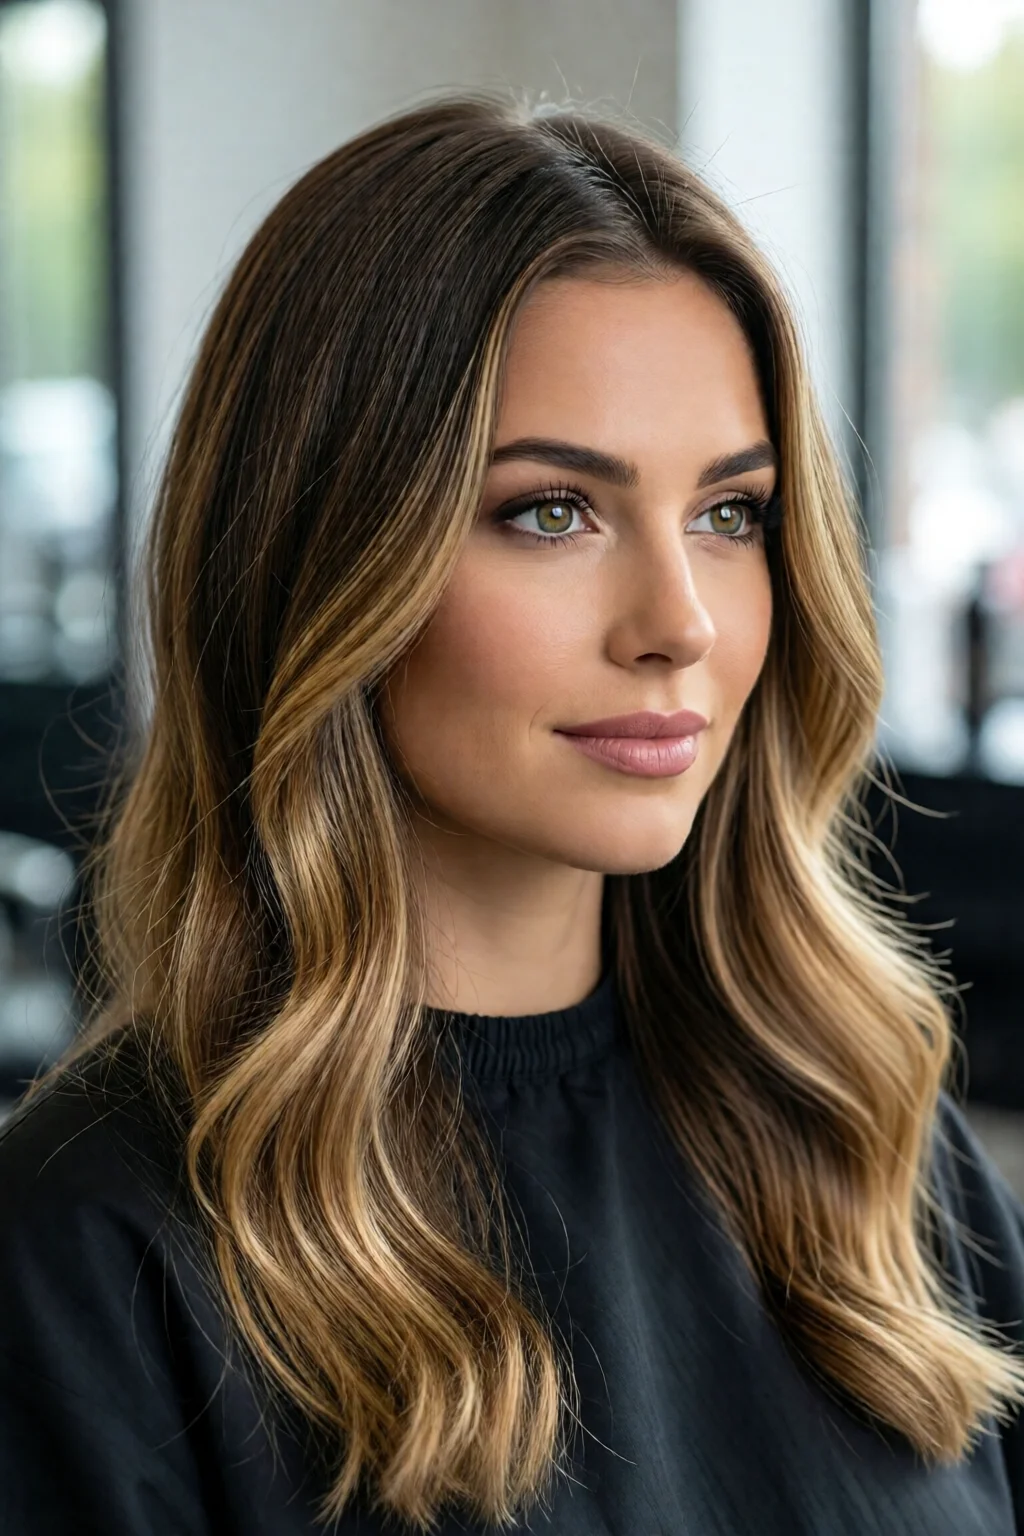
Ever wondered why the perfect sun‑kissed blonde seems just out of reach when you’re starting from a rich brunette base?
In This Article
- What You Will Need (Before You Start)
- Step 1: Assess Your Current Color and Hair Health
- Step 2: Prepare Your Hair
- Step 3: Mix and Apply the Bleach
- Step 4: Monitor Development Time
- Step 5: Rinse, Neutralize, and Tone
- Step 6: Condition and Protect
- Common Mistakes to Avoid
- Troubleshooting & Tips for Best Results
- Summary
In this guide I’ll walk you through exactly how to go from brunette to blonde without ending up with an orange disaster or a brittle mess. By the end you’ll know the products, timing, and techniques that give salon‑level results at home, plus the money you’ll save compared to a professional lift (usually $120‑$250 per session).
What You Will Need (Before You Start)
Gather these items before you even think about mixing a bowl of bleach. Skipping one of them is the fastest way to damage your hair or ruin the color.
- Bleaching powder – I trust Wella Professionals Blondor (≈ $15/100 g) for even lift.
- Developer – 20‑volume (6 %) for a gentle lift, 30‑volume (9 %) if you need two levels of lift in one go. Schwarzkopf Igora Royal 20 vol costs about $12/100 ml.
- Protective gloves – Nitrile, size L, $5 a pair.
- Mixing bowl & brush – Non‑metallic, 8 oz bowl, $3.
- Heat protectant spray – Olaplex No. 3 (30 ml, $28) applied before any heat.
- Clarifying shampoo – Neutrogena Anti‑Residue, $6 for 400 ml, to strip oils before bleaching.
- Toner – Prismacolor Silver Blonde Toner, $14 for a 100 ml bottle.
- Deep conditioning mask – SheaMoisture Jamaican Black Castor Oil Treatment, $9, for post‑process repair.
- Timer – Your phone works fine, just set it for 5‑minute intervals.
Optional but worth the investment: platinum blonde hair care and maintenance kit (includes purple shampoo, UV protectant spray) – roughly $45 total.
Step 1: Assess Your Current Color and Hair Health
Before you reach for the bleach, ask yourself these two questions:
- When was your last color service? If you’ve dyed within the past 6 weeks, the cuticle is still open and the hair is more vulnerable.
- Do you have any breakage, split ends, or excessive dryness? Run a strand between your thumb and forefinger; if it feels rough or snaps easily, deep‑condition for a week before proceeding.
In my experience, a 24‑hour pre‑bleach conditioning session with a protein‑rich mask (like ApHogee Two‑Step Protein Treatment, $24) can reduce breakage by up to 30 %.
Step 2: Prepare Your Hair
Wash your hair with the clarifying shampoo 24 hours before bleaching. Do NOT condition afterward; you want the cuticle slightly open for the bleach to penetrate.
Dry your hair completely (towel‑dry then blow‑dry on cool setting). Wet hair dilutes the peroxide, leading to uneven lift.
Step 3: Mix and Apply the Bleach
Measure the powder and developer in a 1:2 ratio (1 part powder to 2 parts developer). For 30 g of powder, use 60 ml of developer. Mix until a smooth, mousse‑like consistency—no lumps.
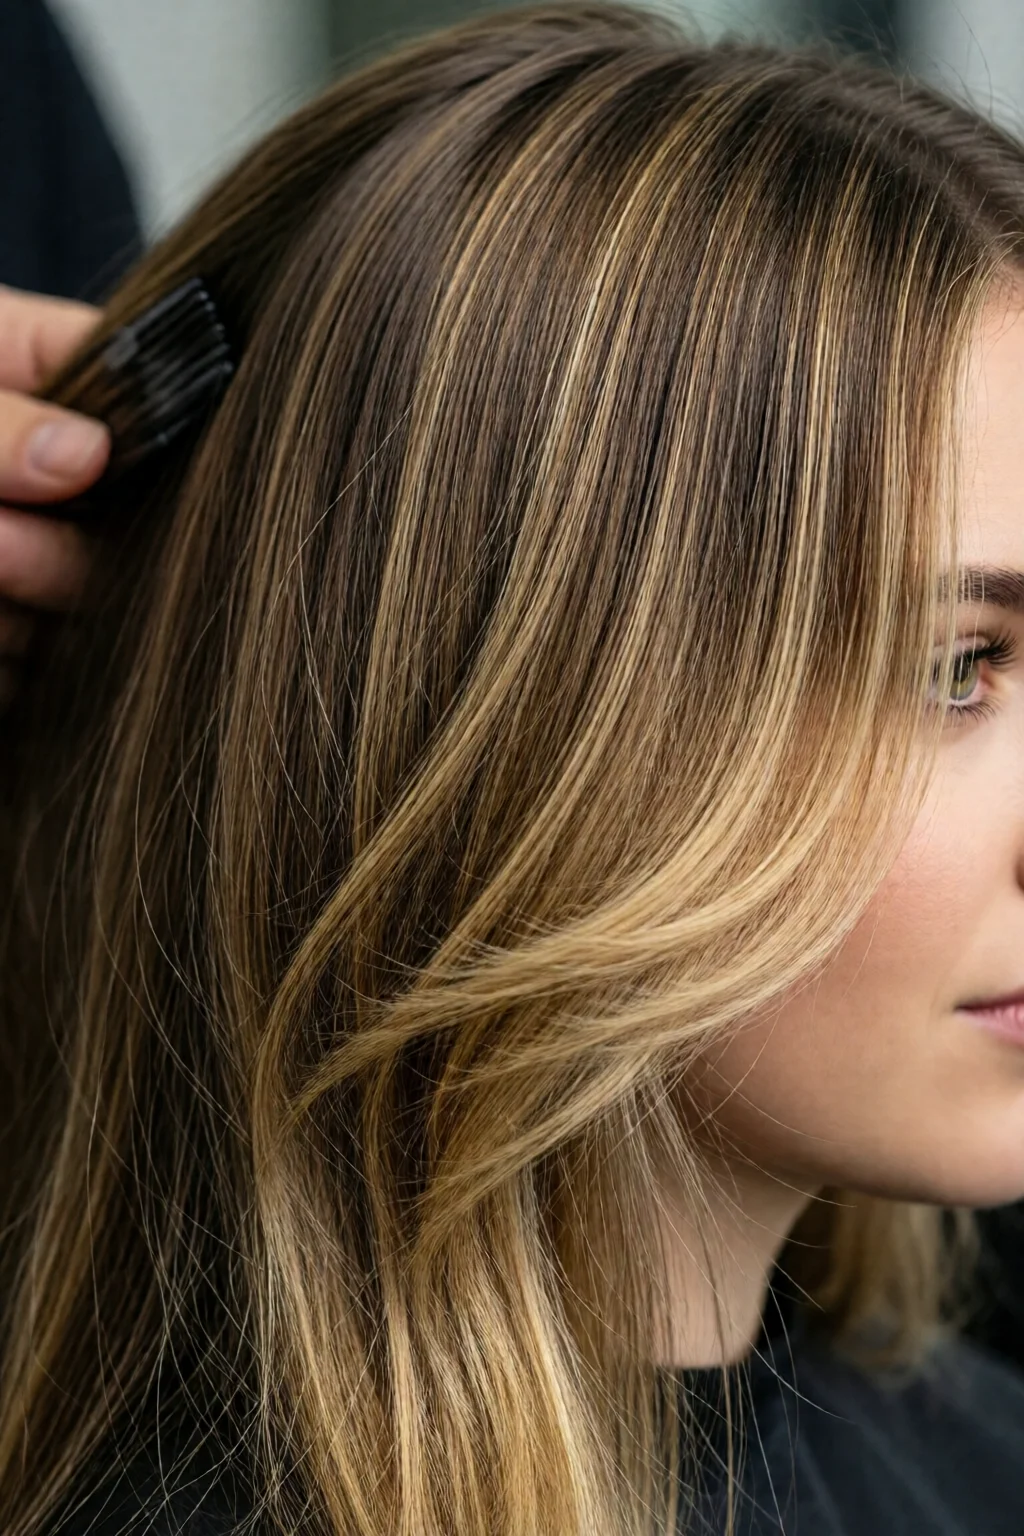
Section your hair into four quadrants using hair clips. Starting at the back, apply the bleach with the brush, working ½ inch away from the scalp (the heat from the scalp speeds lift). I always leave about 1 cm of hair untouched near the roots for a natural “shadow root” effect.
Tip: Use a light‑brown or ash‑brown base as a visual guide. The hair will turn pale yellow before reaching the desired blonde.
Step 4: Monitor Development Time
Set your timer for 5 minutes and then check the color. Most brunettes need 20‑30 minutes total to reach a pale yellow (level 9). Do not exceed 45 minutes; the cuticle will start to break down, causing brittleness.
When the hair reaches a light yellow stage (like a soft lemon), you’re ready to rinse. If you’re aiming for a cooler platinum, stop at the lightest yellow and move directly to toning.
Step 5: Rinse, Neutralize, and Tone
Rinse the bleach out with lukewarm water for 5 minutes, then apply a protein‑rich neutralizer (Olaplex No. 1, $28 for 100 ml) for 10 minutes. This step restores the disulfide bonds broken during lift.
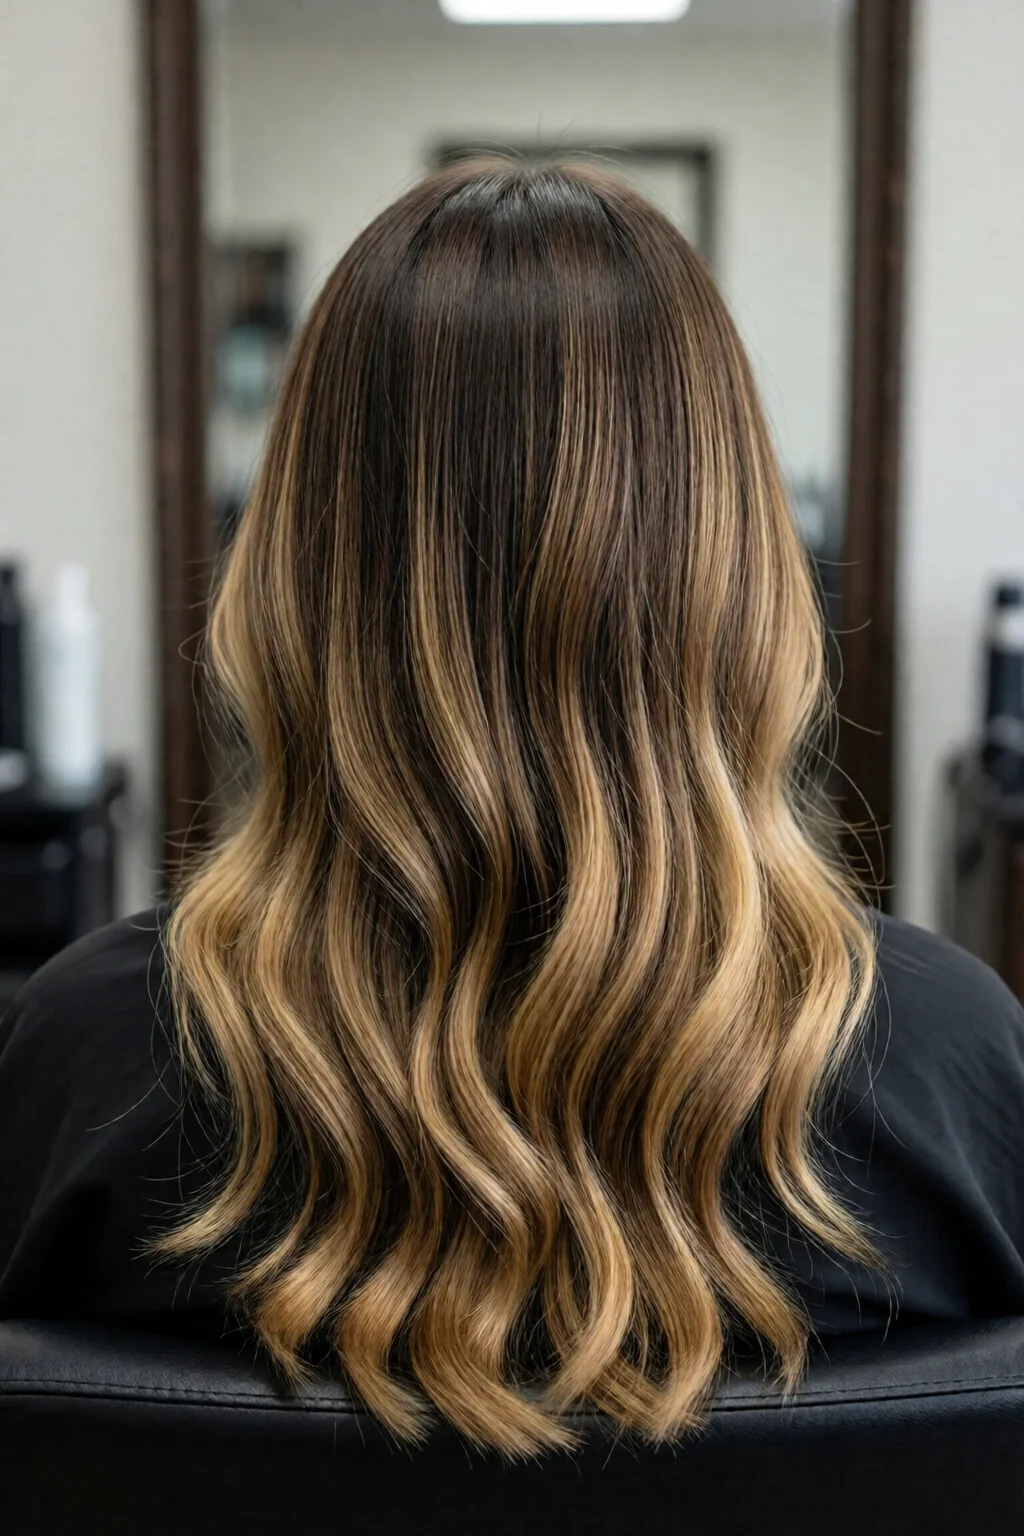
After rinsing the neutralizer, apply the toner. Mix the toner with a 10‑volume developer (3 %). Apply evenly, leave for 10‑15 minutes, then rinse. The result should be a soft, buttery blonde with minimal brass.
Step 6: Condition and Protect
Finish with a deep conditioning mask (SheaMoisture or similar) for 15 minutes, then rinse with cool water to seal the cuticle.
Apply a leave‑in protectant (like Kerastase Resistance Serum, $22) and avoid heat styling for at least 48 hours.
Common Mistakes to Avoid
- Skipping the pre‑bleach wash – residual oils cause uneven lift.
- Using 40‑volume developer on fine hair – leads to over‑processing and breakage.
- Leaving bleach on too long – hair becomes porous, resulting in frizz and split ends.
- Not toning – the dreaded orange “brass” is almost inevitable without a proper toner.
- Skipping post‑bleach care – neglecting protein treatments leads to long‑term damage.
One mistake I see often is applying bleach too close to the scalp. The heat accelerates lift, causing a “banded” look with lighter roots and darker ends.
Troubleshooting & Tips for Best Results
If after rinsing you still see a warm hue, try a second toning session with a purple shampoo (e.g., L’Oréal Color Protect Purple Shampoo, $8) used 2‑3 times a week.
For stubborn brass, mix a demi‑permanent toner with a 5‑volume developer and apply for 20 minutes.
Maintain moisture balance by using a 1‑2‑1 rule: 1 part protein, 2 parts moisture, 1 part oil. A weekly routine of a protein mask (ApHogee, $24) followed by a deep conditioning mask (SheaMoisture, $9) keeps the hair resilient.
When you want to style your new blonde, pair it with long layered hair with face framing for added movement, or try how to style curtain bangs at home for a soft, retro vibe.

Summary
Going from brunette to blonde at home is entirely doable when you respect the chemistry of hair and follow a disciplined process. The key takeaways:
- Assess hair health and give it a week of conditioning if needed.
- Use the right developer strength (20‑30 vol) and keep timing under 45 minutes.
- Never skip the toning step; it’s the difference between brass and butter.
- Invest in post‑bleach care – protein and moisture are non‑negotiable.
- Protect your new shade with purple shampoo and UV‑blocking products.
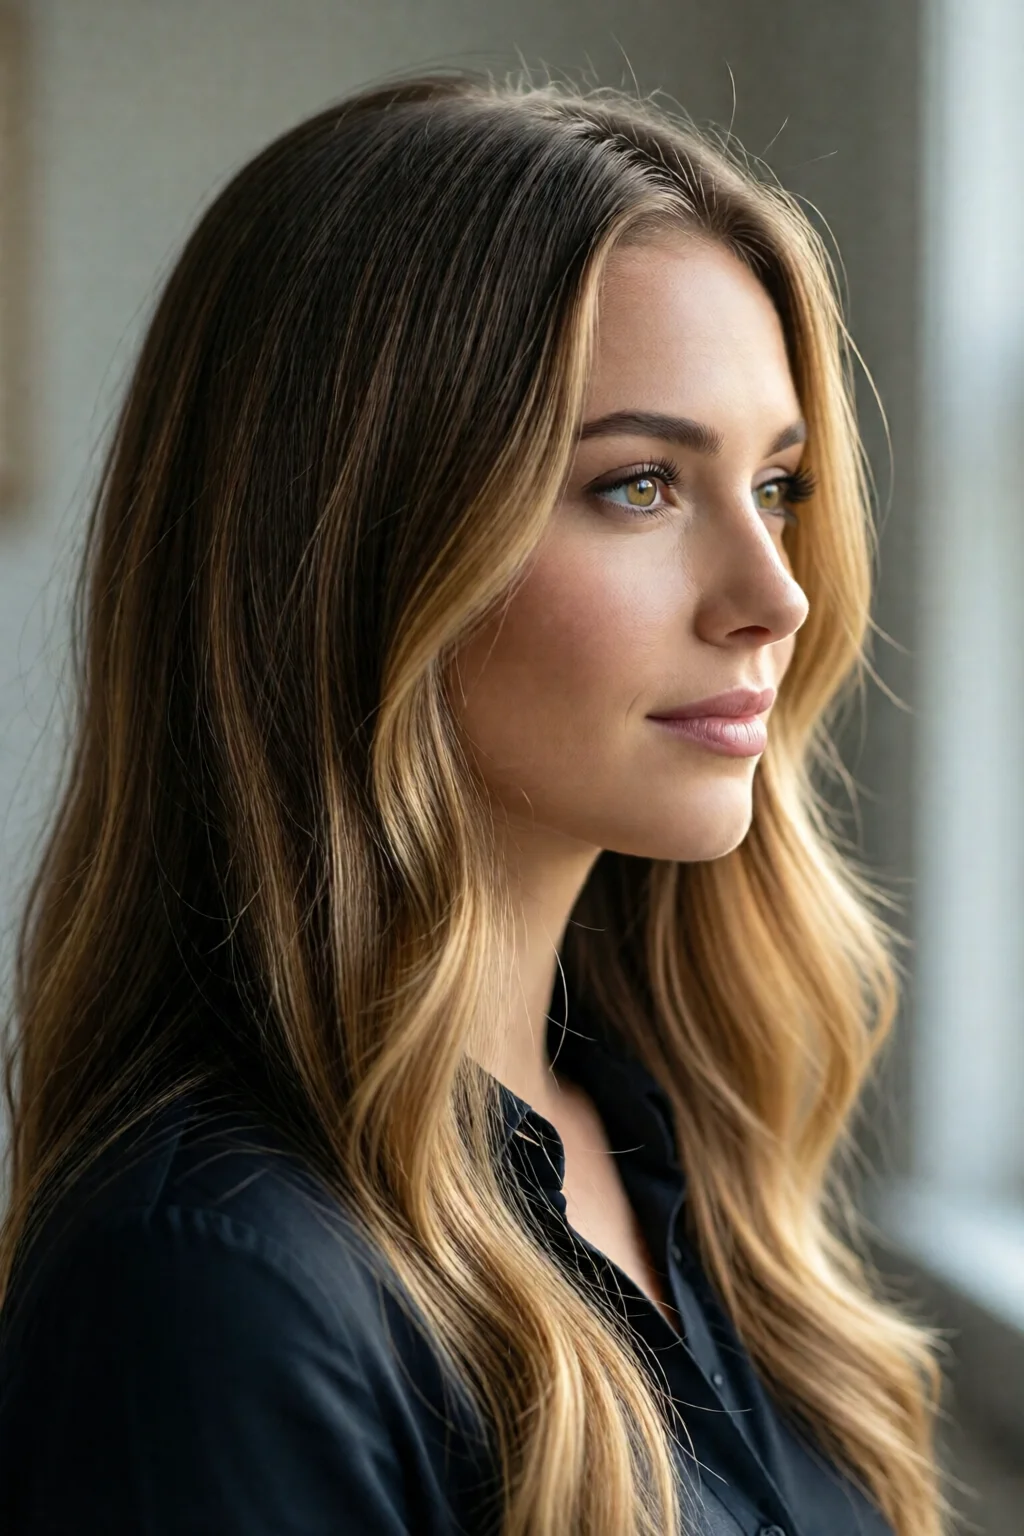
By following this step‑by‑step routine, you’ll achieve a gorgeous, salon‑worthy blonde while keeping your strands healthy and strong. And remember, the journey from brunette to blonde is as much about patience and care as it is about the chemistry of the bleach.
How long does it take to bleach brunette hair to blonde?
Most brunettes need 20‑30 minutes of processing to reach a pale yellow stage, followed by 10‑15 minutes of toning. Total time, including rinsing and conditioning, is usually 45‑60 minutes.
Can I bleach my hair at home without a professional?
Yes, if you follow a proper protocol, use quality products, and respect timing. Always do a strand test first and avoid high‑volume developers on fragile hair.
What’s the best toner for a cool blonde?
A silver or ash toner, such as Prismacolor Silver Blonde Toner mixed with 10‑volume developer, neutralizes yellow and brass for a cool, icy finish.
How often should I use purple shampoo?
Use purple shampoo 2‑3 times per week if your blonde tends to turn warm. Overuse can lead to a slight lilac tint, so follow with a regular moisturizing conditioner.
Is it safe to color over highlights?
Yes, but you should use a lower‑volume developer (20 vol) and limit processing time to protect the already‑lightened strands.