Did you know that 68% of women admit they’d try a new braid if they felt it was truly beginner‑friendly? The myth that braiding is an elite skill belongs in the past. With the right tools, a few minutes of practice, and step‑by‑step guidance, anyone can master easy braided hairstyles for beginners and turn a daily routine into a runway moment.
In This Article
In my ten‑year career as a salon stylist, I’ve seen clients transform their confidence simply by adding a tidy braid to a plain ponytail or a messy bun. Below is the most comprehensive, hands‑on guide you’ll find online—packed with product recommendations, time‑saving hacks, and real‑world troubleshooting. Grab a comb, a hair tie, and let’s braid!

Getting Started: Tools & Prep
Essential Tools for Braiding
Even the simplest braid feels smoother when you have the right gear. Here’s a quick comparison of my go‑to items, complete with price points (as of 2024) and why they matter:
| Tool | Brand & Model | Price | Key Feature |
|---|---|---|---|
| Detangling Brush | Tangle Teezer The Original | $9.95 | Flexible teeth prevent breakage on fine hair |
| Hair Elastics | Goody Ouchless Hair Elastics (2‑Pack) | $4.99 | Silicone‑coated, no dent, ideal for braids |
| Styling Comb | Conair Double Ceramic Hair Brush | $12.99 | Ceramic plates add subtle heat, perfect for smoothing sections before braiding |
One mistake I see often is using regular rubber bands; they pull at the shaft and cause split ends after just a few days.
Preparing Your Hair
Start with clean, slightly damp hair. A lightweight leave‑in conditioner such as Maui Moisture Curl Quench + Coconut Oil (8 oz, $8.99) adds slip without weighing the strands down. If you have thick hair, a light mist of best flat iron for thick hair can tame frizz before you section.
After conditioning, gently comb through with the Tangle Teezer to eliminate knots. This step reduces tension while you braid, which means fewer headaches and a smoother finish.
Understanding Hair Types
Fine hair benefits from a finer elastic (1 mm width) to avoid tearing, while coarse or curly textures handle a 2 mm elastic without slipping. If your hair is prone to static, a light spray of Batiste Dry Shampoo (1 oz, $5.49) can neutralize charge before you start.
Classic Braids Made Simple
The Three‑Strand Basic Braid
This is the foundation of every braid you’ll learn. Follow these five steps:
- Divide the hair into three equal sections.
- Cross the right strand over the middle, then the left strand over the new middle.
- Continue this pattern, adding a small amount of hair from each side every two passes for a “tightening” effect.
- When you reach the ends, secure with a Goody Ouchless elastic.
- Gently pull each side of the braid outward for a relaxed, “boho” look.
Practice for 3‑5 minutes a day; most beginners achieve a smooth braid within 10 minutes.
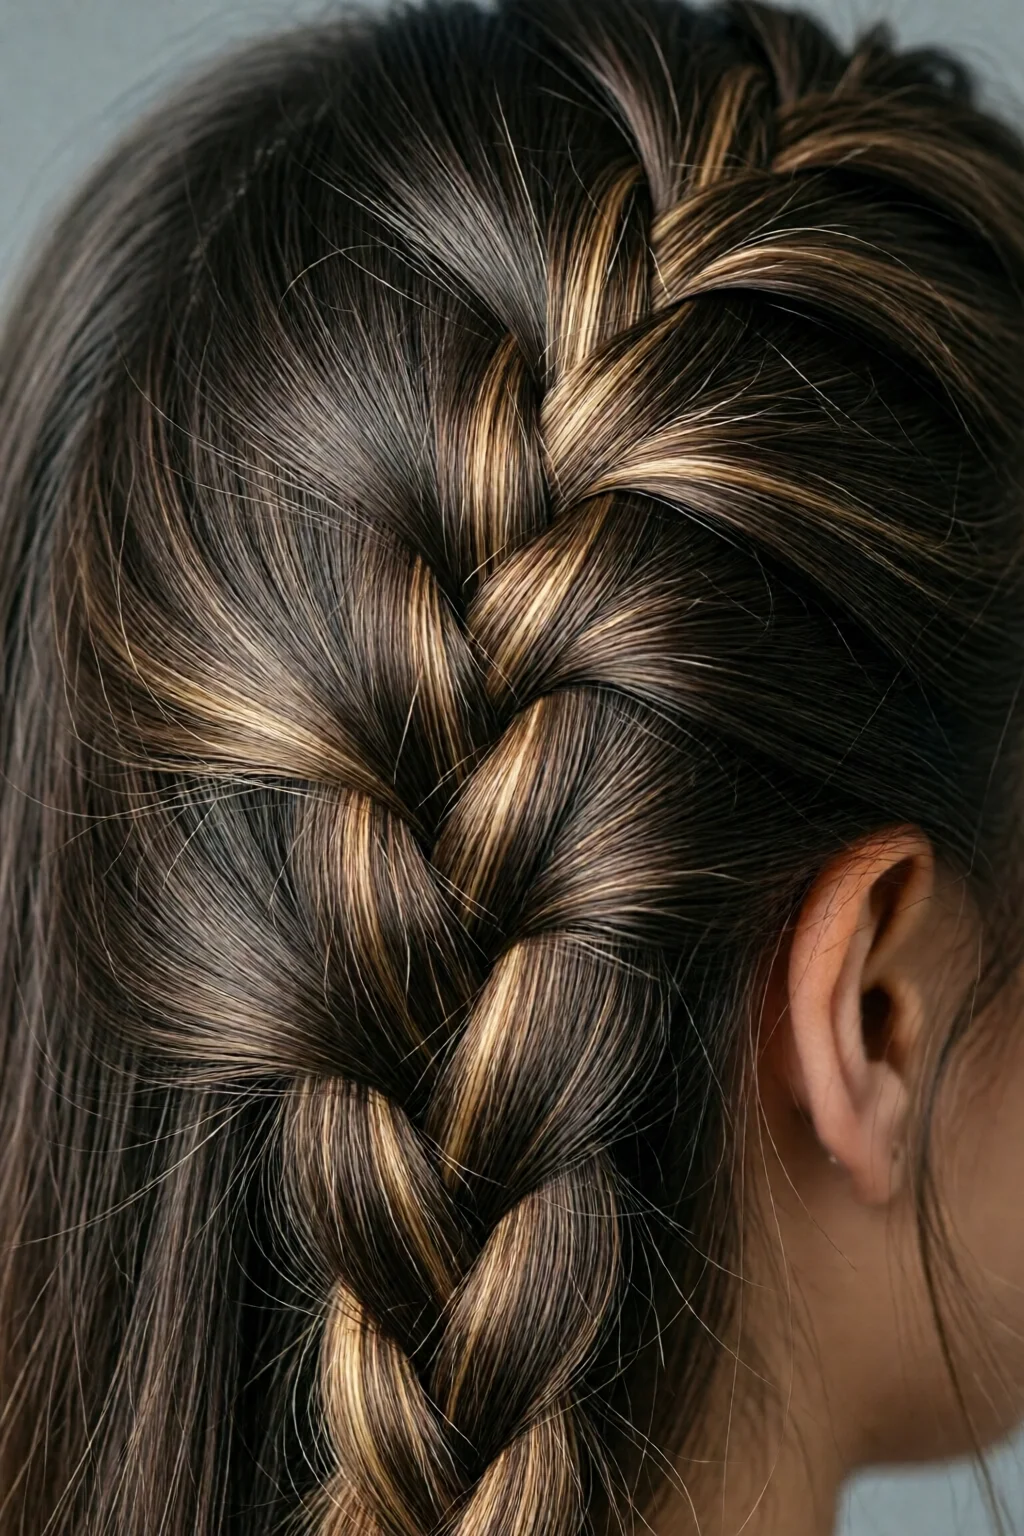
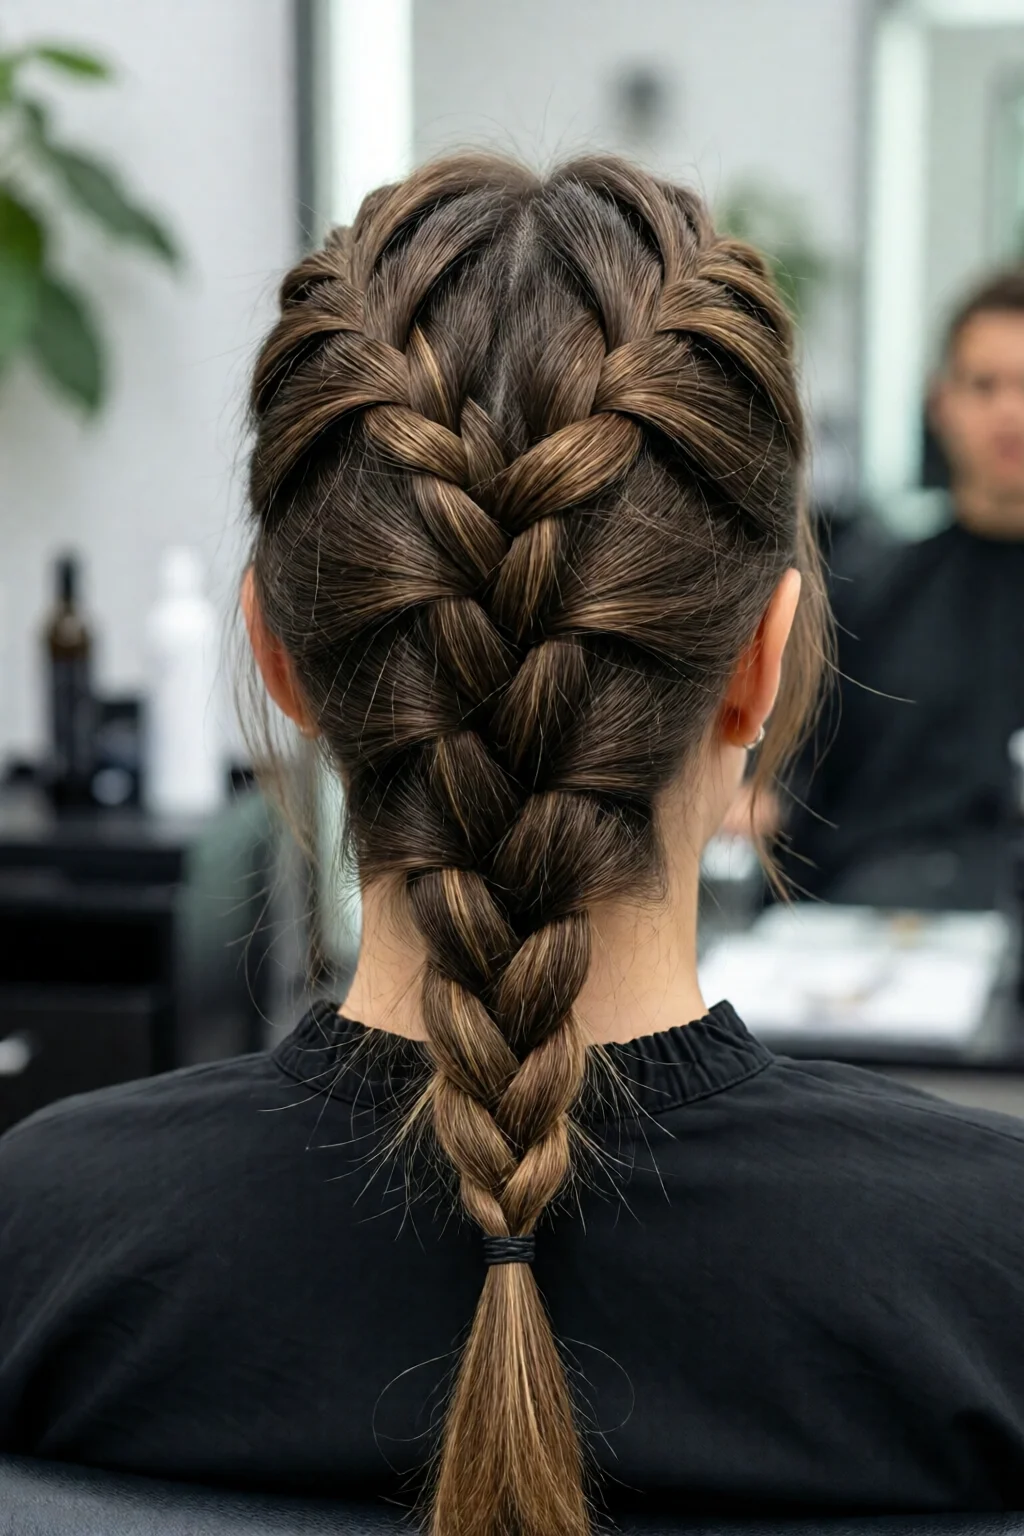
French Braid Basics
Unlike the classic braid, a French braid incorporates hair as you go, creating a sleek, polished style. Key tip: keep the three sections as equal as possible—if one side looks thicker, trim a tiny sliver with scissors before you start.
Time estimate: 12 minutes for shoulder‑length hair. Use a small rubber band (1 mm) to secure the tail and avoid visible knots.
Dutch Braid Basics
The Dutch braid is essentially an “inside‑out” French braid, giving a raised, 3‑D effect. For beginners, I recommend starting with a low‑positioned braid near the nape; it’s easier to control tension.
Pro tip: after you finish, lightly tug the braid’s edges outward. This “pancake” technique adds volume without compromising the structure.
Trendy Braided Looks for Beginners
Fishtail Braid Shortcut
The true fishtail requires splitting hair into two large sections—a challenge for novices. My shortcut uses a regular three‑strand braid for the first 3 inches, then switches to a two‑section method. The result mimics a full fishtail in half the time.
Estimated time: 8 minutes on medium‑length hair. Finish with a small elastic and gently loosen the braid for a messy, beach‑ready vibe.
Rope Braid (Twist Braid)
Also called the “twist braid,” this style is perfect for thick or curly hair. Twist two sections around each other, adding hair from the sides every few twists. The rope braid stays tight for up to 48 hours, making it ideal for active days.
Cost‑effective: you only need a single elastic and a wide‑tooth comb.
Side‑Swept Crown Braid
This romantic look looks intricate but is built from a simple French braid that wraps around the head. Start the braid at one ear, sweep it across the crown, and secure the end behind the opposite ear with a discreet hairpin.
Time: 15 minutes for long hair. Pair with a few loose strands pulled forward to soften the face—great for weddings or date nights.

Braids for Different Occasions
Work‑Ready Braids (Quick Morning)
When the clock’s ticking, a low “half‑up, half‑down” braid takes under 5 minutes. Pull the top half of your hair back, braid it loosely, and secure with a Goody elastic. This style keeps hair out of the face while looking polished.
See also our guide on quick morning hairstyles for work for more time‑saving ideas.
Casual Weekend Braids
A loose “messy” Dutch braid paired with a soft headband creates a laid‑back vibe perfect for brunch. Use a medium‑size elastic (2 mm) and pull gently at the braid’s edges to add texture.
Evening & Event Braids
For formal events, a sleek, tight French braid low at the nape exudes elegance. Finish with a spritz of L’Oréal Paris Elnett Satin Hairspray (10 oz, $9.49) for hold that lasts through dancing.

Care & Maintenance
Protecting Braids Overnight
Sleep on a silk pillowcase ($15‑$25) or wrap your hair in a silk scarf. This reduces friction, preventing frizz and breakage. If you’re traveling, a loose braid tied with a soft scrunchie (no metal) works just as well.
Removing Braids Without Damage
Never yank a braid apart. Instead, mist the sections with a water‑based detangler (like It’s a 10 Miracle Leave‑In Product, $12.99) and gently slide a wide‑tooth comb from the ends upward.
When to Re‑braid
Most braids hold 24‑48 hours on medium‑length hair. If you notice looseness or increased frizz, it’s time for a fresh braid. Re‑braiding also stimulates scalp circulation, which can promote healthier growth.
Pro Tips from Our Experience
- Anchor the first section. Pin the base of your braid with a bobby pin before you start; it prevents the braid from sliding down the scalp.
- Use light tension. Over‑tight braids cause scalp pain and breakage. Aim for a tension that feels snug but still allows movement.
- Mix textures. Combine a sleek side braid with a textured crown for contrast—a trick I use on clients who want a “high‑low” look without extra accessories.
- Invest in quality elastics. Silicone‑coated bands cost a few dollars more but last three times longer and protect hair integrity.
- Practice with synthetic hair. If you’re nervous, buy a cheap synthetic hair bundle (≈$6) and practice the motions before you tackle your own hair.
Frequently Asked Questions
How long does it take to master a basic braid?
With daily 5‑minute practice, most beginners feel confident after 7‑10 days. Consistency beats marathon sessions.
Can I braid wet hair?
Yes, slightly damp hair holds better, but avoid soaking wet strands as they may snap under tension. Lightly mist with water or a leave‑in conditioner.
What’s the best product to keep braids from frizzing?
A lightweight serum with silicone, like Moroccanoil Treatment Light (3.4 oz, $22.99), applied sparingly to the braid ends prevents flyaways without greasiness.
Do I need a heat tool to smooth hair before braiding?
Not always. For fine or straight hair, a quick pass with a flat iron set to 300°F (150°C) helps, but a brush and leave‑in conditioner are sufficient for most textures.
Conclusion: Your Next Easy Braided Hairstyle Is Just a Few Minutes Away
Now you have a toolbox of techniques, product recommendations, and real‑world tips that turn “I can’t braid” into “I love braiding.” Pick one of the beginner‑friendly styles, set a timer for 10 minutes, and watch yourself improve. Remember: the secret isn’t talent; it’s the right preparation, consistent practice, and a little patience. Go ahead—try that side‑swept crown braid tomorrow morning and see how a simple twist can boost your confidence all day long.