Master the Dutch braid in under ten minutes with this beginner‑friendly tutorial – no prior braiding experience required!
In This Article
What You Will Need or Before You Start
- Fine‑tooth comb or a detangling brush (e.g., Crave It Deluxe Detangling Brush, $12.99)
- Hair elastics – preferably seamless, 1/8‑inch thick (I use Goody Snap‑It Elastic Bands, $4.99 for a pack of 12)
- Light‑hold hairspray (about 8‑10 g in a 200 ml can – I recommend L’Oréal Elnett Satin, $10.49)
- Optional: smoothing serum (e.g., Moroccanoil Treatment Light, 30 ml, $24)
- Two hair clips or small barrettes to keep sections apart
Make sure your hair is clean, slightly damp, and brushed free of knots. A little moisture makes the hair pliable and reduces breakage, while a dry finish gives the braid better hold.

Step 1: Create the Foundation
Divide the hair at the crown into three equal sections. Hold the left and right sections with your thumb and forefinger, leaving the middle strand free. This is the same starting point as a classic three‑strand braid, but the Dutch braid will be built under, not on top.
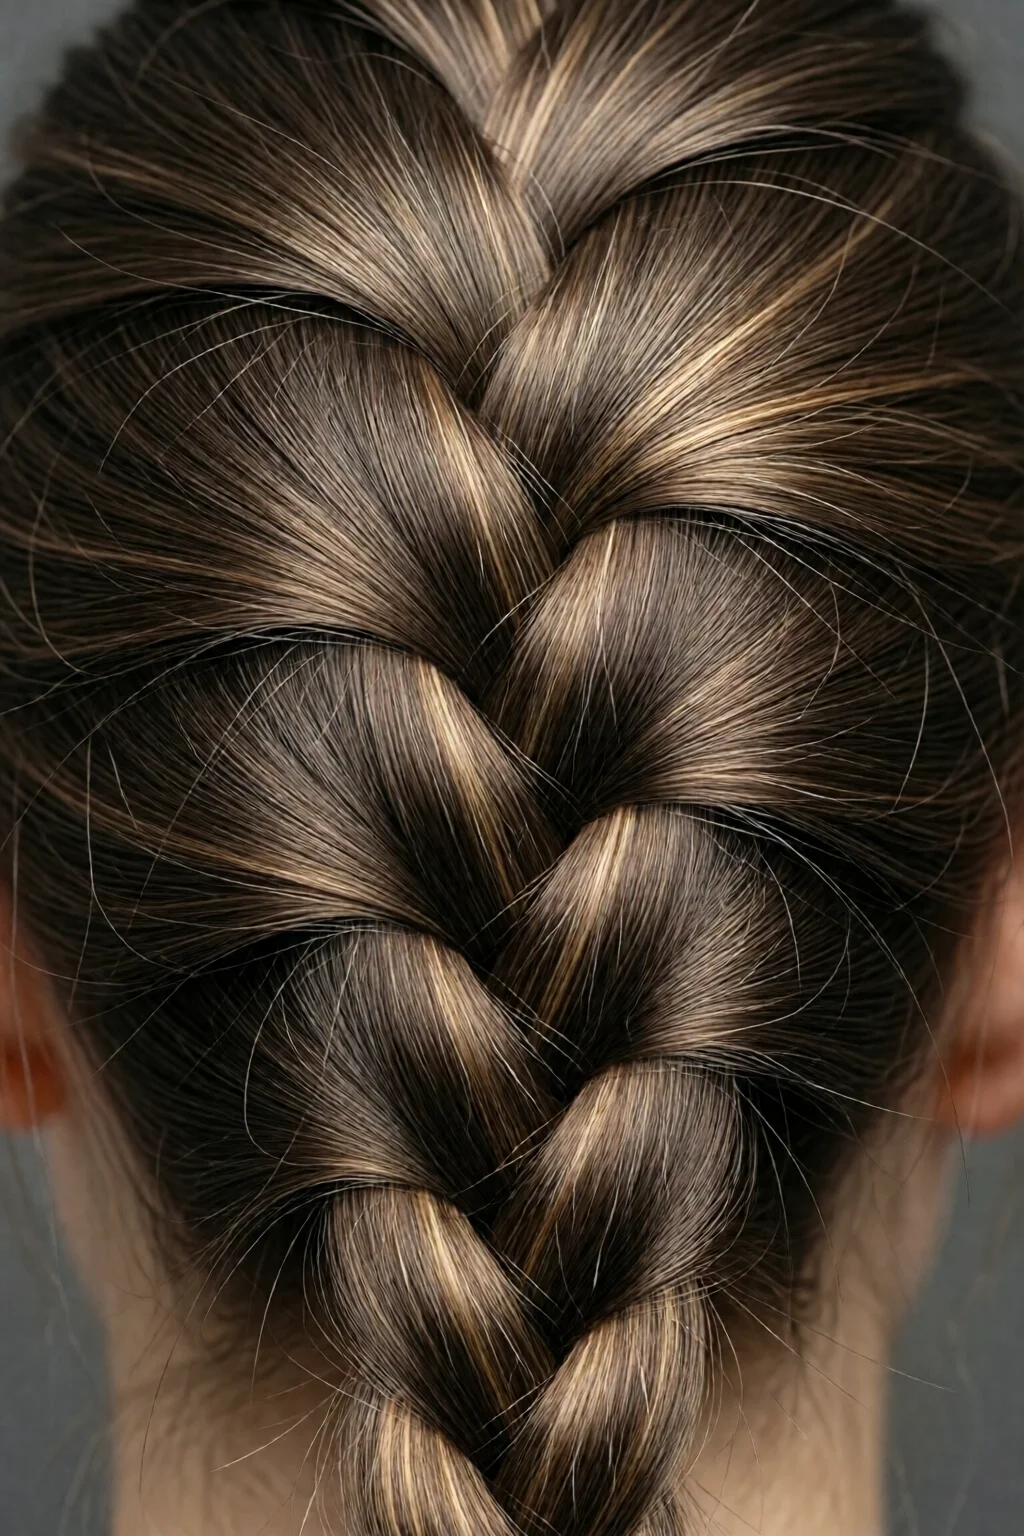
In my experience, tension is the secret sauce. Pull each section gently upward as you work; the braid will sit “on top” of the hair, creating that signature raised look.
Step 2: Begin the Under‑Cross
Take the right outer strand and cross it under the middle strand, not over. The right strand now becomes the new middle. Then, take the left outer strand and cross it under the new middle. You’ve just completed the first “under‑cross.”
One mistake I see often is crossing the strands over instead of under, which turns the braid into a regular plait. Keep the motion toward your scalp, and the braid will pop.
Step 3: Add Hair to Each Side
Now the real Dutch braid magic begins. Pick up a small section of hair (about ½ inch wide) from the right side of the head, just above the outermost strand you just crossed. Add this to the right outer strand, then cross it under the middle strand. Repeat on the left side: gather a ½‑inch section, add it to the left outer strand, and cross under.
This “adding‑in” step is repeated on every pass, building the braid downward while keeping it tight against the scalp. If you’re using a brush, a quick flick with the bristles can help smooth the added hair into place.
Step 4: Continue the Pattern to the Nape
Maintain the rhythm: under‑cross, add‑in, under‑cross, add‑in. Work slowly for the first few rows; muscle memory will kick in after about 5–6 repetitions. By the time you reach the nape, the braid should be a smooth, raised rope.
Tip: If you have thick or coarse hair, a light mist of water (about 2 ml) can prevent flyaways. I usually keep a spray bottle with a fine mist on hand – it costs less than $3 for a refill.
Step 5: Secure the Braid
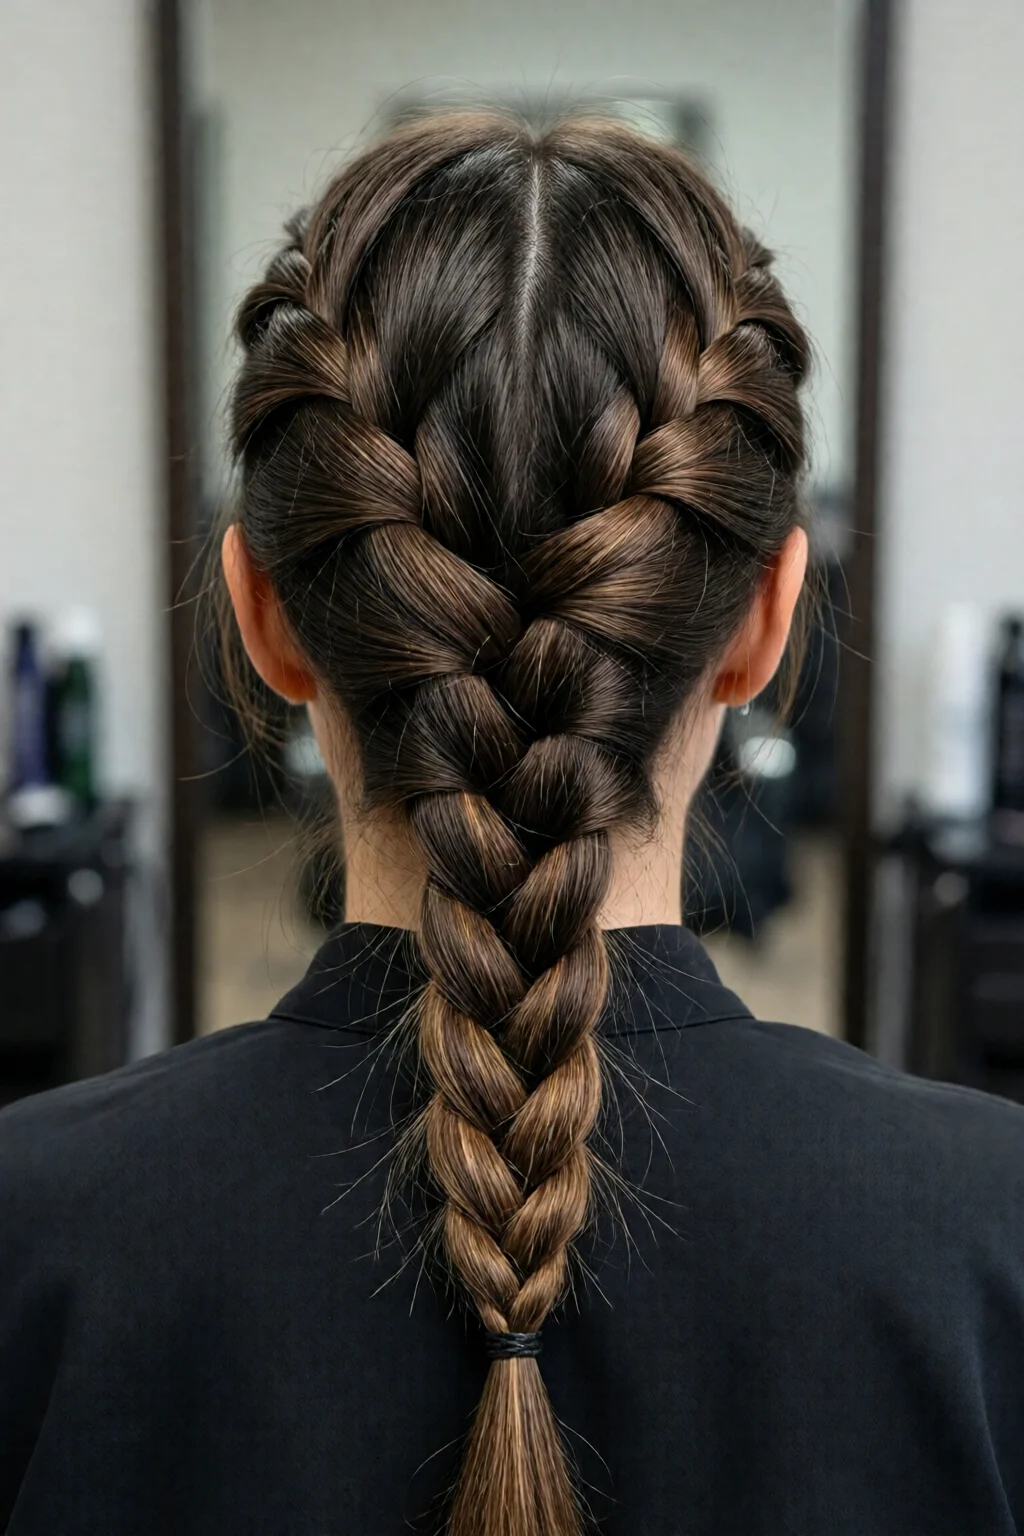
When you’ve incorporated all the hair, finish with a regular three‑strand braid for the remaining length, then secure with a seamless elastic. For extra hold, spray a light mist of hairspray and gently tug the braid upward to set the shape.
In my salon, I finish with a quick “flip‑and‑pin” – a gentle flip of the head to loosen the braid a touch, then a few bobby pins at the crown for a polished look. This works especially well for formal events like weddings; see our guide to best wedding hairstyles for long hair for inspiration.
Common Mistakes to Avoid
- Crossing over instead of under. This creates a regular braid, defeating the Dutch effect.
- Gripping too tightly. Over‑tightening can cause breakage and a sore scalp. Aim for firm but comfortable tension.
- Skipping the “add‑in” step. Adding hair each pass builds volume; missing it results in a flat, ordinary braid.
- Using the wrong elastic. Thin, snag‑prone elastics pull at the hair. Seamless, 1/8‑inch elastics distribute pressure evenly.
- Neglecting moisture control. Too dry hair slides apart; too wet hair slides together. Lightly damp hair (about 30% moisture) is ideal.

Troubleshooting or Tips for Best Results
Problem: Braid keeps loosening after a few hours. Solution: Lightly mist the finished braid with L’Oréal Elnett Satin hairspray (8‑10 g per spray). The polymer lock keeps strands together without a crunchy feel.
Problem: Flyaways on the surface. Solution: Apply a pea‑size amount of Moroccanoil Treatment Light (about 0.5 ml) to the finished braid and smooth with a soft brush.
Problem: The braid looks uneven. Solution: Use a fine‑tooth comb to ensure each “add‑in” section is the same width (½ inch). Consistency is key for symmetry.
For those with thick hair, a best flat iron for thick hair can be used to lightly straighten the front strands before braiding, making the process smoother.
If you’re after extra volume after braiding, gently pull at the braid’s sides after securing – this “backcombing” technique adds a subtle lift. Pair it with best hot rollers for volume and curls for a full‑bodied finish.

Summary
With the right tools, a little patience, and this step‑by‑step Dutch braid tutorial for beginners, you can create a polished, raised braid in under ten minutes. Remember to keep tension consistent, add hair on every pass, and finish with a light mist of hairspray for lasting hold. Whether you’re prepping for a casual day out or a formal event, the Dutch braid adds instant elegance and works on all hair types—from fine to thick.
Now that you’ve mastered the basics, experiment with variations: a side Dutch braid, a Dutch‑braided crown, or even intertwining multiple Dutch braids for a boho‑chic look. Happy braiding!
How tight should I hold the hair while Dutch braiding?
Aim for firm but comfortable tension. The braid should sit snugly against the scalp without pulling or causing pain. Over‑tightening can lead to breakage, while too loose a grip will cause the braid to unravel.
Can I Dutch braid on dry hair?
Yes, but slightly damp hair (about 30% moisture) is easier to manage and reduces flyaways. If you must braid dry hair, use a light mist of water or a smoothing serum to add slip.
What type of elastic works best for securing a Dutch braid?
Seamless, 1/8‑inch thick elastics (like Goody Snap‑It) provide even pressure without snagging. Avoid thin, rubbery bands that can bite into the hair.
How can I make my Dutch braid look fuller?
After braiding, gently pull at the sides of the braid (backcombing) to add volume. Using a light hold hairspray and a smoothing serum can also enhance fullness.
Is the Dutch braid suitable for short hair?
Yes, as long as you have at least 4‑5 inches of length at the crown. Use smaller “add‑in” sections (¼‑inch) and secure the braid with a small elastic or hair pins.
1 réflexion au sujet de « How to Dutch Braid Tutorial For Beginners (Expert Tips) »