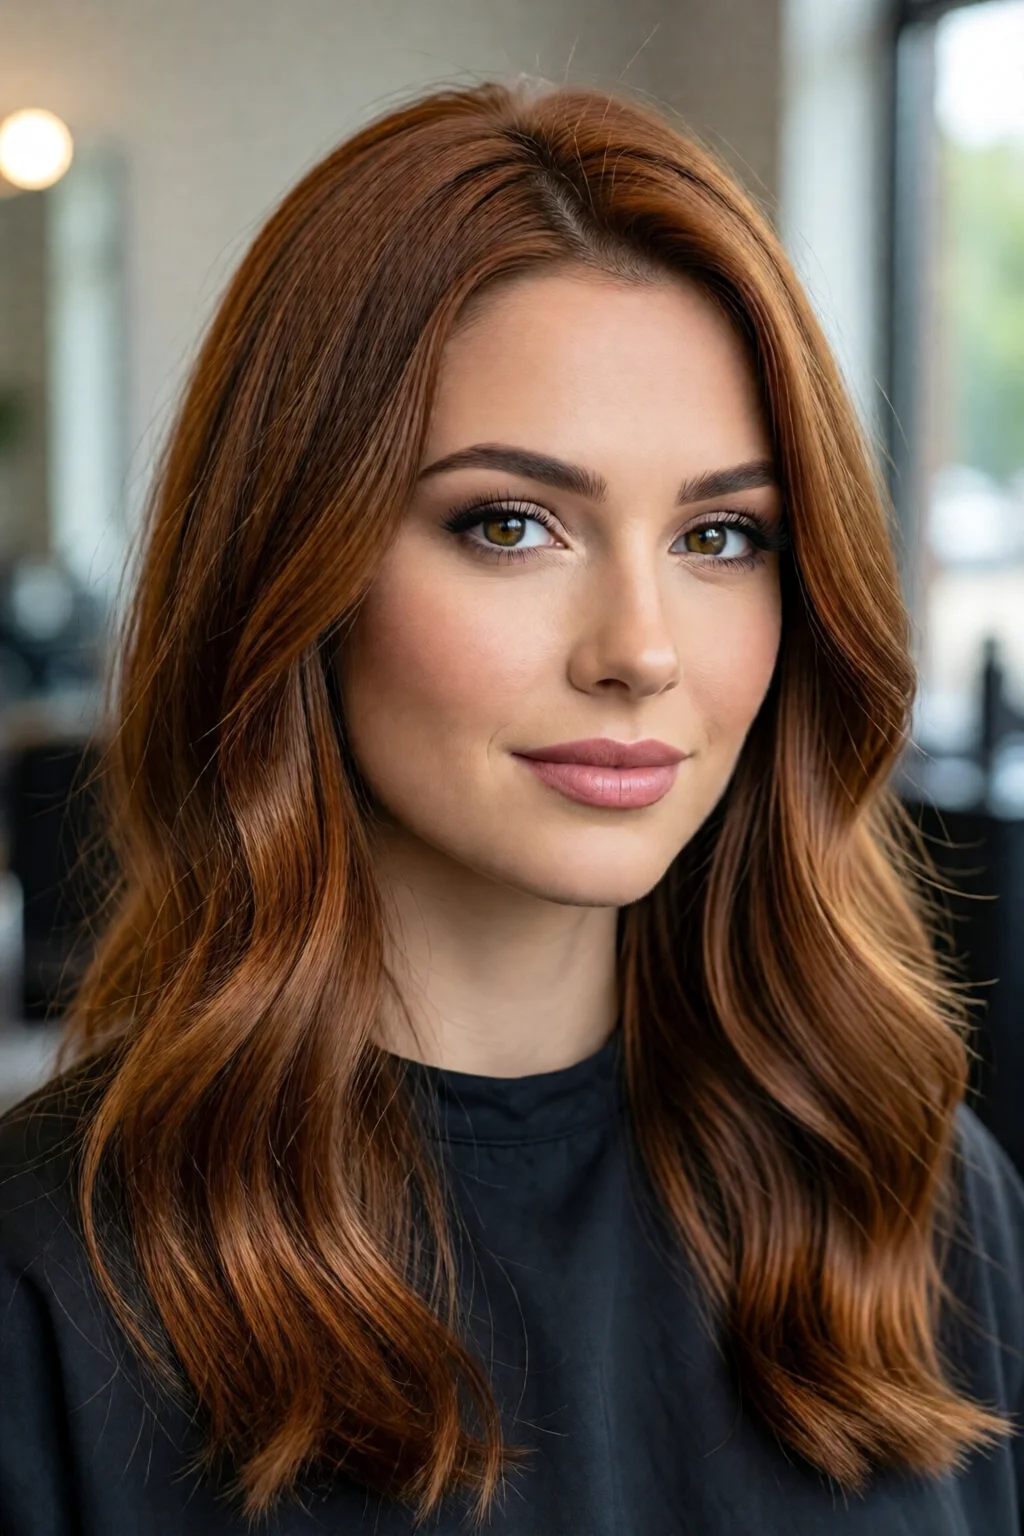
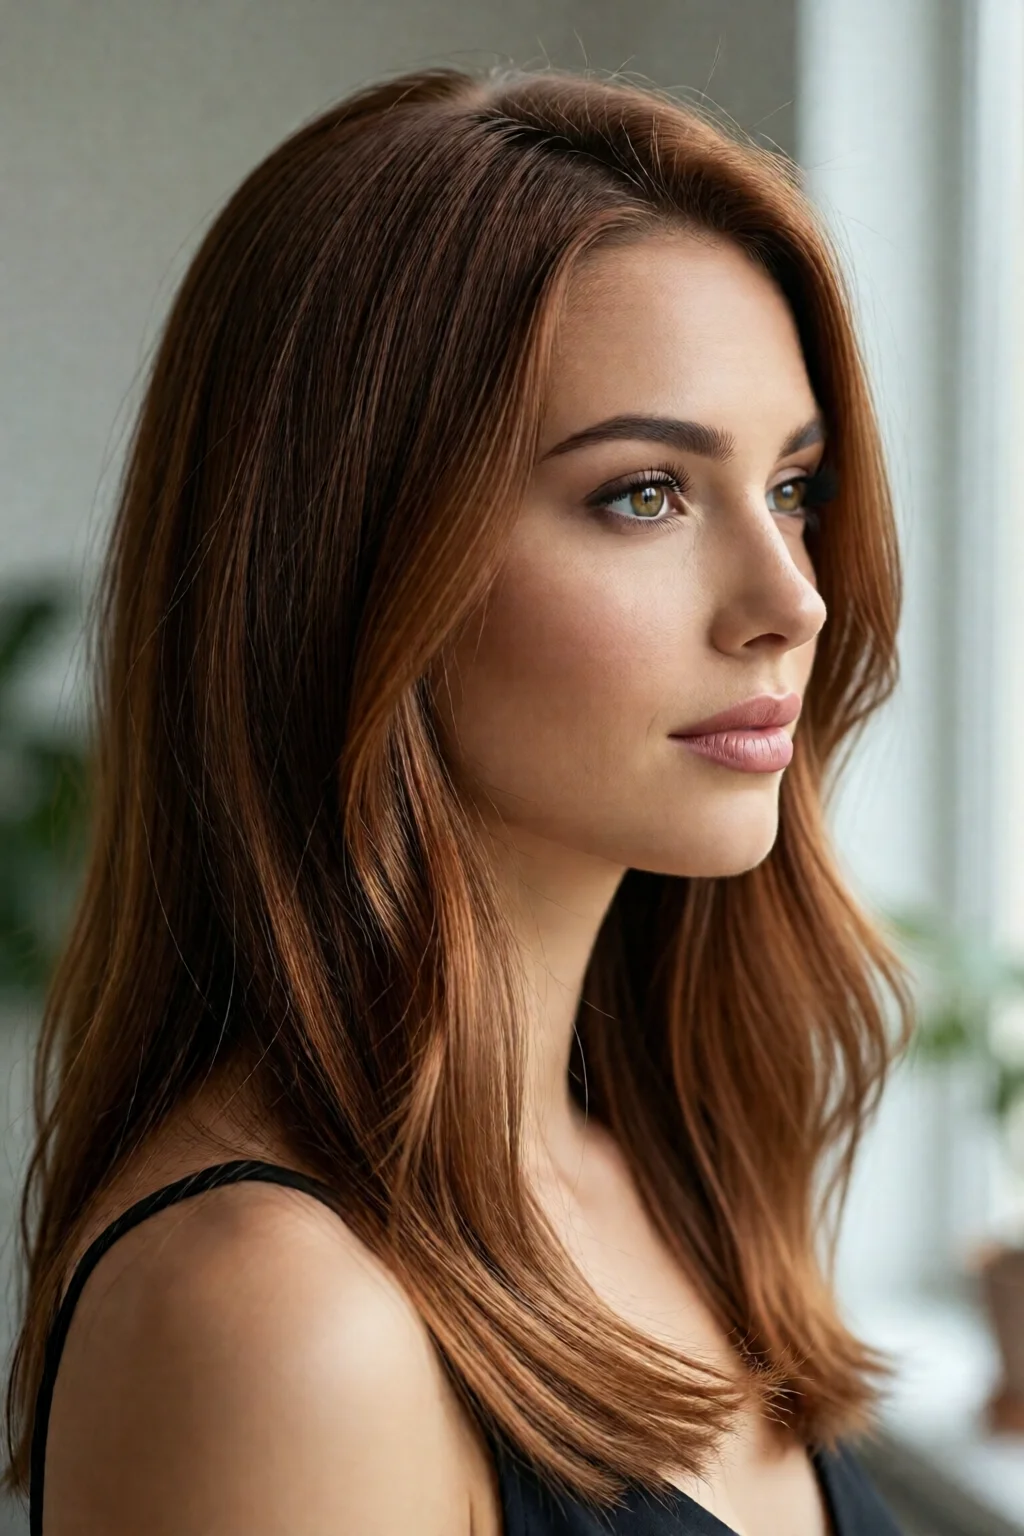
In 2023, Instagram reported a 42% spike in posts featuring copper hair, proving that this fiery hue isn’t just a fleeting fad—it’s a full‑blown trend that’s here to stay.
In This Article
What You Will Need (or Before You Start)
Gathering the right tools and products saves you from mid‑process panic. In my salon, I never start a copper transformation without these essentials:
- Copper hair dye – my go‑to is Wella Koleston Perfect 8‑oz copper 6.24 at $13.99, or Schwarzkopf Color Ultime Copper 7.0 for $12.49.
- Developer – 20‑volume (6%) for subtle deposits, 30‑volume (9%) if you need up to 2 levels of lift; price ranges $8‑$10 per 4‑oz bottle.
- Mixing bowl & brush – a non‑porous silicone bowl (2‑inch diameter) and a 2‑inch brush keep the blend smooth.
- Gloves – latex or nitrile, size M, $0.15 each if you buy a pack of 100.
- Sectioning clips – 12‑clip set, $3.99, helps you work efficiently.
- Shampoo & conditioner for color‑treated hair – L’Oréal Professionnel Serie Expert Vitamino Color Shampoo ($18.95, 8 oz) and Conditioner ($19.95).
- Heat protectant spray – Olaplex No. 7 Bonding Oil, $28 per 3.4 oz.
- Timer – your phone works, but a kitchen timer with a loud alarm is foolproof.
- Plastic wrap or a shower cap – keeps the heat in during processing.
Make sure your client (or you) has a fresh, sulfate‑free shampoo within 48 hours of coloring; this removes product buildup that could interfere with pigment absorption.
Step 1 – Consultation & Color Planning
Every successful copper hair color trend idea starts with a conversation. In my experience, the biggest mistake is skipping this step and ending up with a shade that clashes with the client’s skin tone. Ask these three questions:
- What’s your natural hair color and level? (e.g., level 5 medium brown)
- Do you have any previous chemical treatments? (bleach, perms, etc.)
- Which copper vibe resonates: a subtle copper balayage, a bold copper ombre, or full‑on copper highlights?
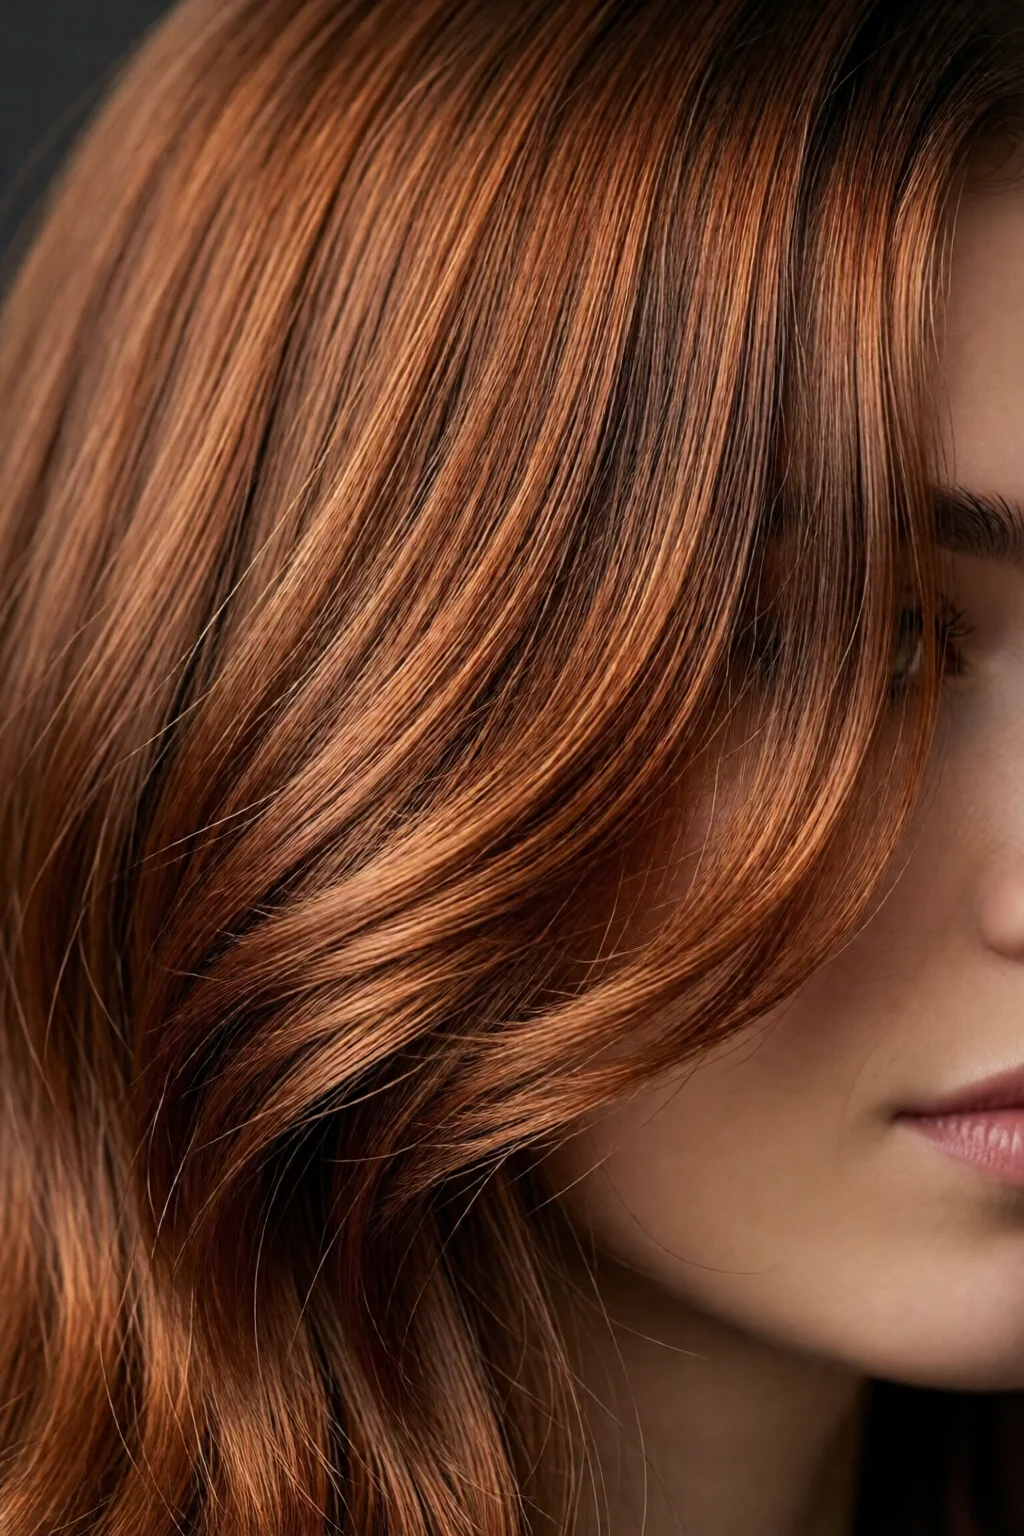
Use the dimensional hair color techniques chart to match the client’s undertone: warm skin suits a golden‑copper (Wella 6.24), neutral skin pulls off a true copper (Schwarzkopf 7.0), and cool skin shines with a reddish copper (Goldwell 6.41). Document the plan in a notebook or digital photo for reference.
Step 2 – Preparation & Sectioning
Prep the hair as if you were about to perform any color service. Wash with a clarifying shampoo (e.g., Redken Clean 15) and towel‑dry until it’s damp, not soaking. This removes oils that could block the dye.
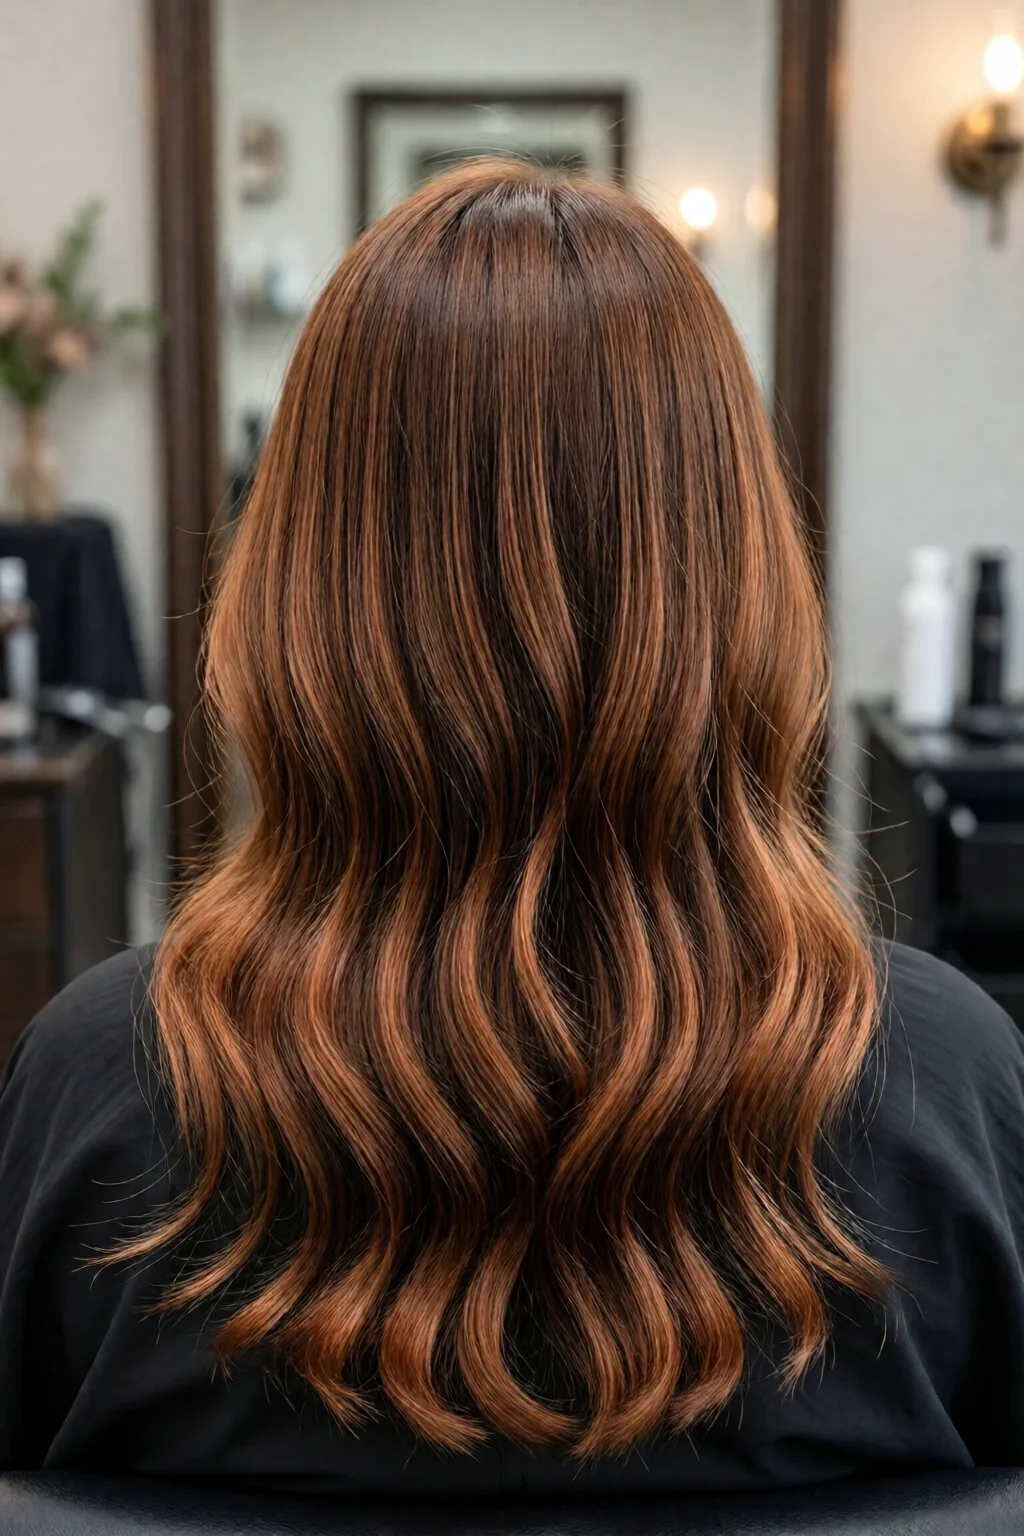
Section the hair into four quadrants using the 12 clips. If you’re doing a copper balayage, pull each section away from the scalp and secure with a clip; this gives you room to paint the color onto the mid‑lengths and ends.
For a full‑head copper look, part the hair into 6‑inch sections for even application. Measure each section with a ruler (optional) to ensure you’re not over‑applying—over‑application can cause uneven tones and waste product.
Step 3 – Mixing the Formula
Follow the manufacturer’s ratio—most copper dyes use a 1:1.5 developer to powder mix. For example, to achieve a 10‑ounce batch (enough for medium‑length hair), combine 4 oz of Wella Koleston Perfect copper 6.24 with 6 oz of 20‑volume developer. Mix for 30 seconds until the texture is creamy, not gritty.
Temperature matters: if the room is above 75 °F, the processing time shortens by about 10%. Adjust accordingly, or keep the room cooler with a fan.
Step 4 – Application Technique
Here’s where the copper hair color trend ideas truly come to life. Choose one of the three popular methods:
4A – Copper Balayage
- Using a balayage brush, pull 1‑inch strands of hair away from the scalp.
- Apply the dye starting at the mid‑length, feathering toward the ends.
- Leave a ½‑inch “root shadow” untouched for a natural grow‑out.
- Repeat every 2–3 inches across the section for a seamless gradient.
4B – Copper Ombre
- Start at the bottom of the hair, applying the dye with a wide-tooth comb to saturate the ends.
- Blend upward, decreasing the amount of product by 10% every 2 inches to create a smooth transition.
- Use a plastic wrap to trap heat; the ombre will develop richer tones in 30 minutes.
4C – Full Copper Highlights
- Place foils at a 45° angle to the scalp, starting at the crown.
- Pull 1‑inch sections through the foil and saturate with dye.
- Leave the foils on for 25 minutes, then remove and rinse.
Regardless of method, keep the processing time between 25‑35 minutes. Exceeding 40 minutes can push the pigment into an orange or brassy hue, especially on darker bases.
Step 5 – Processing, Rinsing & Aftercare
After the timer dings, rinse with lukewarm water (≈95 °F) until the water runs clear. Apply the color‑protecting shampoo for 2 minutes, then the conditioner for 3 minutes. Finish with a cool‑water rinse to seal the cuticle.
For best longevity, advise the client to use a sulfate‑free shampoo and a weekly mask like face framing highlights ideas (sorry, internal link placeholder) that contains UV filters. Copper fades fastest in direct sunlight—suggest a hat or UV spray (e.g., Sun Bum UV Protective Hair Spray, $9.99).
Common Mistakes to Avoid
- Skipping a strand test. Even with the same brand, batch variations can shift the shade by up to 2 points on the color wheel.
- Using the wrong developer strength. A 30‑volume developer on fine hair can cause over‑lift, turning copper into a burnt orange.
- Applying too close to the scalp. This eliminates the natural root shadow that makes copper look multidimensional.
- Neglecting to protect the skin. Copper pigments can stain skin; a thin layer of petroleum jelly along the hairline prevents orange marks.
- Rushing the rinse. Cutting the rinse short leaves residual dye, which continues processing and may cause unexpected tones.
One mistake I see often is using a permanent hair color on previously bleached hair without a neutralizing step. The result? A brassy, uneven copper that looks more like rust.

Troubleshooting or Tips for Best Results
If the copper turns out too orange:
- Apply a violet‑based toner (e.g., Wella Color Charm #5 Violet) mixed with 10‑volume developer for 5‑10 minutes.
- Use a cool water rinse to close the cuticle and lock in the cooler tones.
If the color is too muted:
- Mix in a small amount (≈10 ml) of a copper‑rich semi‑permanent dye like dark chocolate brown hair color ideas to boost intensity.
- Increase processing time by 5 minutes, but never exceed 40 minutes.
For lasting vibrancy, schedule a touch‑up every 6‑8 weeks. A quick “refresh” using a half‑head copper gloss (e.g., Redken Shades EQ Copper 6.24, $26 per 2 oz) restores shine without full re‑application.
Remember to advise clients to avoid chlorinated pools for at least two weeks; chlorine strips copper pigments faster than any other chemical.
Summary Conclusion
With the right preparation, product selection, and technique, copper hair color trend ideas can be customized for every skin tone and hair type—from subtle balayage whispers to bold full‑head copper statements. By following the step‑by‑step guide above, you’ll avoid common pitfalls, troubleshoot unexpected results, and keep the copper looking fresh for months. The key takeaway? Treat copper like a living, breathing shade—protect it, nurture it, and it will reward you with a radiant, head‑turning glow.
How often should I refresh my copper hair color?
For most clients, a touch‑up every 6‑8 weeks keeps the copper vibrant while preventing brassiness.
Can I achieve copper highlights on dark hair without bleaching?
Yes, using a high‑lift copper dye (30‑volume developer) can deposit copper tones on dark hair, though the result will be more subtle than on pre‑lightened strands.
What products help maintain copper vibrancy at home?
Sulfate‑free shampoos, color‑protecting conditioners, and a weekly deep‑conditioning mask with UV filters are essential for preserving copper.
Is copper hair suitable for fine or thin hair?
Absolutely—use a 20‑volume developer and apply the dye lightly, focusing on mid‑lengths and ends to avoid weighing down fine strands.
2 réflexions au sujet de “Copper Hair Color Trend Ideas: Complete Guide for 2026”