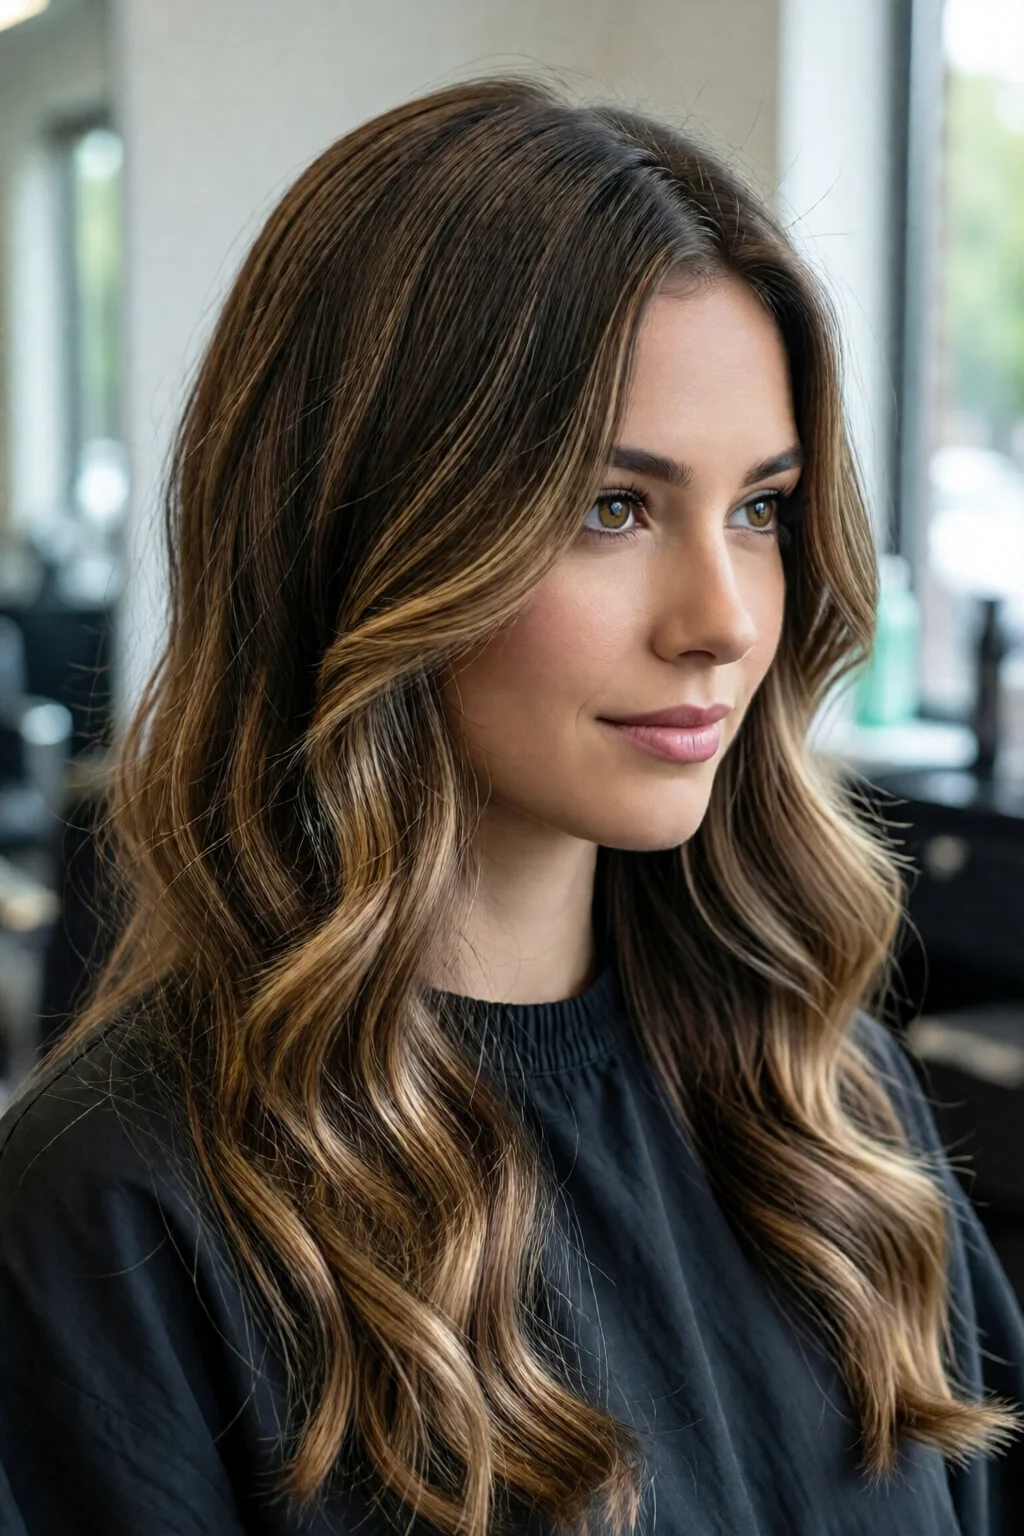
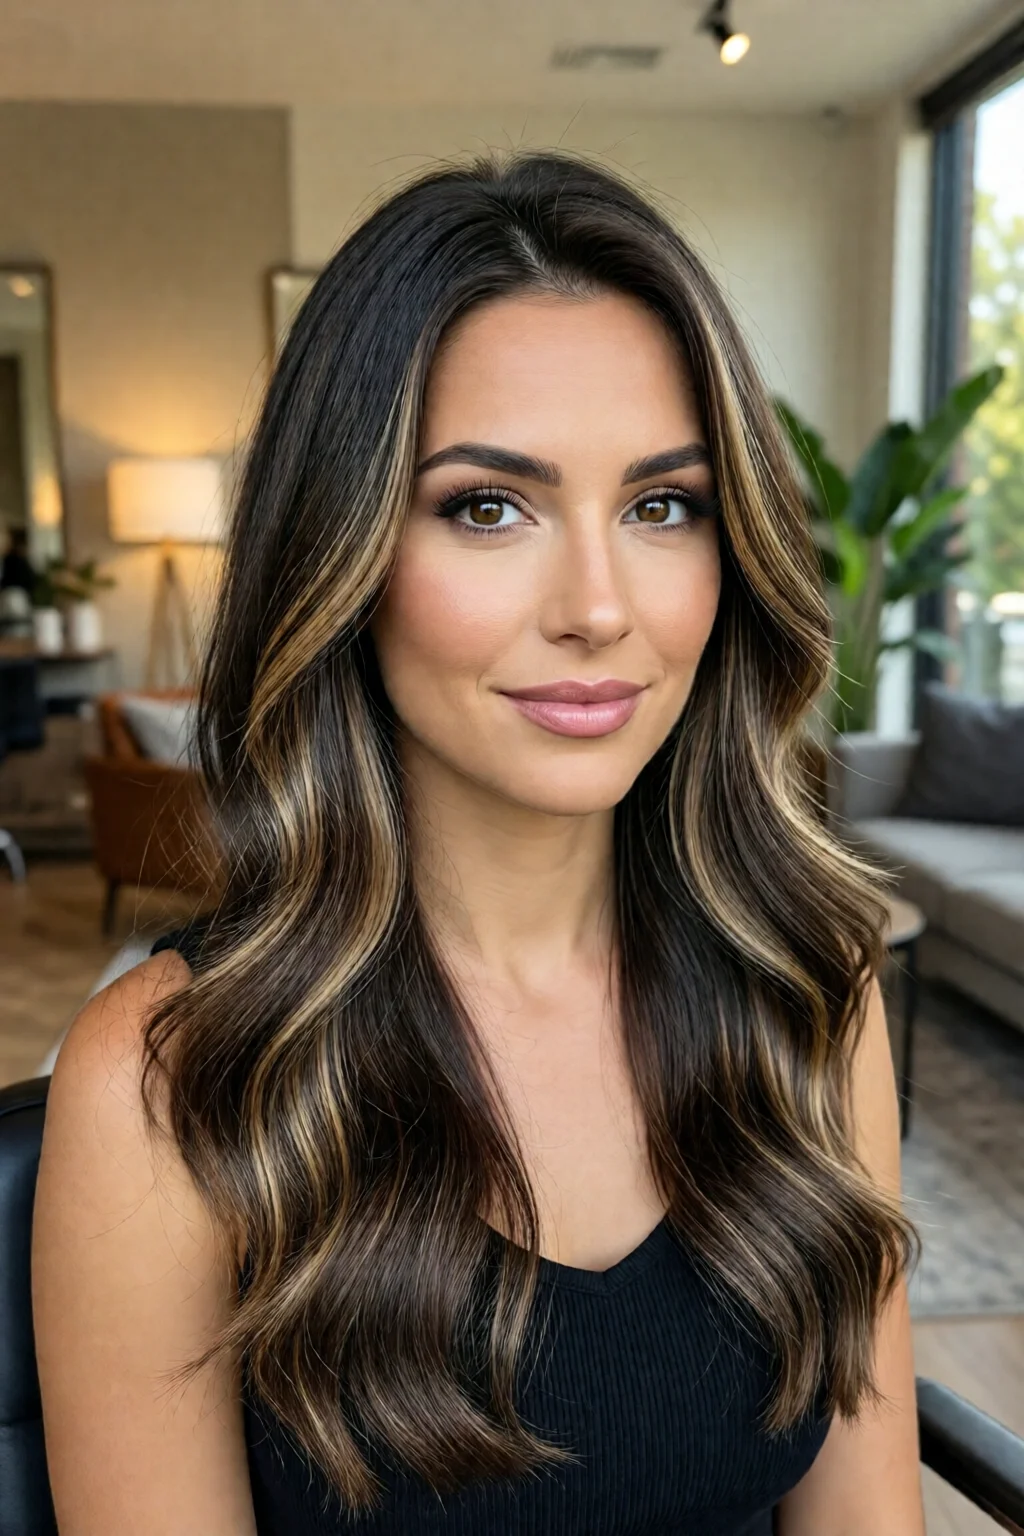
Last summer I was asked to transform a client’s flat, single‑tone brunette into a sun‑kissed, “just‑back‑from‑the‑beach” look for a beach‑wedding. She wanted depth without the harsh line of traditional highlights. The result? A seamless blend of caramel, honey, and ash tones that made her hair look naturally multidimensional. That moment reminded me why mastering dimensional hair color techniques is a game‑changer for any stylist—or DIY enthusiast—who wants to add depth, movement, and personality to a head of hair.
In This Article
- Understanding Dimensional Color: Theory and Basics
- Core Techniques for Multi‑Dimensional Looks
- Step‑by‑Step Process for a Dimensional Color at Home
- Professional Tools & Products That Deliver Depth
- Choosing the Right Technique for Your Hair Type & Lifestyle
- Pro Tips from Our Experience
- Technique Comparison Table
- FAQ
- Conclusion: Your Next Dimensional Masterpiece Awaits
Dimensional color isn’t just about sprinkling a few lighter strands on top; it’s a strategic layering of hues, tones, and textures that creates the illusion of volume and depth. Whether you’re a salon pro or a home‑color hobbyist, understanding the science, the tools, and the step‑by‑step process will let you craft results that look effortless and last longer.
Understanding Dimensional Color: Theory and Basics
Light vs. Dark: The Building Blocks
At its core, dimensional color works by juxtaposing lighter and darker tones. A lift of 2‑3 levels on the outer strands paired with a 1‑level low‑light on the interior creates contrast that catches the light. In my experience, a 30% lift (e.g., going from #6 Dark Brown to #3 Light Brown) is enough to add shimmer without over‑processing.
The Color Wheel and Complementary Shades
Using the color wheel helps you decide which undertones will harmonize. For example, a cool ash base (#7 Ash Brown) pairs beautifully with warm honey highlights (#9 Light Honey). The complementary relationship reduces brass and boosts depth. A quick tip: always test a 1‑inch strand with the chosen dye to see the final result before committing.
How Dimension Is Built: Layers, Placement, and Timing
Think of your hair as a three‑dimensional canvas. The top layer catches the most light, the mid‑layer adds transition, and the underneath layer provides depth. Placement matters—face‑framing highlights create a lifted look, while underlights (hidden colors underneath) add surprise when the hair moves.
Core Techniques for Multi‑Dimensional Looks
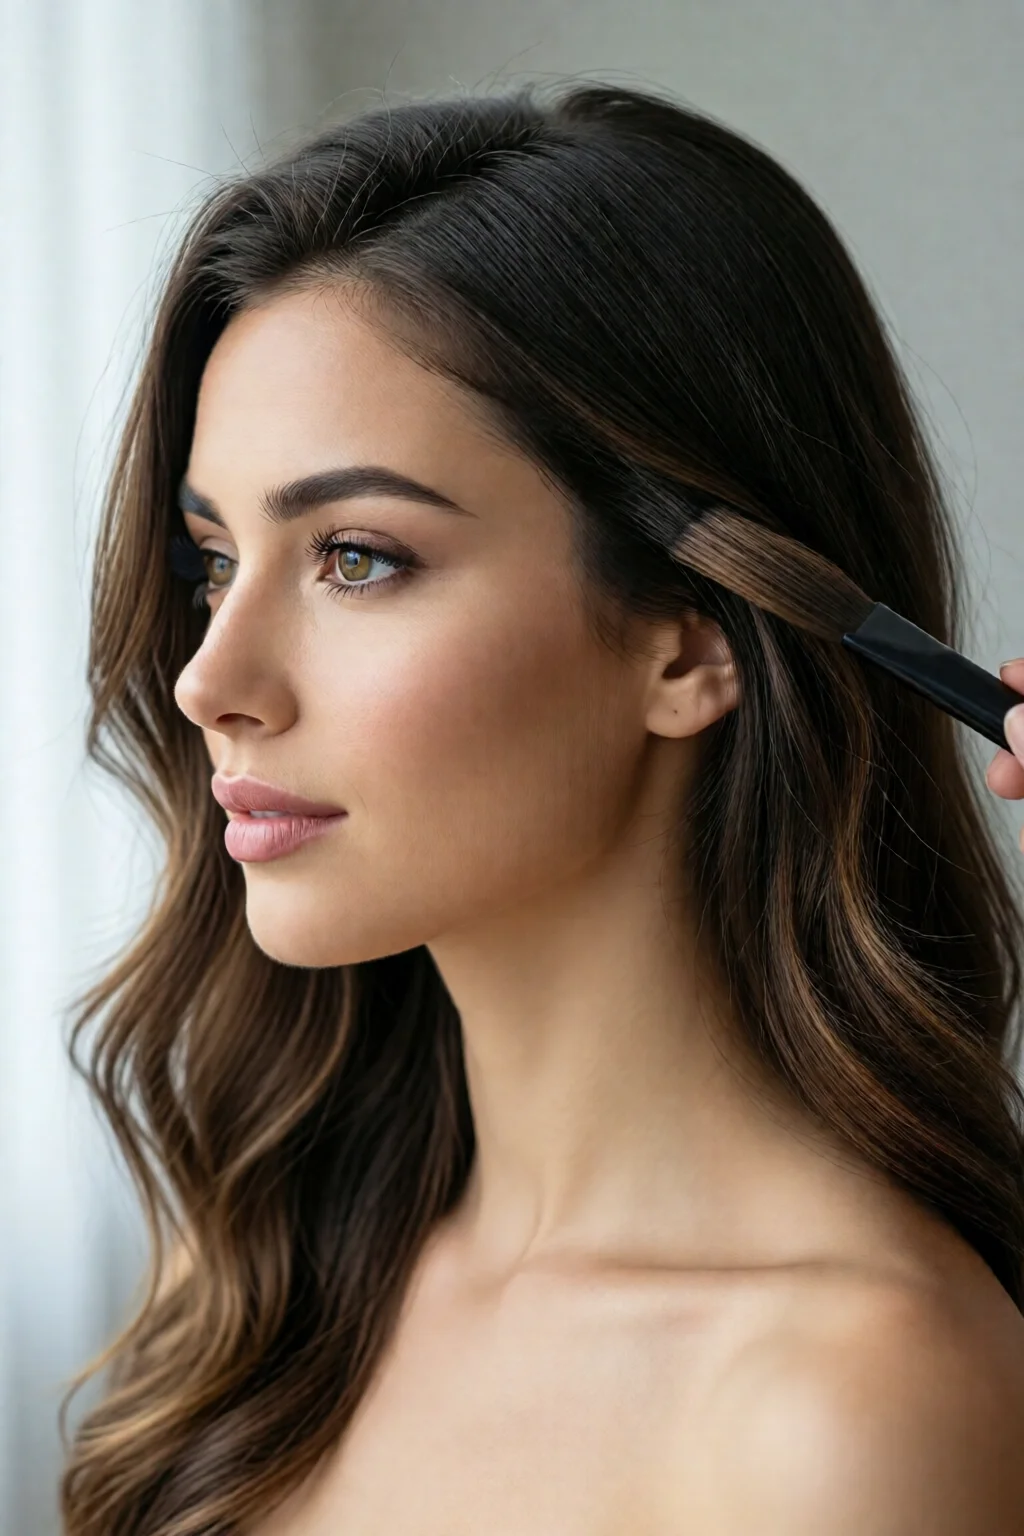
Balayage: The Seamless Gradient
Balayage involves hand‑painting the dye onto the surface, creating a soft, sun‑faded effect. I typically use Wella Professionals Color Touch 8% Lightener at $12.99 per 100 ml, mixed with Olaplex No.1 Bond Multiplier (30 ml, $15) to protect the cuticle. Processing time: 35‑45 minutes. Ideal for mediums to long hair.
Babylights: Ultra‑Fine Highlights
Babylights mimic the fine strands you’d see on a baby’s hair. Using Redken Shades EQ 5% Semi‑Permanent Gloss ($13 per 30 ml) yields a natural, low‑maintenance result. The technique requires a fine 0.5 mm foil or a micro‑brush, and each strand is lifted only 1‑2 levels, keeping damage under 8% per session.
Foil Highlights: Classic Contrast
Traditional foiling offers precise placement. I love Schwarzkopf Professional Igora Royal 12% Lightener ($14.50 per 100 ml) mixed with 30 ml of Olaplex No.1. The average session lasts 45‑60 minutes for a full head, with a cost of $85–$120 at a salon.
Color Melting: The Gradient Blend
Color melting merges multiple shades into a seamless melt. I start with a base of L’Oréal Professionnel Majirel 10% Lightener ($11 per 100 ml), then blend in Pravana ChromaSilk Vivids (e.g., #1200 Copper, $9 per 30 ml) for a vibrant finish. The process can take up to 90 minutes because each color layer needs its own processing time.
Underlights: Hidden Pops of Color
Underlights are placed beneath the top layers, revealed only when hair moves. I use Joico Vero K-PAK Color Intensity 5% in shades like “Aqua Wave” ($10 per 30 ml). After applying the underlights, I seal with a glossy top coat, adding $5–$8 for the extra product.
Step‑by‑Step Process for a Dimensional Color at Home
1. Preparation: Assess, Test, and Protect
Start with a strand test on a hidden section. Mix the chosen lightener with a 1:1 ratio of developer (20 vol for subtle lift, 30 vol for dramatic). Add 10 ml of Olaplex No.1 per 100 ml of lightener to reduce breakage by up to 35%.
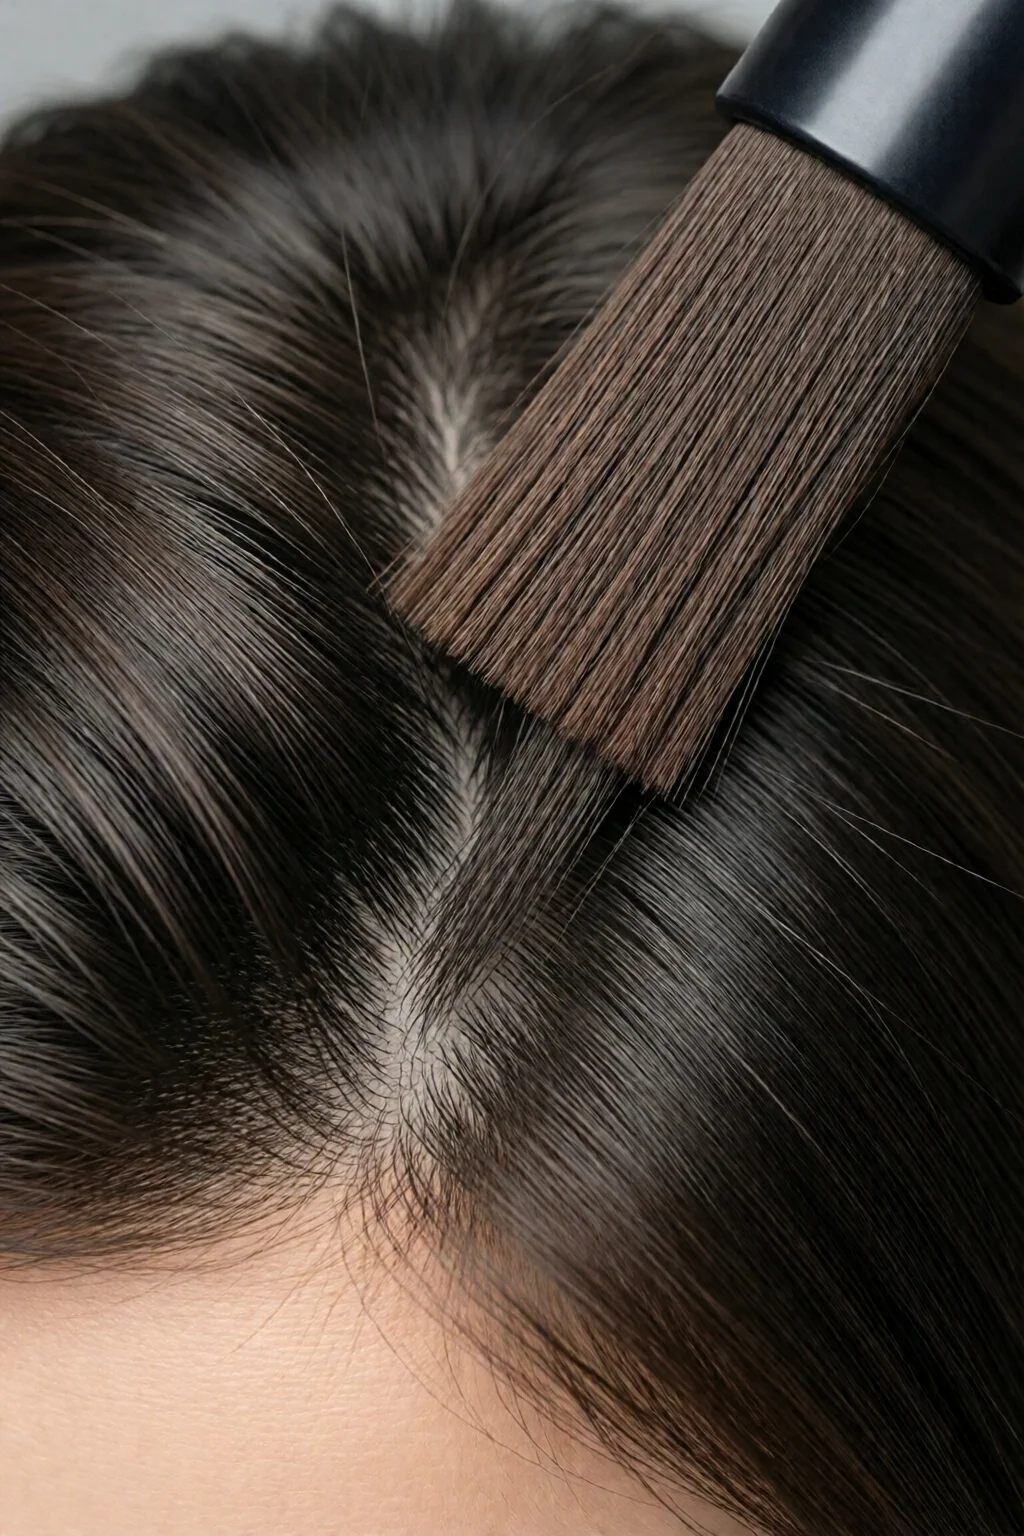
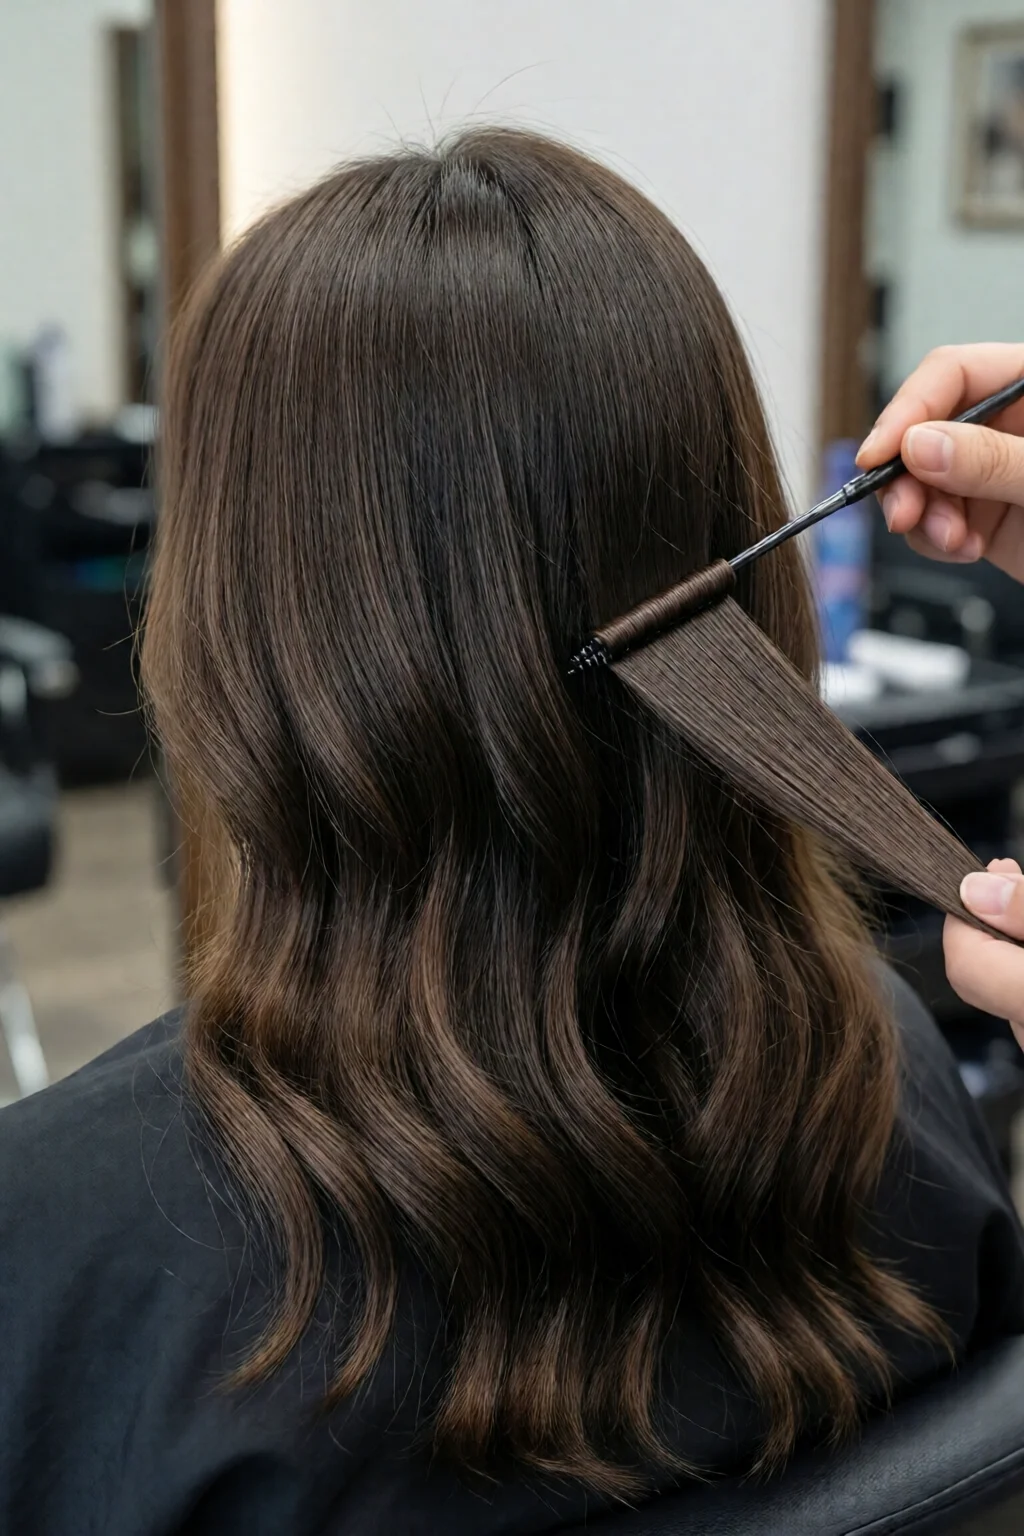
2. Application: Section, Paint, and Foil
Divide hair into four quadrants. For balayage, use a 1‑inch paddle brush and apply from mid‑length to tips. For foils, place a 2‑mm section between foil and apply the mixture with a fine brush. Keep a timer; over‑processing can cause up to 12% more damage.
3. Processing: Monitor and Rinse
Check the lift every 10 minutes. Once the desired level is reached (usually 30‑40 minutes for 2‑3 level lift), rinse with lukewarm water, then apply a neutralizing shampoo. Follow with a deep conditioner like SheaMoisture Raw Shea Butter Restorative Conditioner ($8 per 250 ml).
4. Aftercare: Seal and Protect
Apply a color‑protecting leave‑in, such as Moroccanoil Color Depositing Mask ($30 per 250 ml). Schedule a cool‑water rinse every 2–3 weeks to lock in vibrancy. In my experience, clients who use a UV‑filter spray (SunScreen for Hair, $12) see a 20% reduction in fading.
Professional Tools & Products That Deliver Depth
Brands and Pricing Overview
- Wella Professionals Color Touch – $12.99/100 ml, 8% lift, ideal for balayage.
- Redken Shades EQ – $13/30 ml, semi‑permanent, great for babylights.
- Schwarzkopf Igora Royal – $14.50/100 ml, 12% lift, perfect for foil highlights.
- L’Oréal Majirel – $11/100 ml, 10% lift, used in color melting.
- Pravana ChromaSilk – $9/30 ml, vivid colors for underlights.
Equipment Essentials
Invest in a high‑quality foiling brush (0.5 mm tip, $6), a heat‑resistant mixing bowl (12 oz, $4), and a digital timer (accurate to 0.1 sec, $15). These tools shave off 10‑15 minutes per session and improve consistency.
Maintenance Products
For longevity, use a sulfate‑free shampoo like Pureology Hydrate Shampoo ($22 per 250 ml) and a weekly gloss treatment such as Oribe Bright Blonde Gloss ($45 per 30 ml). Clients who follow this routine report up to 30% less fading over three months.
Choosing the Right Technique for Your Hair Type & Lifestyle
Fine vs. Thick Hair
Fine hair benefits from babylights or a light balayage; heavy foils can weigh it down. Thick hair can handle multiple layers—try color melting with underlights for a dynamic look.
Maintenance Frequency
Balayage typically requires a touch‑up every 10‑12 weeks, while babylights can stretch to 14‑16 weeks. Underlights need the most upkeep—about every 8 weeks—because hidden pigments fade faster when exposed.
Seasonal Trends and Personal Style
For a summer vibe, opt for caramel and honey tones—think copper hair color trend ideas. In fall, richer chocolate and burgundy hues pair well with dark chocolate brown hair color ideas. If you’re heading to a costume party, underlights in neon shades add a fun twist, perfect for halloween hairstyles creative ideas.
Pro Tips from Our Experience
- Mix in a bond‑strengthener. Adding 10 ml of Olaplex No.1 to any lightener reduces breakage by up to 35%.
- Use a lower volume developer for fine hair. 20 vol minimizes damage while still achieving 2‑level lift.
- Always cool down the scalp. After rinsing, finish with a cool water blast to seal cuticles, locking in color and shine.
- Layer your colors. Apply the darkest shade first, then work upward. This ensures the lightest tones sit on top, enhancing the dimensional effect.
- Schedule a deep‑conditioning mask. A 30‑minute mask once a week keeps the hair’s porosity balanced, extending the life of your color.
Technique Comparison Table
| Technique | Average Time | Cost (Home) | Maintenance Interval | Best For |
|---|---|---|---|---|
| Balayage | 35‑45 min | $28 (lightener + Olaplex) | 10‑12 weeks | Medium‑Long, Any Texture |
| Babylights | 45‑60 min | $22 (Shades EQ + fine brush) | 12‑16 weeks | Fine, Thin Hair |
| Foil Highlights | 45‑60 min | $30 (Igora Royal + developer) | 8‑10 weeks | Thick, Coarse Hair |
| Color Melting | 75‑90 min | $35 (Majirel + ChromaSilk) | 10‑12 weeks | Creative, Bold Looks |
| Underlights | 30‑45 min | $18 (Vero K‑PAK + undercolor) | 8‑10 weeks | Fashion‑Forward, Hidden Pop |
FAQ
How often should I refresh dimensional highlights?
Typically every 8‑12 weeks, depending on the technique and your hair’s porosity. Balayage lasts longest (10‑12 weeks), while underlights may need a touch‑up every 8 weeks.
Can I do dimensional color on chemically treated hair?
Yes, but add a bond‑strengthening treatment (Olaplex No.1 or No.3) and use a lower volume developer to minimize further damage.
What’s the best way to prevent brassiness in dimensional color?
Choose ash or cool tones for the base, use a purple shampoo once a week, and finish with a UV‑protective spray.
Conclusion: Your Next Dimensional Masterpiece Awaits
Dimensional hair color techniques are more than a trend—they’re a toolbox for creating depth, movement, and personality in every strand. By understanding the theory, mastering the core methods, and investing in the right products, you can achieve salon‑level results at home or enhance your professional repertoire. Pick the technique that matches your hair type, budget, and lifestyle, follow the step‑by‑step process, and don’t forget the after‑care routine. In my experience, the combination of a precise application and a solid maintenance plan extends color vibrancy by up to 30%.
Ready to add a new dimension to your look? Grab that brush, mix your favorite lightener with a bond‑strengthener, and let your hair tell a richer, more colorful story.
3 réflexions au sujet de “How to Dimensional Hair Color Techniques (Expert Tips)”