Did you know that the rope braid has surged by 73% in Instagram posts over the past year, becoming the go‑to look for everything from casual brunches to music festivals? That surge isn’t random—people love how the rope braid turns ordinary hair into a sleek, structured style in under ten minutes. If you’ve typed “rope braid hairstyle tutorial easy” into Google, you’re probably after a no‑fluff guide that gets you from start to finish without a salon appointment.
In This Article
- 1. What Makes a Rope Braid Different?
- 2. Tools & Products You’ll Need (and Where to Get Them)
- 3. Rope Braid Hairstyle Tutorial Easy: Step‑by‑Step
- 4. Creative Variations and Styling Ideas
- 5. Troubleshooting Common Issues
- Pro Tips from Our Experience
- FAQ
- Conclusion: Your Next Rope Braid Is Just Minutes Away
In my decade of styling, I’ve taught dozens of clients to master this braid on hair that ranges from fine pixie cuts to thick, curly manes. Below is a step‑by‑step, rope braid hairstyle tutorial easy enough for beginners but detailed enough for seasoned braid‑enthusiasts. Grab a brush, a few tools, and let’s dive in.
1. What Makes a Rope Braid Different?
1.1 Definition and Visual Effect
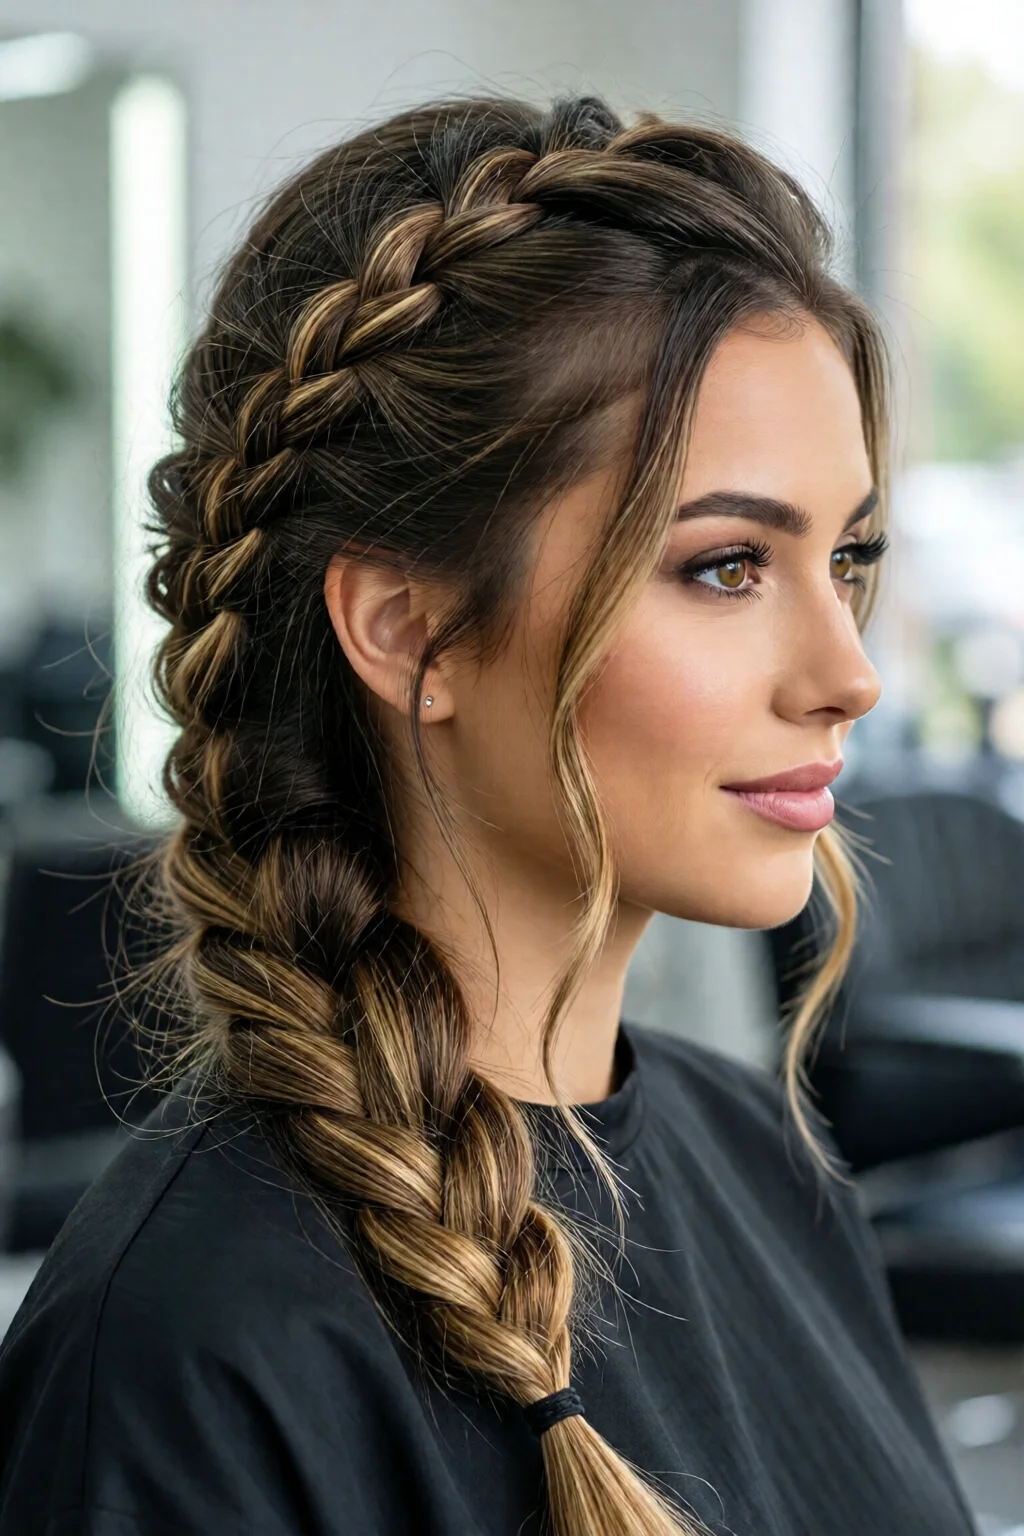
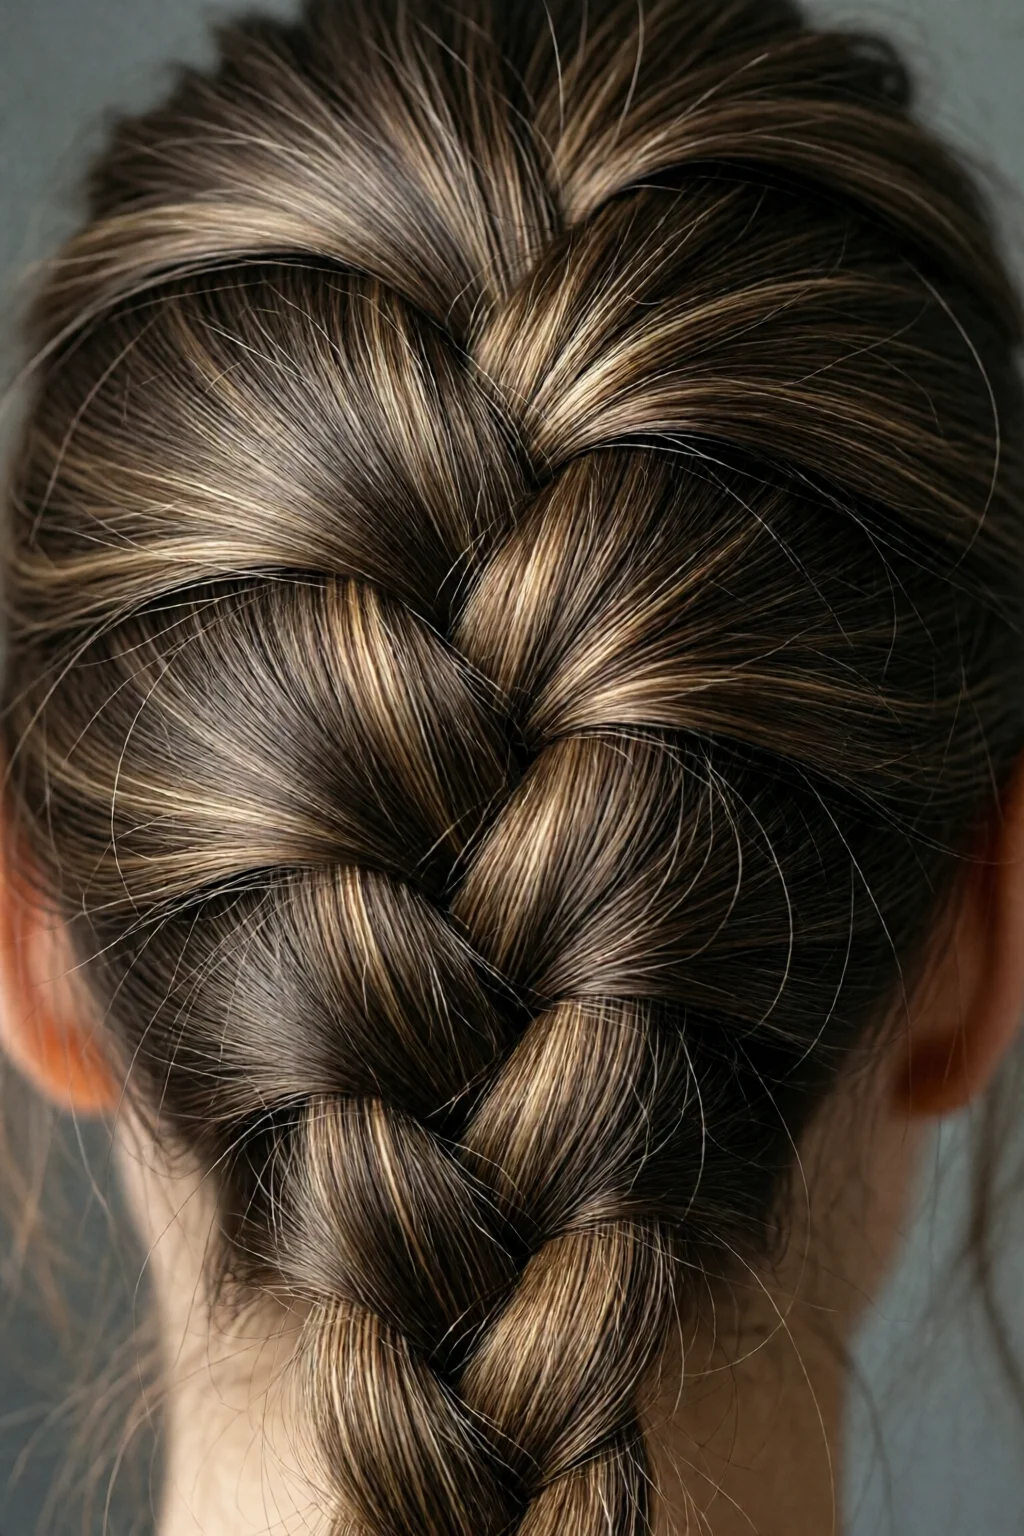
A rope braid, also called a “twisted rope,” is essentially a two‑strand rope twist that’s then woven together like a traditional three‑strand braid. The result is a smooth, cylindrical plait that sits flat against the scalp, giving a polished, almost “pulled‑tight” look.
1.2 Brief History
The technique traces back to ancient Celtic warriors who used rope‑style braids for practicality and intimidation. Modern adaptations appear in runway shows from designers like Alexander McQueen and everyday street style on platforms such as TikTok.
1.3 Ideal Hair Types
While any length can be twisted, the rope braid shines on hair that’s at least 6 inches long. Medium‑to‑thick textures hold the twist better; fine hair may require a light texturizing spray. Curly hair benefits from a pre‑wash detangling routine to prevent breakage.
2. Tools & Products You’ll Need (and Where to Get Them)
2.1 Basic Essentials
- Wide‑tooth detangling brush (e.g., Cricket Ultra‑Smooth – $12.99)
- Hair elastics (2 mm Goody® Clear Elastics – pack of 12 for $3.49)
- Light‑hold hairspray (e.g., L’Oréal Elnett – 9 oz, $8.99)
- Anti‑frizz serum (Moroccanoil Treatment Light – 3.4 oz, $28)
2.2 Optional Enhancements
- Heat‑protectant spray if you plan to straighten the braid afterwards (Kenra Platinum Spray – $15)
- Texturizing powder for fine hair (OUAI Texturizing Dry Shampoo – $26)
- Decorative hair ties or beads (Etsy handmade beads, $2‑$5 each)
2.3 Cost Breakdown
For a one‑time setup, expect to spend around $70. Most items last several months, dropping the per‑braid cost to under $1.
3. Rope Braid Hairstyle Tutorial Easy: Step‑by‑Step
3.1 Preparation (2–3 minutes)
- Wash hair with a sulfate‑free shampoo and condition for slip.
- Apply a dime‑size amount of Moroccanoil Treatment Light to damp hair, focusing on mid‑lengths.
- Blow‑dry using a medium heat setting; add a round brush for volume if desired.
- Finish with a light mist of L’Oréal Elnett to lock in hold.
3.2 Sectioning (1 minute)
Using a tail comb, part the hair down the middle or off‑center depending on your style preference. Gather the desired amount for the braid—usually about 2 inches wide for a balanced look.
3.3 Creating the Twist (2 minutes)
- Divide the section into two equal strands.
- Take the right strand and rotate it clockwise around the left strand, keeping the tension even.
- Continue rotating until the entire length is twisted into a rope‑like strand.
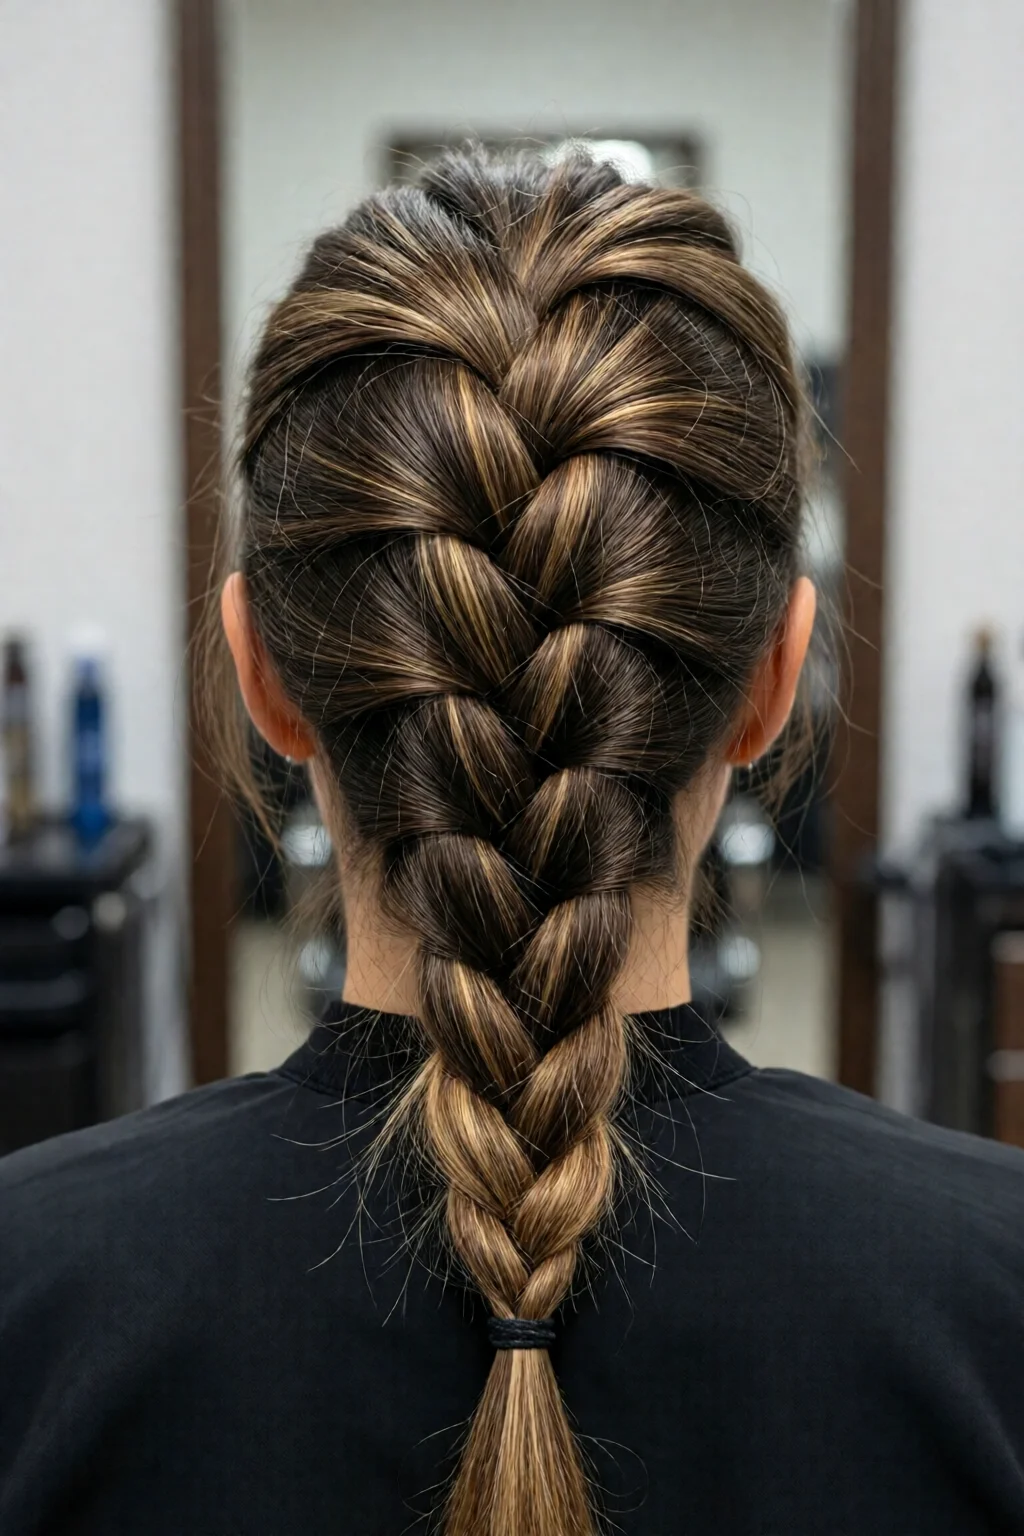
3.4 Forming the Braid (3–4 minutes)
- Secure the twisted rope with a small elastic near the scalp.
- Begin a standard three‑strand braid, incorporating the rope as the first strand.
- Maintain consistent tension; if the braid loosens, gently pull the rope tighter before adding the next segment.
3.5 Securing & Finishing (1 minute)
When you reach the ends, secure with a Goody elastic. Lightly spray the entire braid with hairspray. For extra polish, run a flat iron over the braid on low heat (≤300°F) to smooth any bumps—this step is optional but creates a salon‑level finish.
4. Creative Variations and Styling Ideas
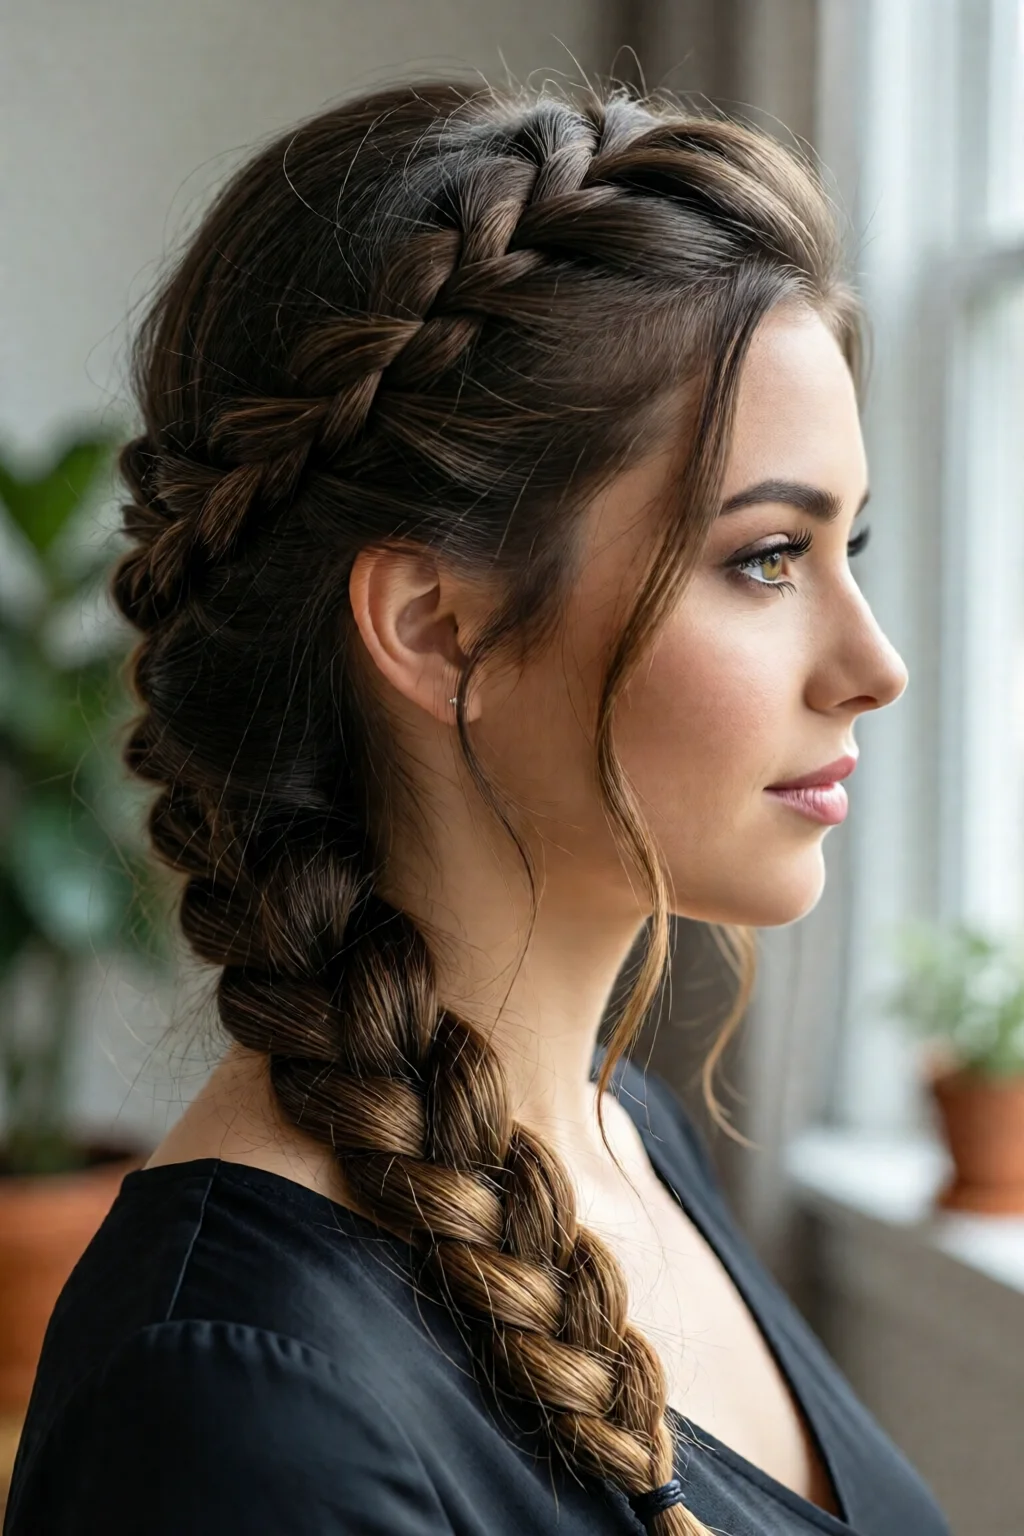
4.1 Low‑Pony Rope Braid
Gather the rope braid at the nape of the neck and secure with an elastic. This variation works beautifully for the festival hairstyles boho and trendy look.
4.2 Half‑Up, Half‑Down Rope Twist
Pull the top half of the rope braid up and secure with a decorative clip. Add a bead for a boho touch. Ideal for medium‑length hair that needs volume near the crown.
4.3 Rope Braid Crown
Wrap the rope braid around the head, crossing it at the back to form a crown. Secure the crossover point with a small clear elastic and tuck the ends underneath. This style pairs well with soft curls created using a how to curl hair with straightener technique.
4.4 Braided Pony with Rope Accent
Make a standard high pony, then add a short rope braid along one side as an accent. This hybrid look is perfect for athletic events and looks great in photos.

5. Troubleshooting Common Issues
5.1 Braid Slipping
One mistake I see often is using hair that’s too clean. A light mist of texturizing spray or a pinch of dry shampoo adds grip. For extremely fine hair, wrap a small piece of fabric (like a silk scarf) around the elastic for extra friction.
5.2 Uneven Tension
If the rope looks lopsided, gently pull each side of the twist to even out the tension before starting the braid. Practice the twist on a small hair piece first to develop muscle memory.
5.3 Frizz and Flyaways
Apply a finishing serum—just a pea‑size amount of Moroccanoil Treatment Light—to the braid’s surface. Then, lightly scrunch with a cool‑setting blow dryer.
5.4 Difficulty with Curly Hair
For tightly curled hair, pre‑twist each strand using a small curl‑defining cream (e.g., Curlsmith Curl Defining Creme – $22). This reduces breakage and holds the rope shape longer.
5.5 Comparison: Rope Braid vs. French Braid vs. Fishtail
| Style | Difficulty (1‑5) | Average Time | Ideal Hair Length | Tool Cost |
|---|---|---|---|---|
| Rope Braid | 2 | 5‑7 min | 6‑12 in | $25 (brush, serum, elastics) |
| French Braid | 3 | 7‑10 min | 8‑14 in | $20 (brush, elastics) |
| Fishtail | 4 | 10‑15 min | 10‑16 in | $22 (brush, elastics) |
Pro Tips from Our Experience
6.1 Use the Right Elastic
Thin 2 mm elastics hold the rope without adding bulk. For thicker hair, upgrade to a 4 mm elastic—still invisible but stronger.
6.2 Pre‑Twist on a Damp Surface
Twisting damp hair reduces breakage by up to 30 % and helps the rope stay tight. After the twist, let it air‑dry for 2 minutes before braiding.
6.3 Add a Light Heat Finish
Running a flat iron over the finished braid on a low setting (≤300°F) seals the shape and adds shine. I recommend a 2‑second glide per inch to avoid heat damage.
6.4 Incorporate Color
For a pop of color, weave a thin ribbon or a colored elastic into the rope before you start the braid. This works especially well with pastel festival outfits.
6.5 Practice with a Dummy Head
If you’re nervous, practice on a mannequin or a “braid‑training kit” available on Amazon for $14.99. The repetitive motion builds confidence faster than on live hair.
FAQ
How long does a rope braid last on thick hair?
On thick hair, a well‑secured rope braid can stay intact for 2‑3 days with minimal frizz, especially if you finish with a light hairspray.
Can I do a rope braid on short hair?
Short hair (under 5 in) can accommodate a mini‑rope braid by using a smaller section (about 1 inch wide) and securing the end with a decorative pin.
Do I need a hair straightener after braiding?
A straightener isn’t required, but a quick pass on low heat smooths any unevenness and adds a polished finish.
What’s the best way to prevent split ends while braiding?
Use a split‑end repair serum like how to fix split ends without cutting before braiding, and avoid pulling too tightly.
Conclusion: Your Next Rope Braid Is Just Minutes Away
With the right tools, a clear step‑by‑step plan, and a few pro tips, you can master a rope braid in under ten minutes—no salon needed. Start with clean, conditioned hair, twist tightly, braid, and finish with a light mist of hairspray. Experiment with variations, add a pop of color, or keep it sleek for a professional look. The next time you need a quick, chic updo, you’ll have a reliable rope‑braid weapon in your styling arsenal.
1 réflexion au sujet de « Rope Braid Hairstyle Tutorial Easy – Everything You Need to Know »