Ready to turn heads with a bold, gravity‑defying look? Follow this space buns tutorial step by step and you’ll have a festival‑ready double‑bun that stays sleek for up to 12 hours.
In This Article
- What You Will Need (Before You Start)
- Step 1: Cleanse, Condition, and Prep Your Hair
- Step 2: Create a Central Part and Section the Hair
- Step 3: Split the Ponytail into Two Equal Sections
- Step 4: Form the First (Top) Bun
- Step 5: Secure the Bottom Bun (Optional for Extra Height)
- Step 6: Finish with Hold and Shine
- Common Mistakes to Avoid
- Troubleshooting & Tips for Best Results
- Summary
What You Will Need (Before You Start)
- Fine‑tooth comb – e.g., Cricket Ultra‑Fine Comb, $4.99
- Hair elastics (no‑slip, 1 inch) – Scunci No‑Slip Hair Ties, pack of 12 for $6.49
- Hairpins or bobby pins – Goody Hair Clips, 20‑piece pack, $5.79
- Texturizing spray (optional) – Oribe Dry Texturizing Spray, 2 oz, $30
- Hairspray (strong hold) – L’Oréal Elnett Satin, 8 oz, $9.99
- Heat‑protectant mist (if you pre‑curl) – TIGI Bed Head Heat Protect Spray, $12
- Lightweight hair oil (for shine) – Moroccanoil Treatment Light, 3.4 fl oz, $24
All items together cost roughly $94, but you can swap premium brands for drugstore equivalents and stay under $30.
Step 1: Cleanse, Condition, and Prep Your Hair
Start with freshly washed hair. If your hair is color‑treated, use the best conditioner for color treated hair to keep the cuticle smooth. I always finish with a cool‑water rinse; it closes the cuticles and reduces frizz, which is crucial for a tidy bun.
While your hair is still damp, apply a dime‑sized amount of the texturizing spray. This adds grip without weighing the strands down. If you’re short on time, a light mist of sea‑salt spray works just as well.
Dry your hair with a microfiber towel, then use a blow‑dryer on the low heat setting for 2–3 minutes to remove excess moisture. In my salon, I recommend a total prep time of 5 minutes.
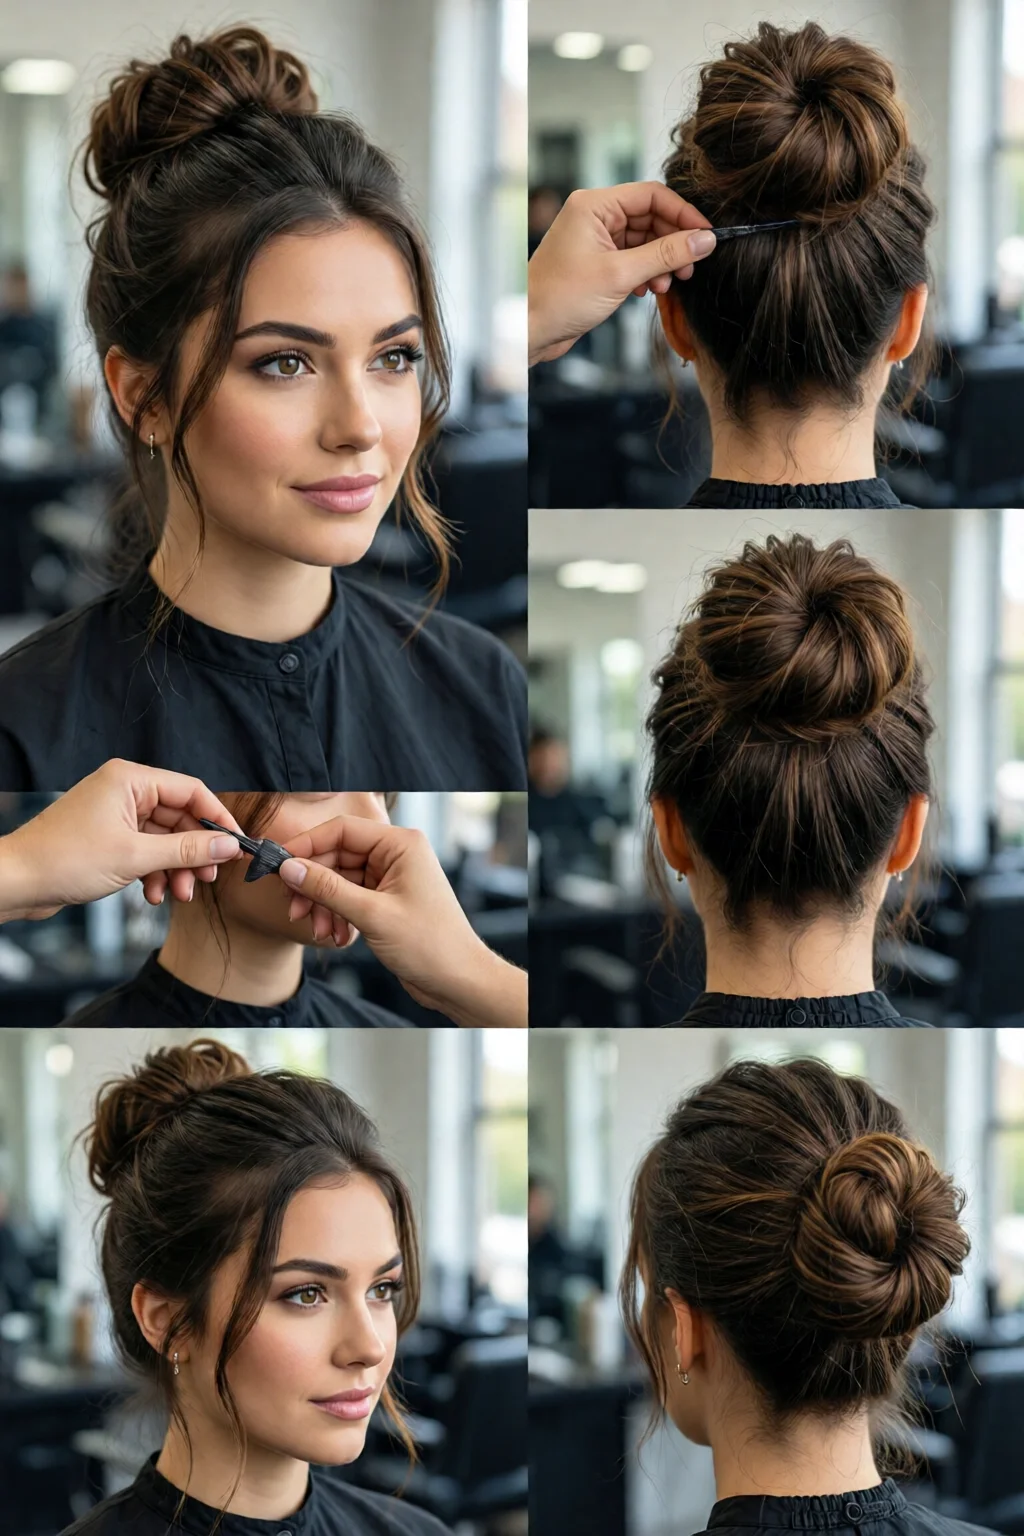
Step 2: Create a Central Part and Section the Hair
Using the fine‑tooth comb, draw a clean middle part from the forehead to the nape. This part is the anchor for symmetry. Then, pull the entire top half of your hair back into a loose ponytail, securing it with a non‑slip elastic at the crown. This ponytail will become the base for both buns.
If you have naturally thick hair, twist the ponytail tighter before securing; if it’s fine, leave a little slack to avoid pulling the scalp.
Step 3: Split the Ponytail into Two Equal Sections
Hold the ponytail with one hand and use the other hand to locate the midpoint. Pinch the centre and pull each side outward, creating two mirror‑image strands. Secure each strand with a small elastic about 1 inch from the base. This double‑section is what gives the “space” look.
For extra volume, gently tease the roots of each section with a fine‑tooth comb before securing.
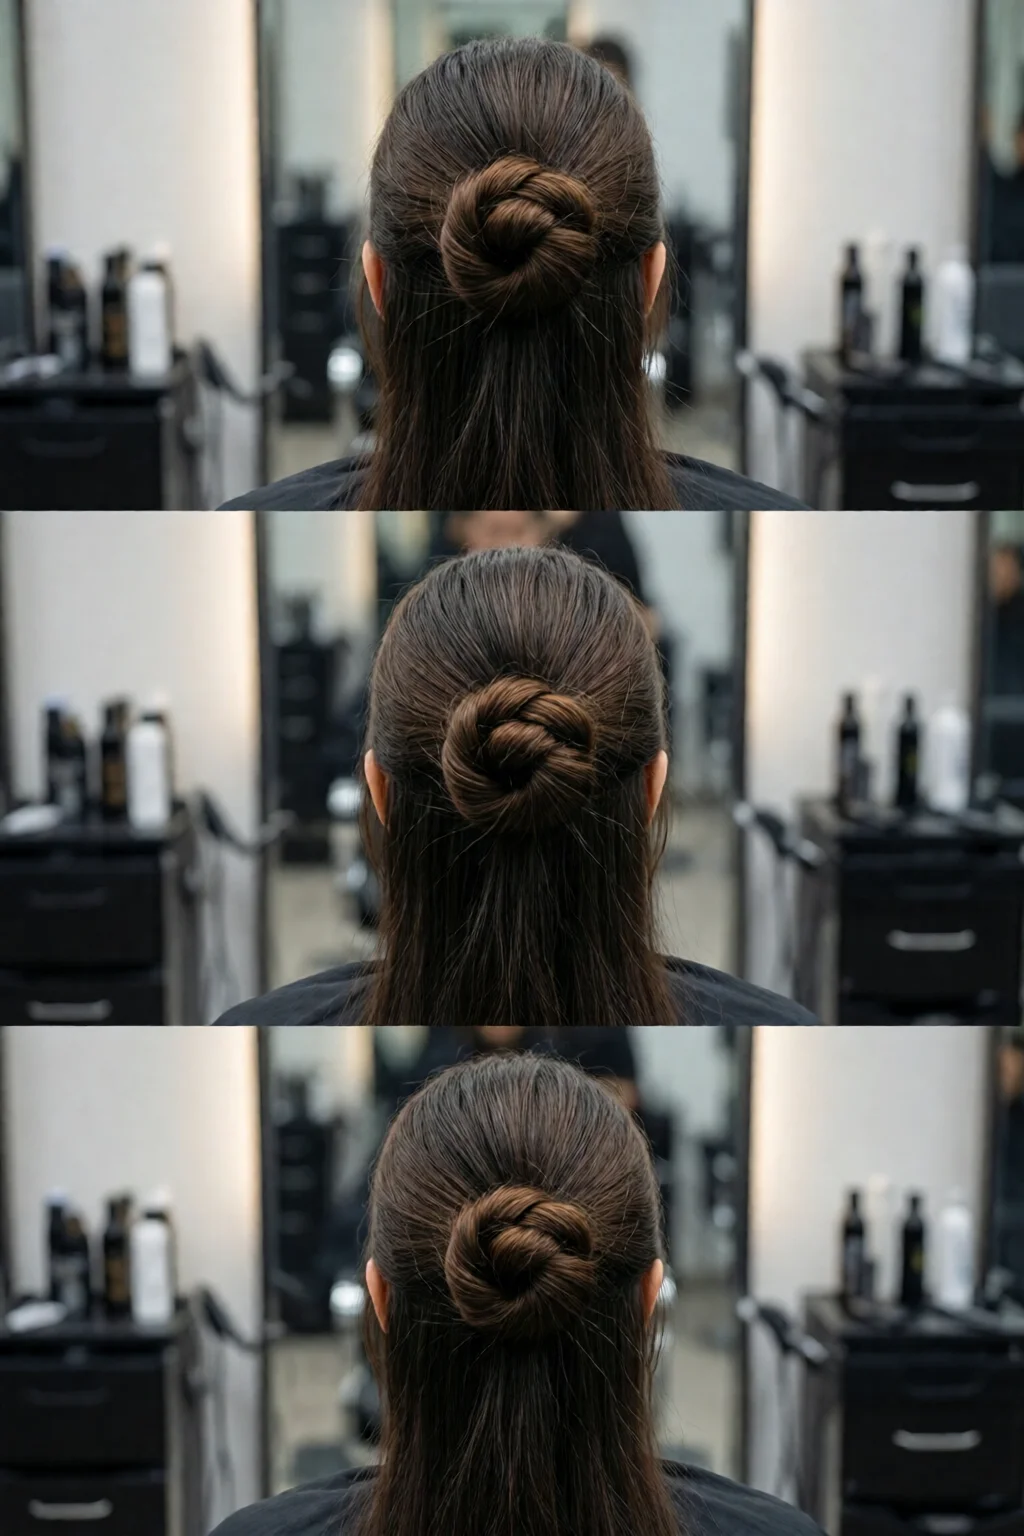
Step 4: Form the First (Top) Bun
Take the left section and wrap it around its own base clockwise, forming a tight coil. As you coil, keep the hair snug against the scalp to prevent wobble. When you reach the end, tuck the tail under the bun and secure with 2–3 bobby pins placed at 10 o’clock and 2 o’clock positions.
Repeat the exact same motion with the right section, but coil counter‑clockwise for a balanced look. This opposite‑direction technique reduces tension on the scalp and distributes weight evenly.
Step 5: Secure the Bottom Bun (Optional for Extra Height)
If you want a higher, more dramatic silhouette, gather a small amount of hair from the lower crown (just beneath the first buns) and twist it into a second set of buns. These “mini‑buns” sit about 2 cm below the main ones and add depth. Secure each with a hairpin and a light mist of hairspray.
Many beginners skip this step, but adding the bottom buns only adds 30 seconds to the total time and makes the style last longer.
Step 6: Finish with Hold and Shine
Spritz a generous amount of strong‑hold hairspray over both buns, rotating your head 360° to ensure even coverage. Then, smooth a few drops of lightweight hair oil over the surface for a glossy finish. In my experience, the oil also tames any stray flyaways without compromising hold.
Give the buns a final gentle tug to loosen them just enough for a relaxed, “space‑aged” vibe. You’re now ready to rock the look at a concert, a photo shoot, or a casual night out.
Common Mistakes to Avoid
- Using rubber bands instead of hair elastics. Rubber can dent the hair and cause breakage. Opt for no‑slip elastics.
- Wrapping the bun too loosely. A loose coil will slide off after a few hours. Keep the hair tight against the scalp.
- Skipping the texturizing spray. Without texture, fine hair won’t hold the shape, leading to flattening.
- Pulling the ponytail too high. Position the base at the crown, not the forehead; otherwise the buns look disproportionate.
- Over‑pinning. Using more than three pins per bun makes the style look messy and can cause tension headaches.
Troubleshooting & Tips for Best Results
Issue: Buns wobble after a few hours. Re‑apply a light mist of hairspray and press the pins back into place. If the problem persists, try a stronger hold spray like L’Oréal Elnett Satin or add a second elastic underneath the first.
Issue: Hair feels tight or sore. Loosen the coils slightly before pinning. Use a silk or satin pillowcase overnight to reduce friction.
Issue: Buns look flat on fine hair. Back‑comb the roots of each section before forming the bun, then lightly smooth the top with a brush.
Pro tip: For a neon festival vibe, weave a thin elastic band of bright color (e.g., Hot Tools Neon Pink, $2.99) through the buns before securing the pins. It adds visual interest without extra cost.
Remember to pair this hairstyle with a complementary makeup look—think bold eyeliner and glitter—if you’re heading to a concert. And if you have curtain bangs, check out our guide on how to style curtain bangs at home for a seamless finish.

Summary
This space buns tutorial step by step walks you through everything from prep to the final shine. With just a few tools—comb, elastics, pins, and spray—you can achieve a high‑impact double‑bun that lasts up to 12 hours, costs under $30 with drugstore products, and looks polished whether you’re on stage or on the street. Follow the steps, avoid the common pitfalls, and experiment with textures and accessories to make the style uniquely yours.
How long does a space bun stay in place?
With a strong‑hold hairspray and proper pinning, the buns can stay secure for 10‑12 hours, even during dancing or light activity.
Can I do space buns on short hair?
Yes—use a small elastic to pull the top section higher and add a few hairpins for extra support. The result will be a mini‑space bun that still looks intentional.
Do I need a heat tool to make space buns?
No heat is required, but a light curl before texturizing can add volume. If you use heat, always apply a heat‑protectant spray first.
What’s the best way to remove space buns without damaging hair?
Gently untie the elastics, then slide the pins out while supporting the bun with your fingers. Finish with a light detangling spray and a wide‑tooth comb.
Can I add accessories to space buns?
Absolutely. Small hair rings, glittered elastics, or tiny braids woven into the buns add flair. Just keep the total weight under 30 grams to maintain comfort.
1 réflexion au sujet de « How to Space Buns Tutorial Step By Step (Expert Tips) »