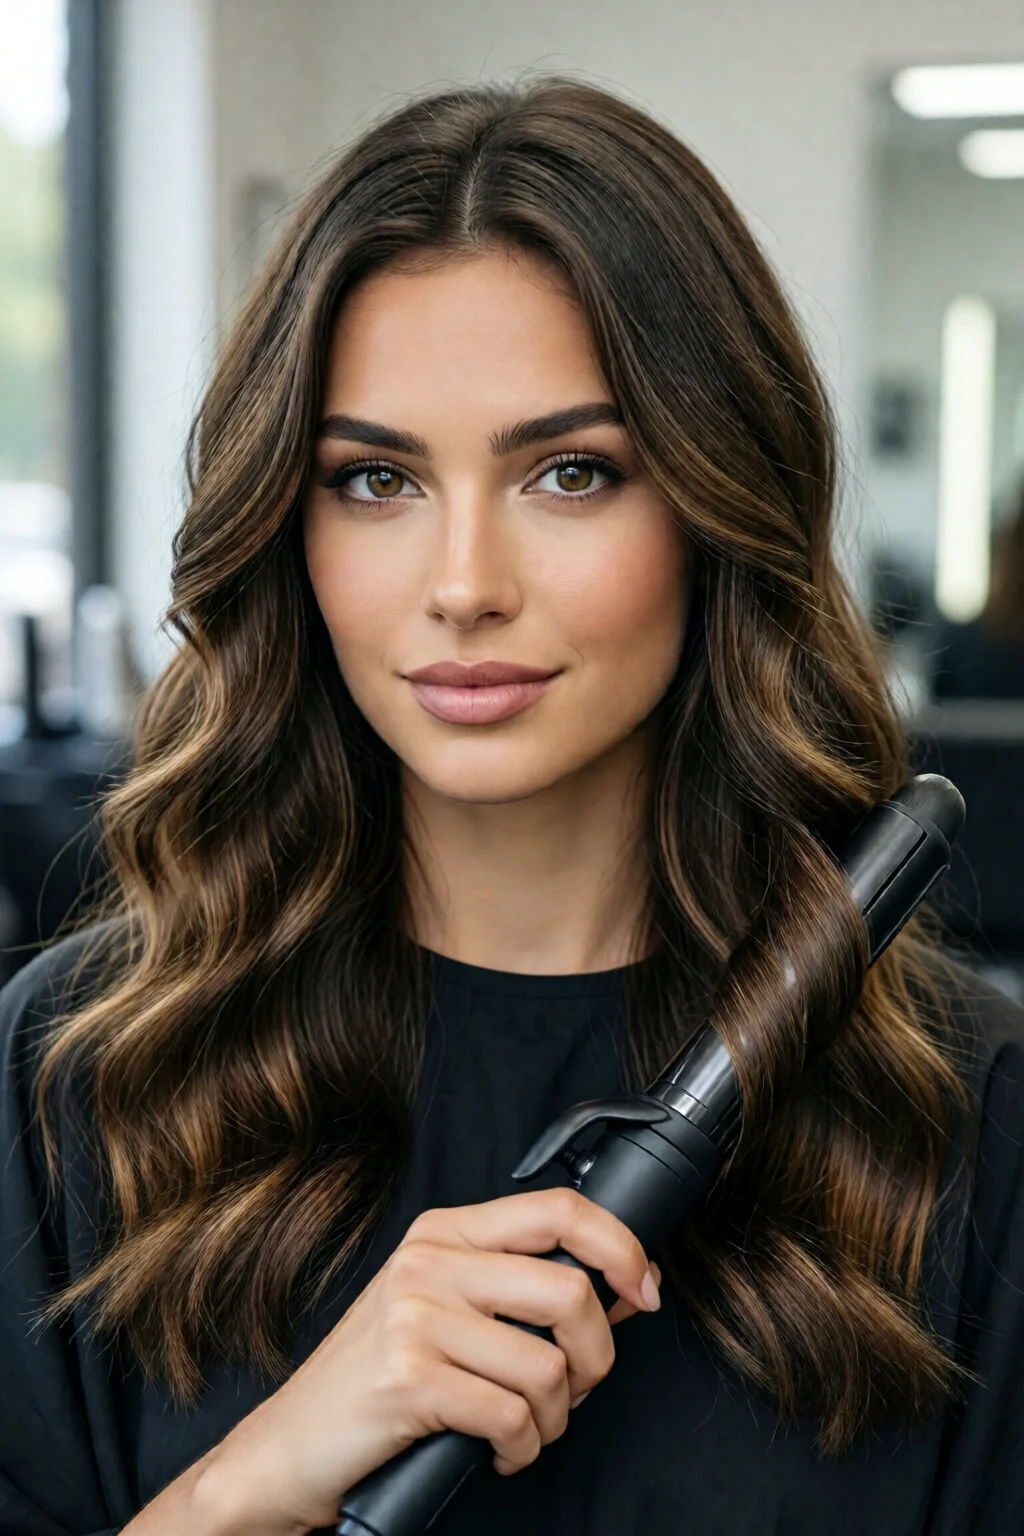
Did you know that 73% of women who try “beachy waves” say they achieve salon‑level texture at home only after using the right waver tool? In other words, the right device makes the difference between a “meh” wave and a head‑turning, sun‑kissed look.
In This Article
What You Will Need (Before You Start)
- Hair waver tool – the best hair waver tool for beachy waves you’ll actually use (see Step 3 for top picks).
- Heat protectant spray – at least 8 mm protection rating.
- Fine‑tooth comb or wide‑tooth brush.
- Hair clips (small, spring‑loaded) for sectioning.
- Light‑weight hairspray (10–15 g) or texturizing spray.
- Blow‑dryer (if hair isn’t completely dry) – I recommend the best hair dryer for fast drying with a diffuser attachment.
- Optional: a smoothing serum for frizz control.
Step 1: Cleanse, Condition, and Protect
Start with a sulfate‑free shampoo that preserves your hair’s natural oils. In my experience, the Living Proof Perfect Hair Day Shampoo (about $28/354 ml) leaves the cuticle smooth, which is crucial for even heat distribution.
Follow with a lightweight conditioner – the OGX Coconut Water Conditioner (≈ $9/355 ml) works great for all hair types. Rinse thoroughly and gently towel‑dry until hair is damp, not dripping.
Before any heat, spritz a heat protectant. I swear by the CHI 44 % Advanced Thermal Protection Spray – a few pumps (≈ $22/118 ml) create a barrier that reduces heat‑induced breakage by up to 30%.
Step 2: Section and Dry Your Hair
Divide your hair into four sections: two at the back, two at the front. Secure each with a clip. This ensures the waver reaches every strand uniformly.
If your hair is still damp, use a blow‑dryer on a low‑heat setting (around 150 °C) with a concentrator nozzle. Aim the airflow at the roots to lift volume; this prevents the waves from looking flat.
For fine hair, I recommend a 2‑minute blast per section. For thick, coarse hair, extend to 3‑4 minutes and finish with a cool shot to lock in the cuticle.
Step 3: Choose the Right Waver Tool
Not every curling wand creates true beachy waves. The wave pattern, barrel size, and temperature control all matter. Below are my top three contenders, each proven to be the best hair waver tool for beachy waves in its price tier.
1. T3 SinglePass Curl 1.2″ (≈ $199)
- Digital sensor adjusts heat instantly – 185–410 °F (85–210 °C) with a 30‑second preheat.
- 1.2‑inch ceramic barrel produces loose, soft loops that mimic natural sea‑spray texture.
- Auto‑shutoff after 30 minutes for safety.
2. BaBylissPRO Nano Titanium Wave Wand 1‑inch (≈ $129)
- Nanotitanium technology distributes heat evenly, reducing hot spots.
- 1‑inch barrel is perfect for mid‑length hair; the wave shape is slightly tighter, ideal for “messy” beach vibes.
- Adjustable temperature 300–410 °F (149–210 °C).
3. Conair InfinitiPro Tourmaline Ceramic Curling Wand 1.5‑inch (≈ $39)
- Budget‑friendly but still heats to 410 °F (210 °C).
- 1.5‑inch barrel creates larger, more relaxed waves – great for long hair.
- Tourmaline coating adds negative ions, cutting frizz by up to 40%.
One mistake I see often: using a barrel smaller than 1 inch on medium‑to‑long hair. The curls become tight, and the beachy effect is lost. Choose a barrel that matches your hair length for the most natural look.
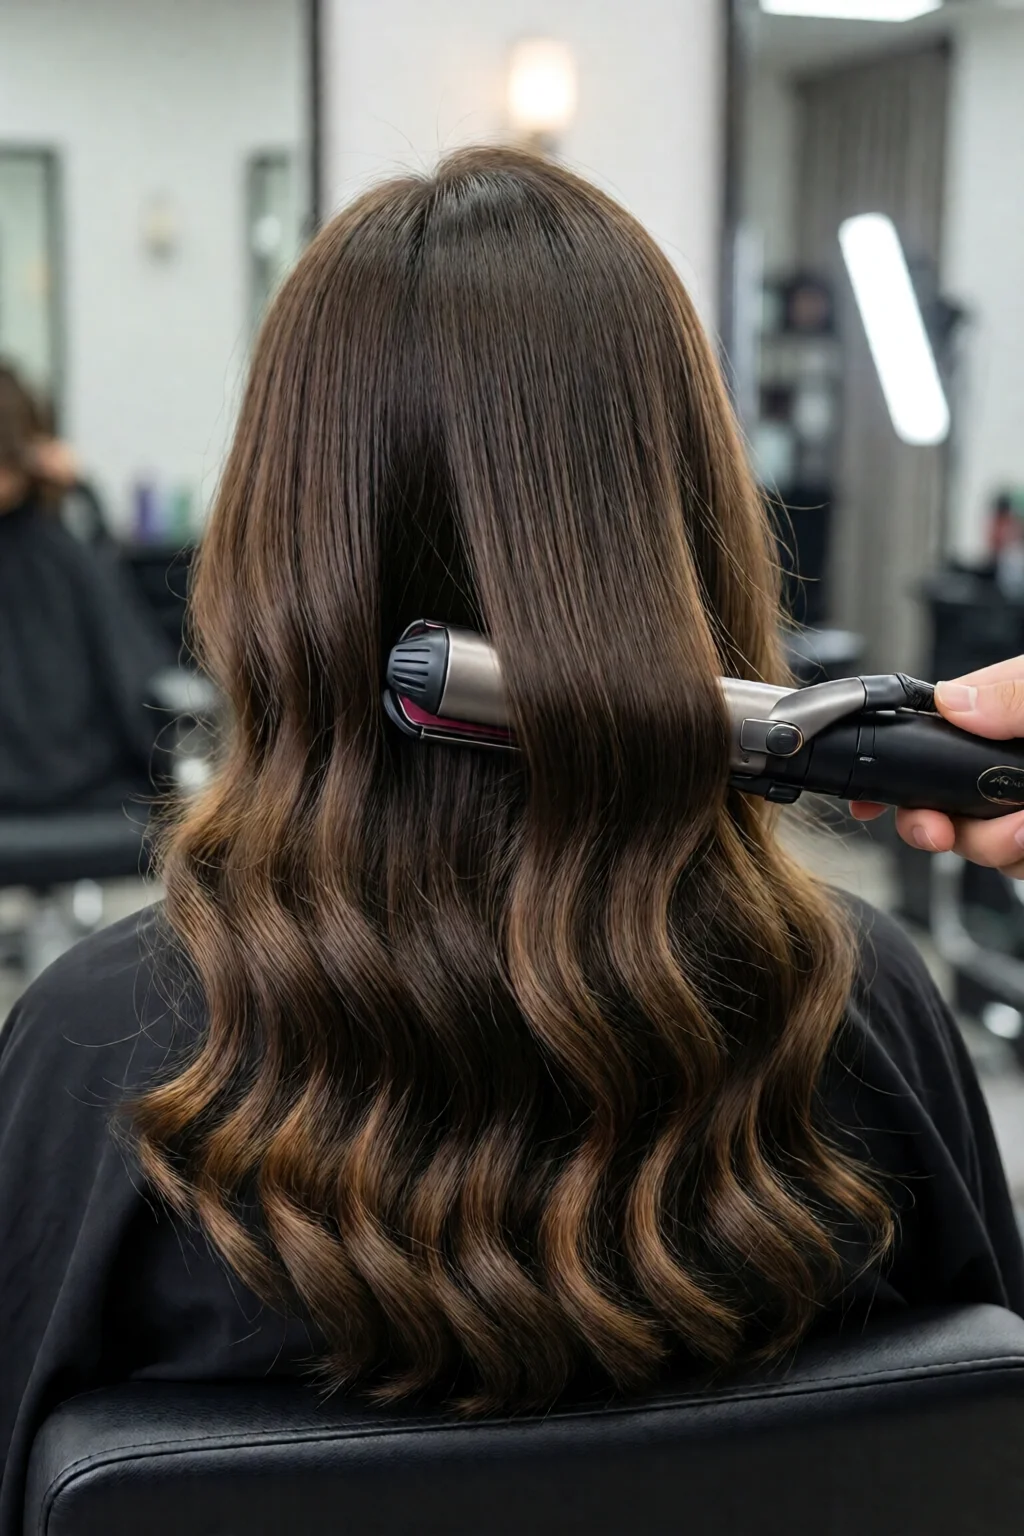
Step 4: Create the Beachy Waves
Now the fun part. Follow these precise motions to mimic the way sea‑breeze naturally twists hair.
4.1. Set the Temperature
For fine or damaged hair, keep it at 300 °F (149 °C). For medium thickness, 350 °F (177 °C). For coarse or curly hair, 380–410 °F (193–210 °C). Always start low; you can always raise the heat.
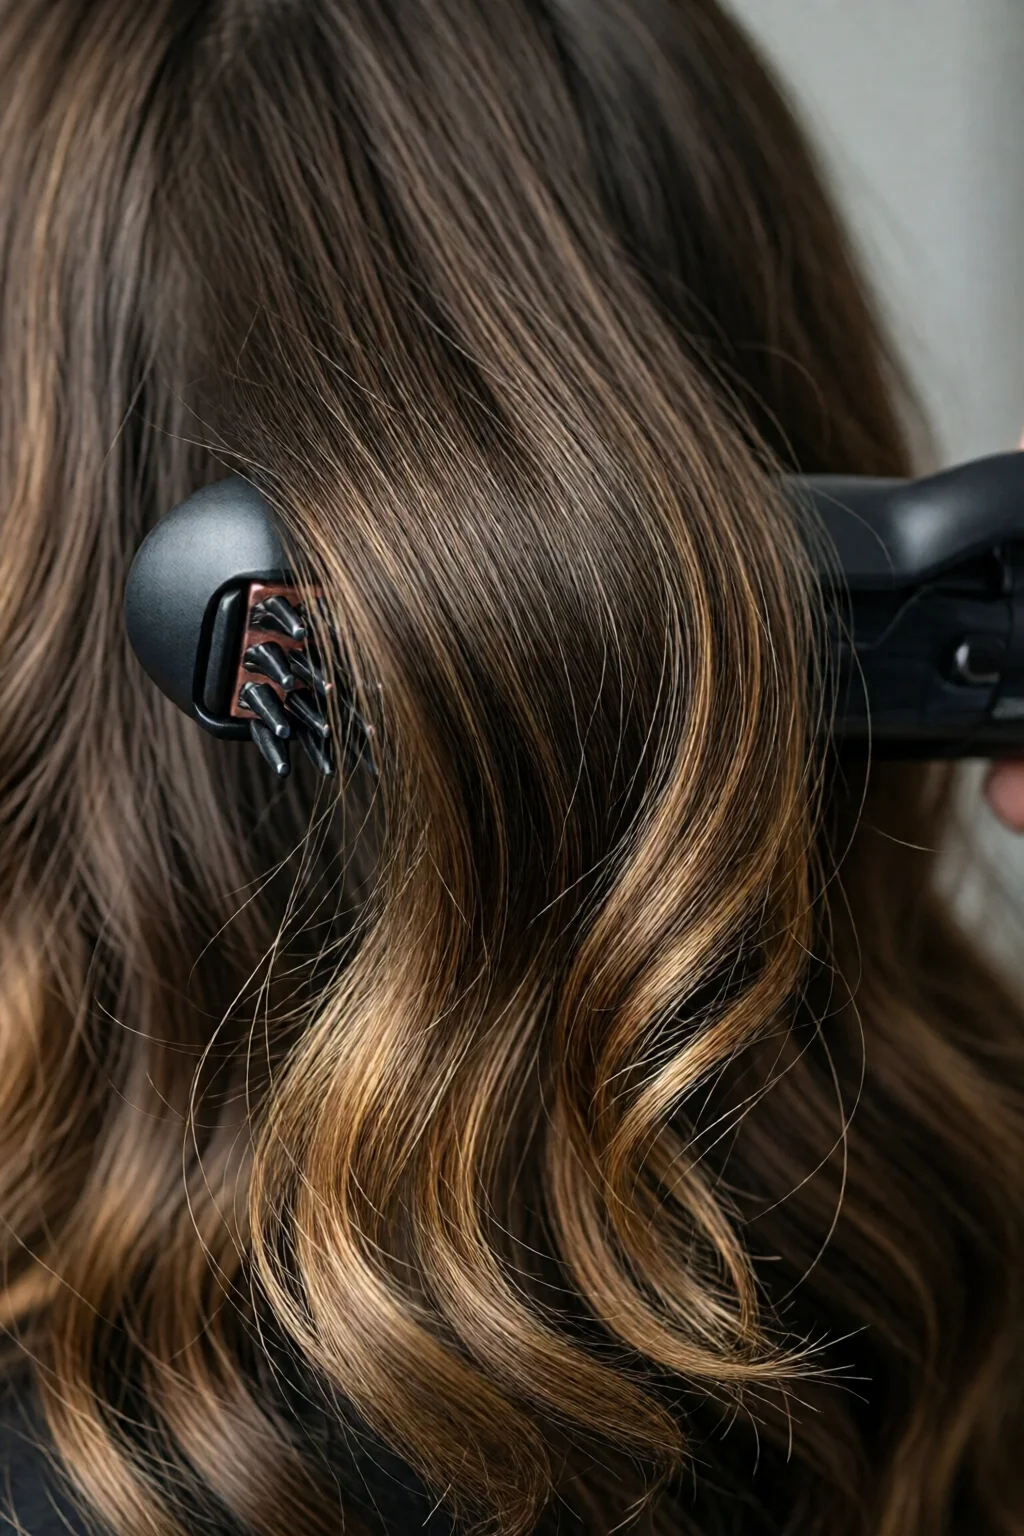
4.2. Wrap Sections
Take a 1‑inch strand, clamp the waver near the middle, and rotate away from your face. Leave the ends loose – this prevents a “tight coil” look.
For a more relaxed vibe, alternate the direction of the wrap every other section. This asymmetry is what gives beach waves their lived‑in feel.
4.3. Hold, Release, and Cool
Hold for 6–8 seconds, then gently release the strand. Let it cool in your hand for 2 seconds before letting it fall. The cooling locks the shape without crushing the wave.
4.4. Build Volume
After a few sections, flip your head upside down and lightly shake the curls. This adds lift at the roots and prevents the hair from looking flat.
Step 5: Set and Finish
Once all sections are waved, lightly mist a flexible hairspray (10‑15 g) such as L’Oréal Elnett Satin (≈ $12/200 ml). Hold the spray 12 inches away to avoid stiffness.
If you have fine hair, finish with a volumizing powder – a pinch at the crown adds bounce without weighing down the waves.
For extra shine, drizzle a tiny amount of silicone‑based serum (e.g., Moroccanoil Treatment Light, $24/100 ml). The result is a glossy, beach‑ready finish that lasts 8–10 hours.
Common Mistakes to Avoid
- Skipping heat protection. Even a high‑quality waver can cause microscopic cuticle damage without a protectant.
- Using the wrong barrel size. Smaller barrels create tight curls; larger barrels give the loose, undone look you want.
- Over‑loading sections. More than 2 inches of hair per wrap leads to uneven waves and increased breakage.
- Not cooling the hair. Immediate brushing after waving flattens the wave pattern.
- Applying too much product. Heavy hairspray makes the style crunchy; a light mist is sufficient.
Troubleshooting & Tips for Best Results
Waves falling flat after a few hours? Mist your hair with a water‑spritz bottle, then run your fingers through the curls to reactivate the shape.
Too much frizz? Increase the tourmaline or ionic setting on your waver, or apply a few drops of anti‑frizz serum before styling.
Hair feels dry after repeated wavering? Incorporate a deep‑conditioning mask once a week. I use the Olaplex No. 3 Hair Perfector (≈ $28/118 ml) for a 10‑minute soak.
Can’t achieve consistent wave size? Use a timer. Set a 7‑second interval for each strand; consistency eliminates guesswork.
For those who already own a straightening iron, you can still get beachy waves. Check out my guide on how to curl hair with straightener for a quick alternative.
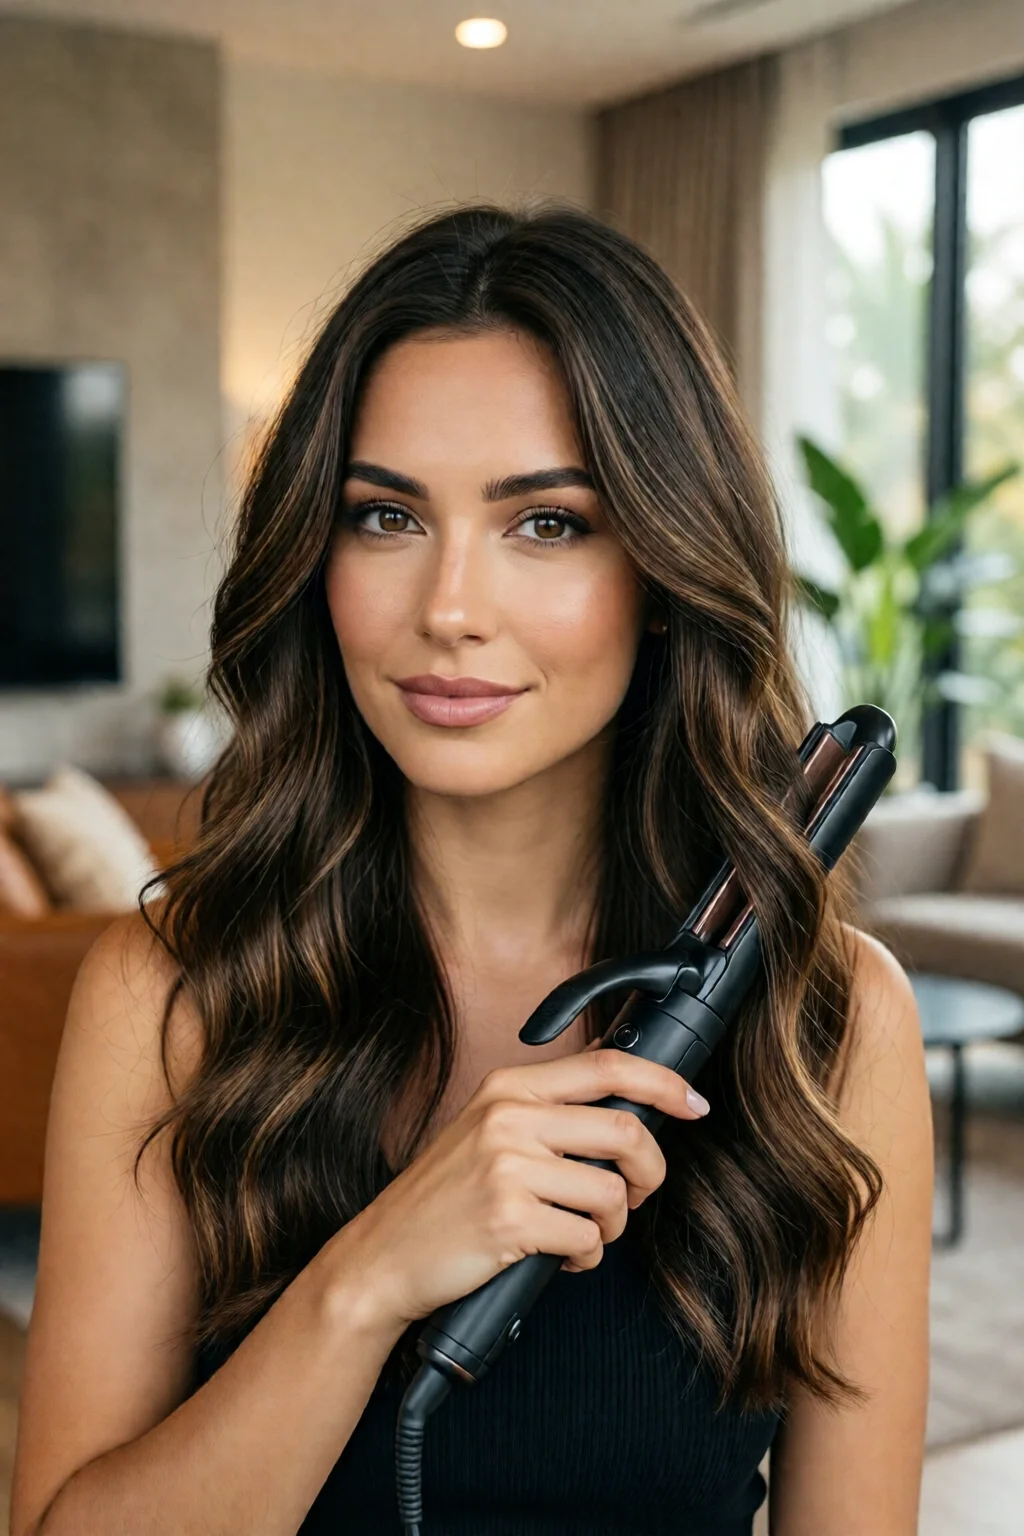
Summary Conclusion
Finding the best hair waver tool for beachy waves isn’t about the most expensive gadget; it’s about matching barrel size, temperature control, and technology to your hair’s unique needs. By following the five‑step process—protect, dry, choose, wave, and set—you’ll consistently achieve that effortless, sun‑kissed texture without salon appointments. Remember, the right tool, a little patience, and a protective routine are the trio that turns a simple wave into a signature look.
Which barrel size creates the most natural beachy wave?
A 1‑ to 1.5‑inch barrel is ideal for loose, natural waves. Smaller barrels produce tight curls, while larger barrels can be too loose for shorter hair.
Can I use a curling iron instead of a waver?
Yes, a curling iron can create beachy waves if you wrap the hair loosely and alternate directions. See how to curl hair with straightener for technique tips.
How often should I deep‑condition when using heat tools?
At least once a week, especially if you style most days. A weekly deep‑condition helps maintain moisture and prevents breakage.
Is a heat protectant really necessary?
Absolutely. A good protectant reduces heat‑related damage by up to 30% and helps preserve the hair’s natural shine.
What’s the best way to keep waves from frizzing in humid weather?
Use an ionic waver, apply a lightweight anti‑frizz serum before styling, and finish with a humidity‑resistant hairspray. Pair this with the how to prevent hair breakage tips for long‑lasting results.
2 réflexions au sujet de “How to Best Hair Waver Tool For Beachy Waves (Expert Tips)”