Master the art of a sleek fishtail braid in under five minutes—no fancy tools required.
In This Article
- What You Will Need (or Before You Start)
- Step 1 – Prep the Base
- Step 2 – Split the Ponytail
- Step 3 – Begin the Fishtail Motion
- Step 4 – Maintain Even Tension
- Step 5 – Secure the End
- Common Mistakes to Avoid
- Troubleshooting & Tips for Best Results
- Summary – Your New Go‑To Braid
- Frequently Asked Questions
What You Will Need (or Before You Start)
Gather these items before you begin. Having everything at hand prevents interruptions and keeps the braid tight:
- Comb or wide‑tooth brush – I swear by the Wet Brush Original Detangler ($12.99, 7‑inch).
- 2‑inch elastic hair band – a pack of 12 from Scunci costs $4.79.
- Light‑hold hairspray (10‑12% alcohol) – L’Oréal Elnett Satin spray is $9.50 per 9 oz.
- Optional: a smoothing serum (e.g., Moroccanoil Treatment, $44, 3.4 oz) for frizz‑free finish.
Make sure hair is clean, slightly damp, or brushed out after a quick blow‑dry with the best hair dryer for fast drying. A 1‑minute blast on the cool setting sets the cuticle and reduces slip.
Step 1 – Prep the Base
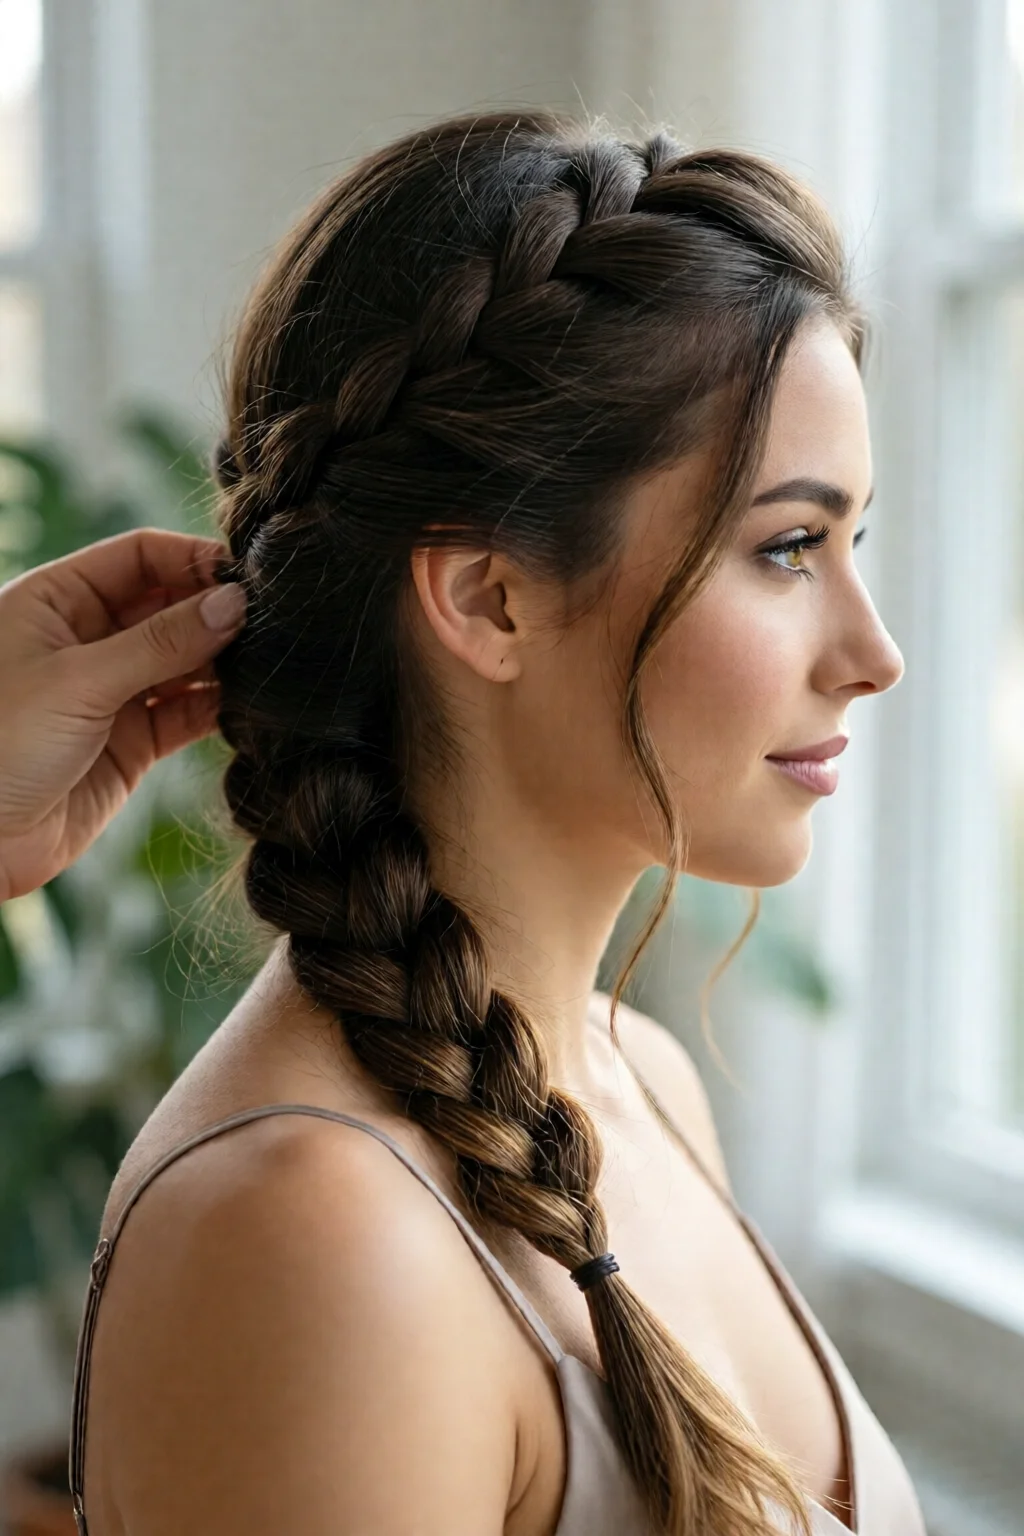
Part your hair down the middle or to one side, depending on the look you want. For a classic symmetrical fishtail, use a center part. I use a fine-tooth comb to create a clean line, then pull the hair into a loose ponytail at the crown. The ponytail should be about 2 inches above the nape; this height gives enough length for the braid to develop without looking bulky.
Step 2 – Split the Ponytail
Divide the ponytail into two equal sections. Hold the left section with your left hand and the right with your right. If the hair feels too thick, gently tease the base with a comb to create a smoother surface. This step is crucial because uneven tension later will cause the braid to unravel.
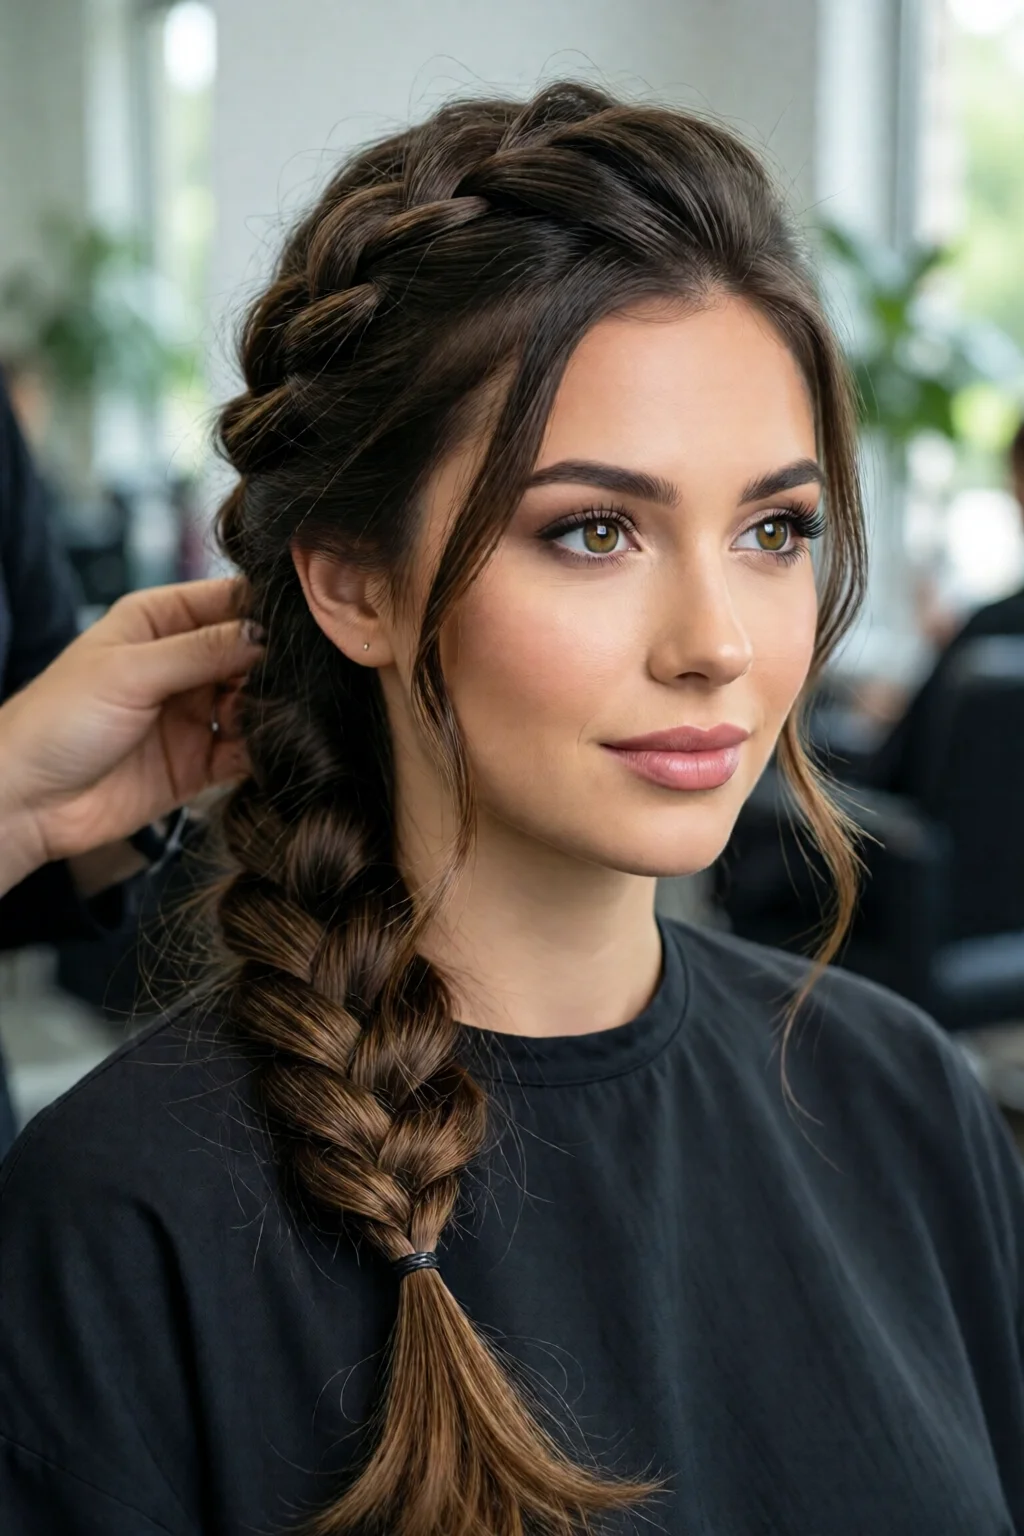
Step 3 – Begin the Fishtail Motion
Take a small strand (about ½ inch wide) from the outer edge of the left section and cross it over to the right section, adding it to the right side. Then, take a similarly sized strand from the outer edge of the right section and cross it over to the left. This alternating “over‑and‑over” pattern mimics the scales of a fish—hence the name.
Repeat the crossing motion without pulling too hard. In my salon, I count “one‑two‑three” for each cross; after 10 repetitions, the braid starts to form a distinct “V” shape.
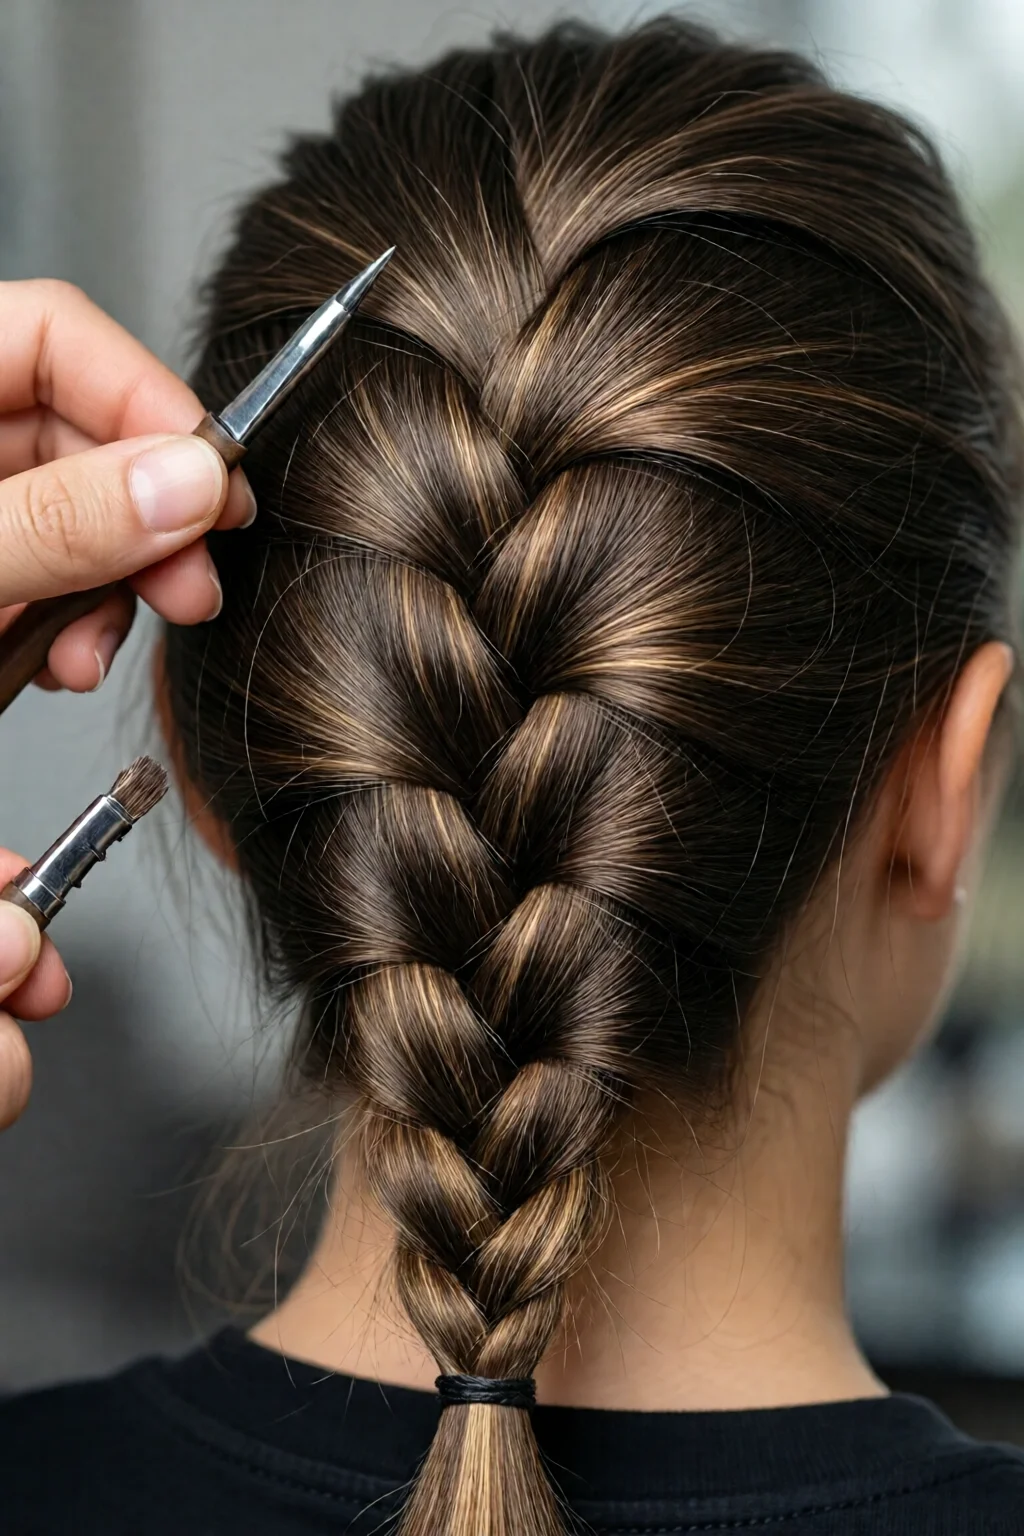
Step 4 – Maintain Even Tension
As you continue, keep the strands taut but not strained. Use a light grip—think of holding a garden hose, not a rope. I recommend checking the braid every 15 seconds: if one side is looser, gently pull it closer to the center. Consistent tension ensures the fishtail stays flat against the scalp and looks professional.
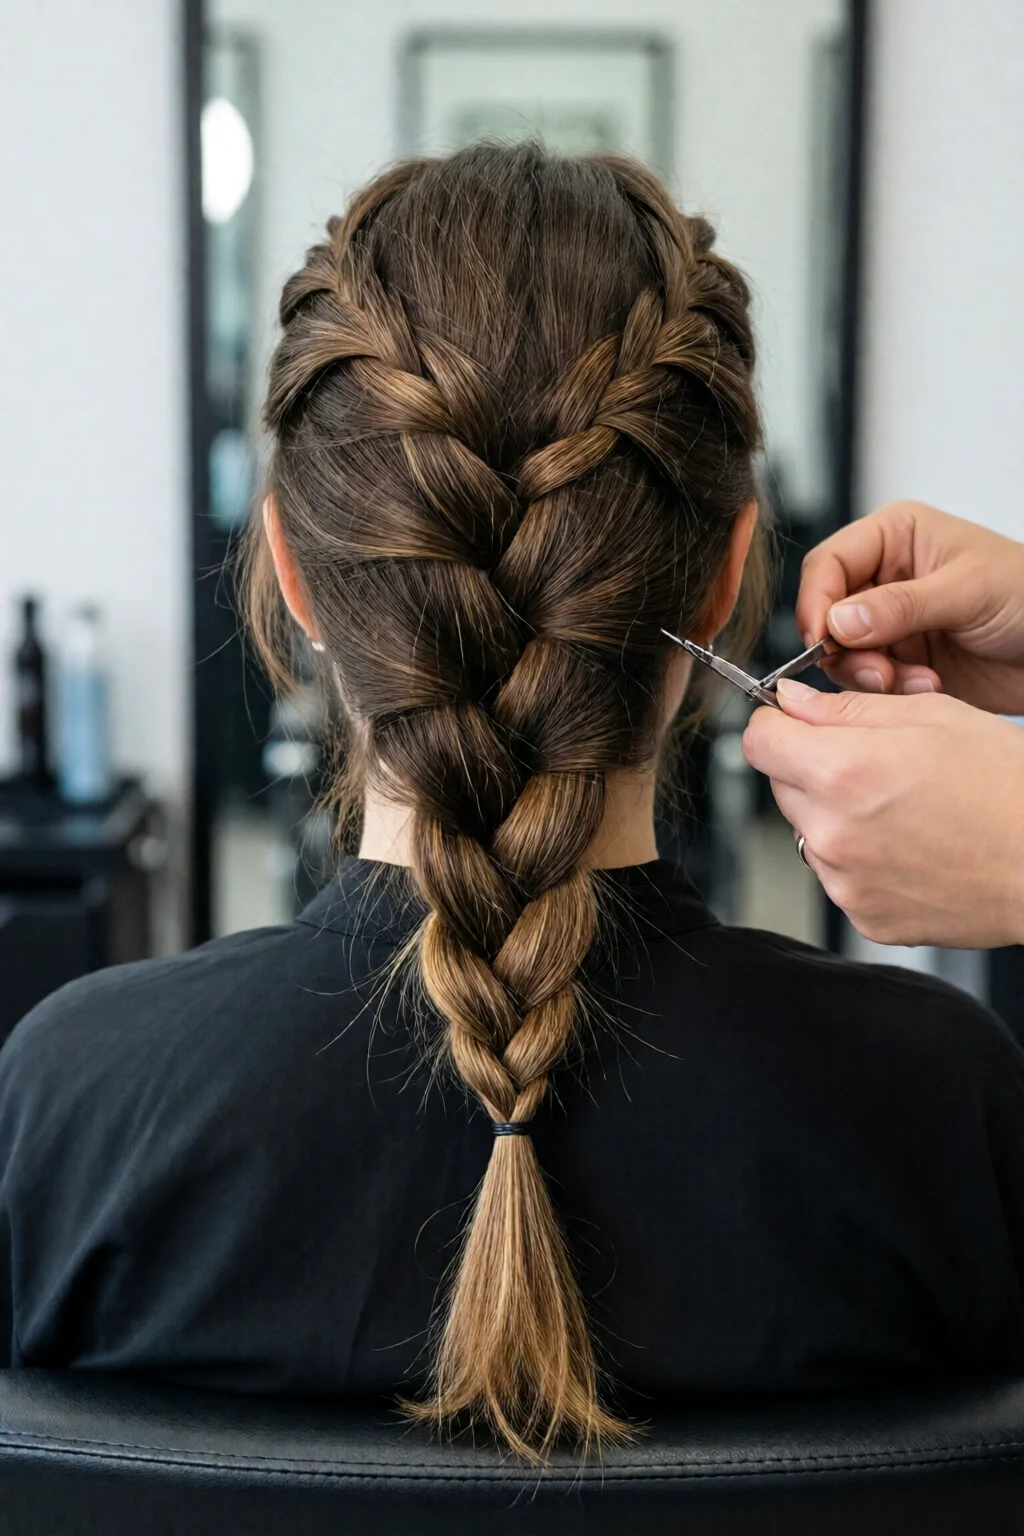
Step 5 – Secure the End
When you reach the end of the hair (usually after 18‑22 crosses for shoulder‑length hair), gather the remaining strands into a low ponytail and secure with the 2‑inch elastic. For extra hold, wrap a thin elastic around the base of the braid and hide it with a few stray pieces.
Finish with a mist of hairspray—about 2‑3 sprays from a 10‑inch distance. This locks the braid without making it crunchy.
Common Mistakes to Avoid
- Using too much product before braiding. Heavy mousse or gel adds weight, causing the fishtail to sag. Apply only a pea‑sized amount of smoothing serum if your hair is frizzy.
- Grabbing large sections. The fishtail works best with narrow strands (¼‑½ inch). Larger pieces create a “rope braid” look.
- Pulling the braid too tight. Excessive tension leads to scalp discomfort and breakage. Aim for a gentle pull that keeps the braid snug but comfortable.
- Skipping the tension check. Uneven sides make the braid look lopsided. Pause every few crosses to readjust.
- Not using a proper elastic. Thin rubber bands snap; wide fabric elastics slip. The Scunci 2‑inch elastic is both sturdy and discreet.
Troubleshooting & Tips for Best Results
Hair is too fine or slippery? Lightly mist the strands with water (about 5 ml) before you start. The moisture adds friction, making the crossing motion smoother.
Hair is thick and coarse? Apply a small amount of Paul Mitchell Super Skinny Serum ($22, 3 oz) to the base. It reduces bulk and helps the braid lay flat.
Want a boho‑wave finish? After securing the braid, gently pull on the outer edges of the sides for a “lazy” look. This adds volume without compromising the fishtail structure.
Need a quick fix for a bad day? Use a hair tie to create a “half‑up fishtail.” Secure only the top half of the hair, leaving the rest down; the technique is identical but takes half the time.
For extra style inspiration, check out our claw clip hairstyles ideas and tutorials or learn how to do beach waves with flat iron for a complementary look.
Summary – Your New Go‑To Braid
By following these five steps, you can answer the search query how to do a fishtail braid easy in under five minutes, using tools you already own. The key takeaways are: keep strands narrow, maintain even tension, and secure with a reliable elastic. With practice, you’ll braid faster than you can say “fishtail.”
Remember, a great braid isn’t just about technique—it’s also about preparation. The right products, the right amount of moisture, and a calm mindset make the difference between a salon‑level finish and a frantic knot.

Frequently Asked Questions
Can I do a fishtail braid on wet hair?
Yes, but limit moisture to 30% of the hair’s total weight. Lightly misting the strands (about 5 ml) provides enough grip without causing the braid to slip.
How long does a fishtail braid last?
With a light hairspray and a quality elastic, the braid holds for 6‑8 hours on average. For longer wear, use a humidity‑resistant spray like Oribe Superfine ($38, 3 oz).
Is the fishtail braid suitable for short hair?
Short hair (above the chin) can still achieve a mini‑fishtail. Use a 1‑inch elastic and reduce the number of crosses to 8‑10 for a tidy look.
What’s the difference between a fishtail and a rope braid?
A rope braid uses two thick sections twisted together, while a fishtail uses narrow strands crossed over alternately, creating a “scale” pattern.