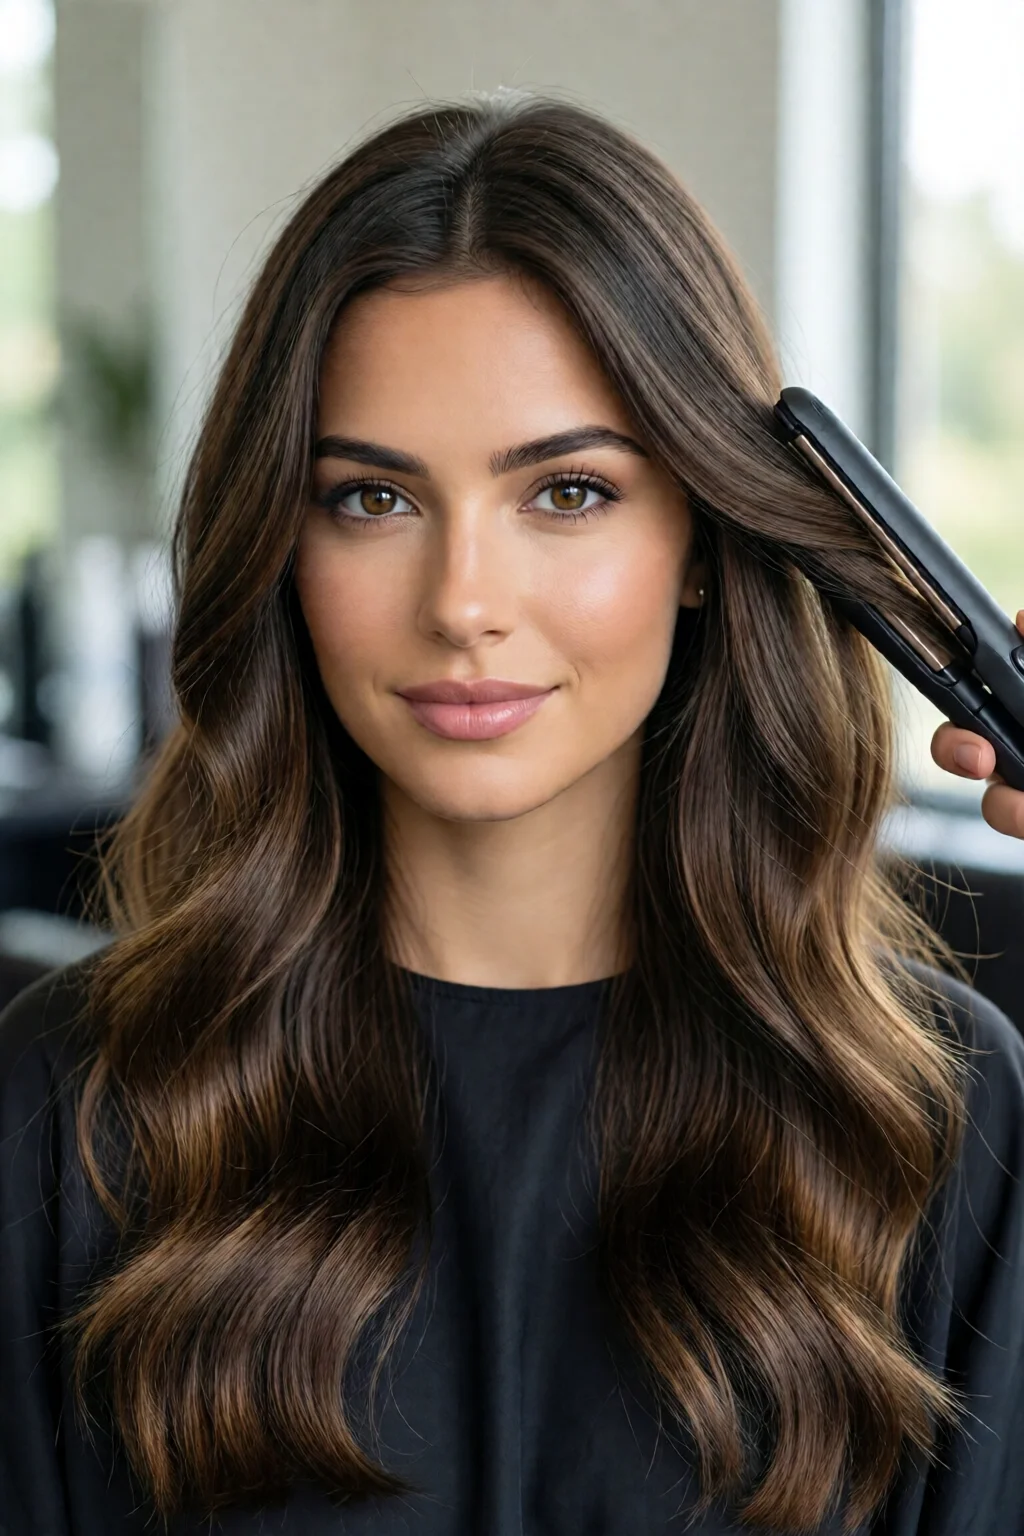
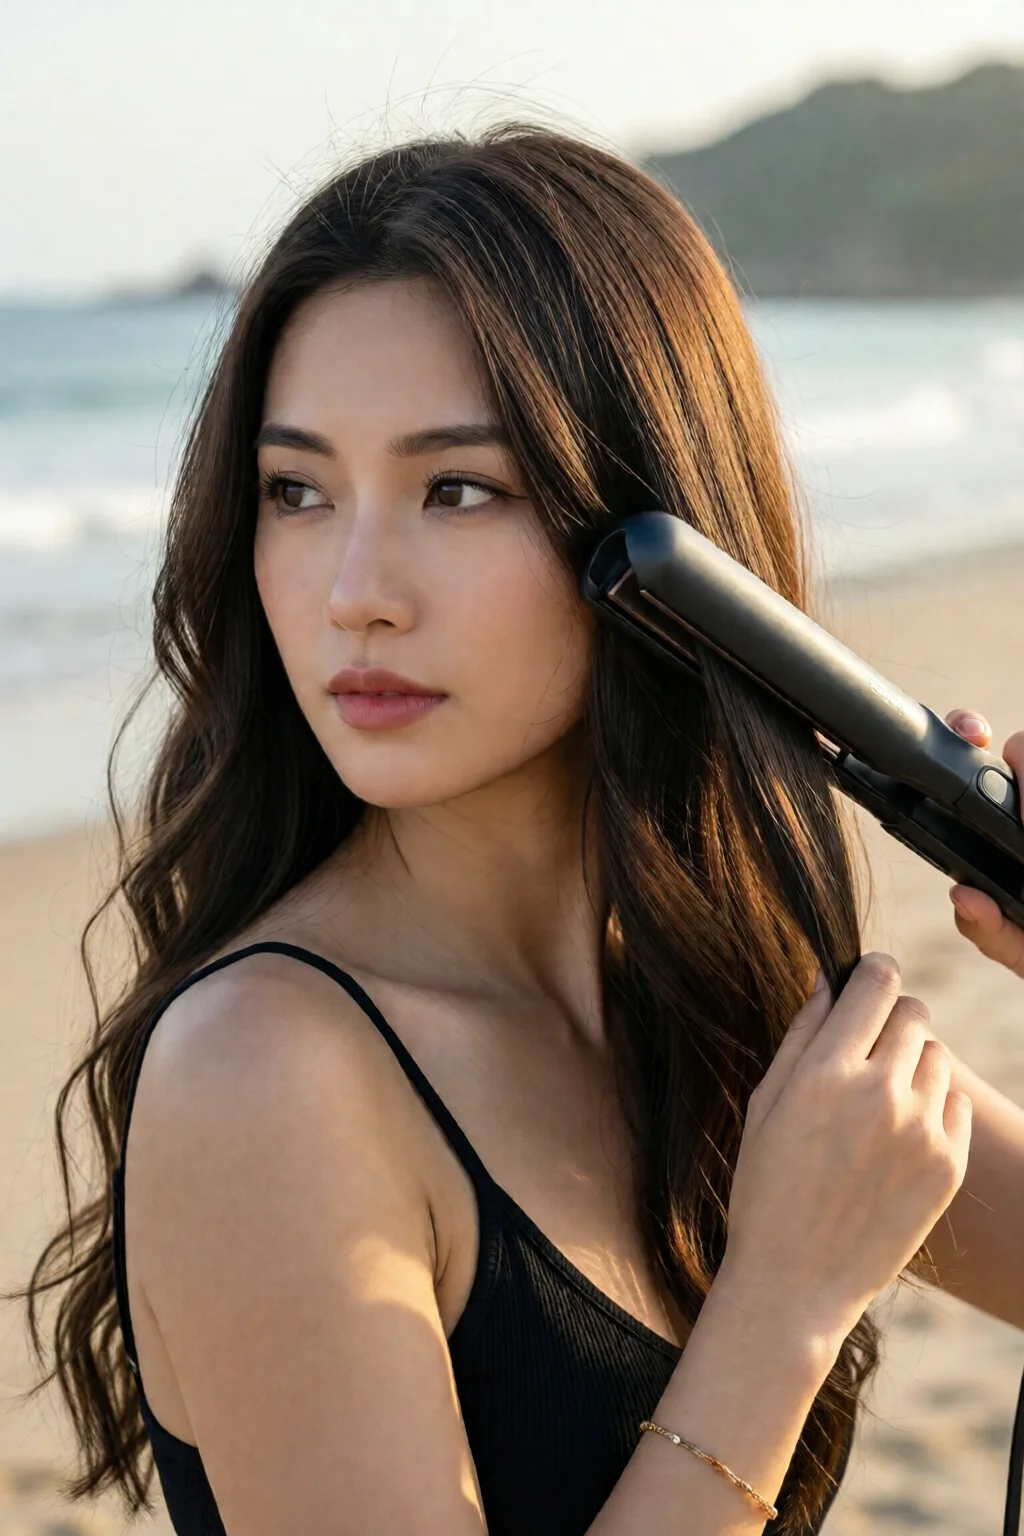
Ready to turn your straight‑iron routine into a sun‑kissed beach‑wave masterpiece? In the next few minutes you’ll learn exactly how to do beach waves with flat iron that look effortless, last all day, and won’t fry your strands.
In This Article
What You Will Need (or Before You Start)
- Flat iron – I swear by the GHD Gold 2‑inch straightener ($199) for its even heat distribution and 365°F max temperature. If you’re on a budget, the BaBylissPRO Nano Titanium (≈$129) works just as well.
- Heat protectant spray – I use OrSmoothing Original Heat Protectant (2 oz, $12). It shields hair up to 450°F.
- Fine‑tooth comb or brush – a 2‑inch wide detangling brush (e.g., Conair UltraSmooth, $8).
- Hair clips – four 1‑inch all‑purpose clips (≈$4 for a set).
- Optional: texturizing spray – for extra grit, I love Verb Messy Waves ($15, 2 oz).
Make sure your hair is dry, preferably air‑dried or blow‑dried on a low setting. Damp hair can cause the iron to snag and produce uneven waves.
Step 1 – Prep Your Canvas
Start by spraying a generous amount of heat protectant (about 5 sprays for medium‑length hair). Comb through to distribute evenly. If you have fine hair, use only the lightweight version to avoid weighing it down.
Next, flip your head upside down and give your roots a quick, gentle shake. This lifts the base and creates natural volume that will enhance the wave’s bounce.
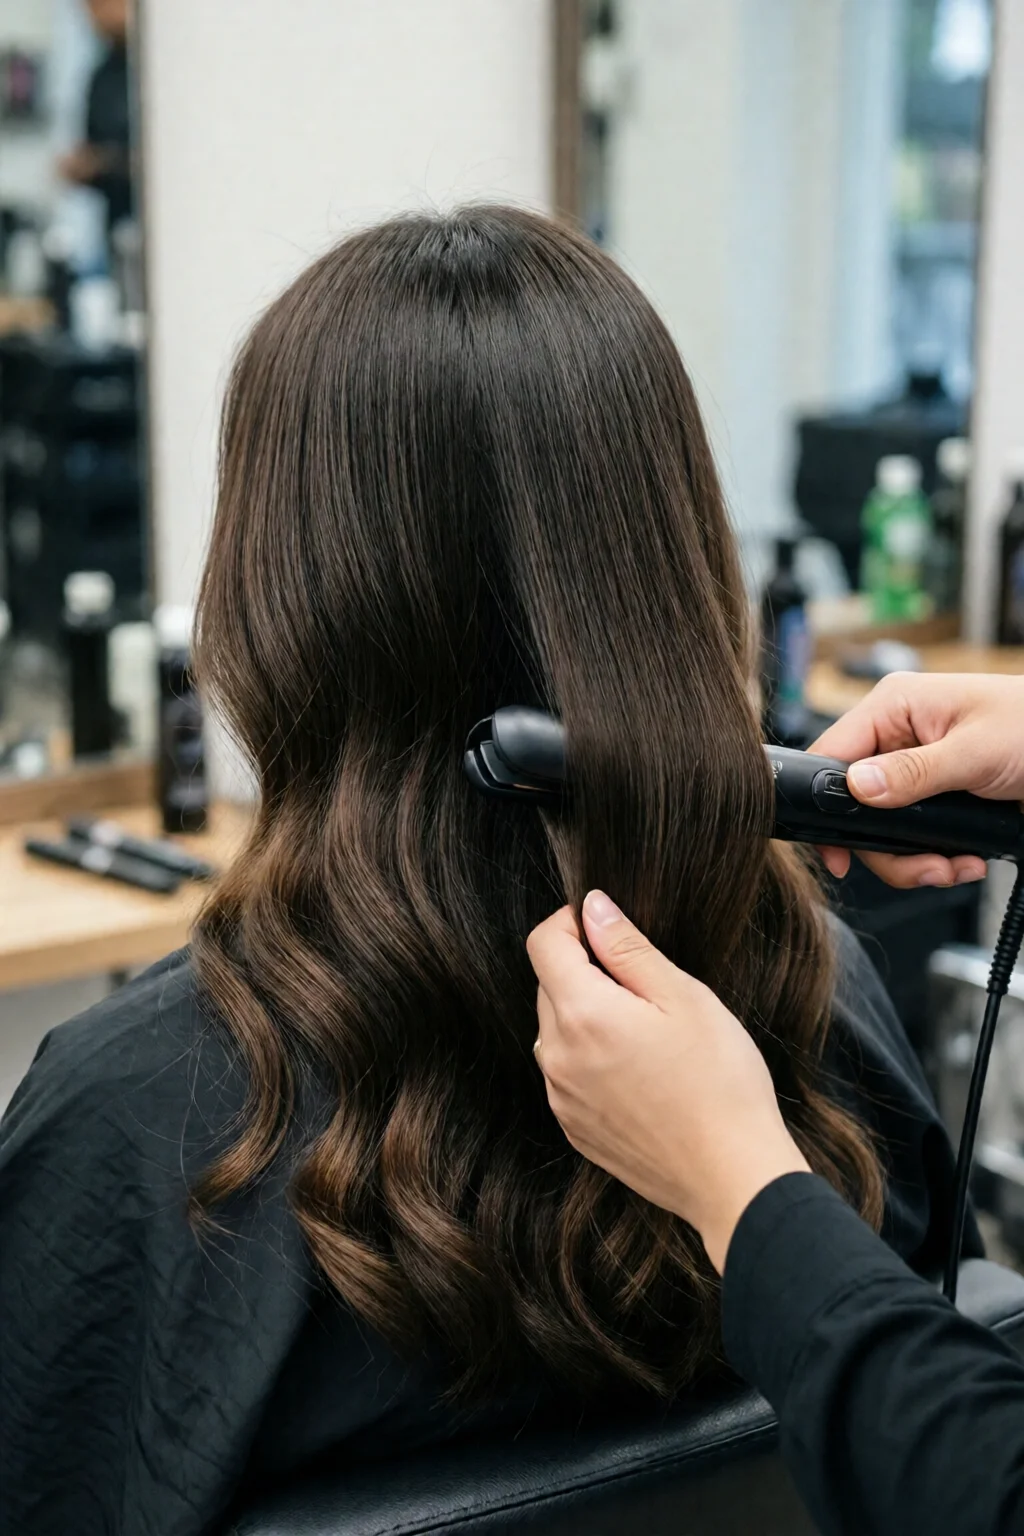
Step 2 – Section Your Hair
Divide your hair into 4‑6 sections depending on thickness. For medium hair, four sections (top, bottom, left, right) work best. Clip the top two sections away and start with the bottom left.
Each section should be no wider than 1‑inch; this gives you tighter, more defined waves. If you’re aiming for a looser, “just‑woke‑up” look, make the sections 2‑inch wide.
Step 3 – Set the Right Temperature
Set your flat iron to 350°F for fine or damaged hair, 375°F for normal, and 400°F for thick/coarse strands. My GHD Gold automatically locks at 365°F, which is a safe middle ground.
Never exceed 410°F unless you have a ceramic plate specifically rated for high heat; otherwise you risk cuticle damage.
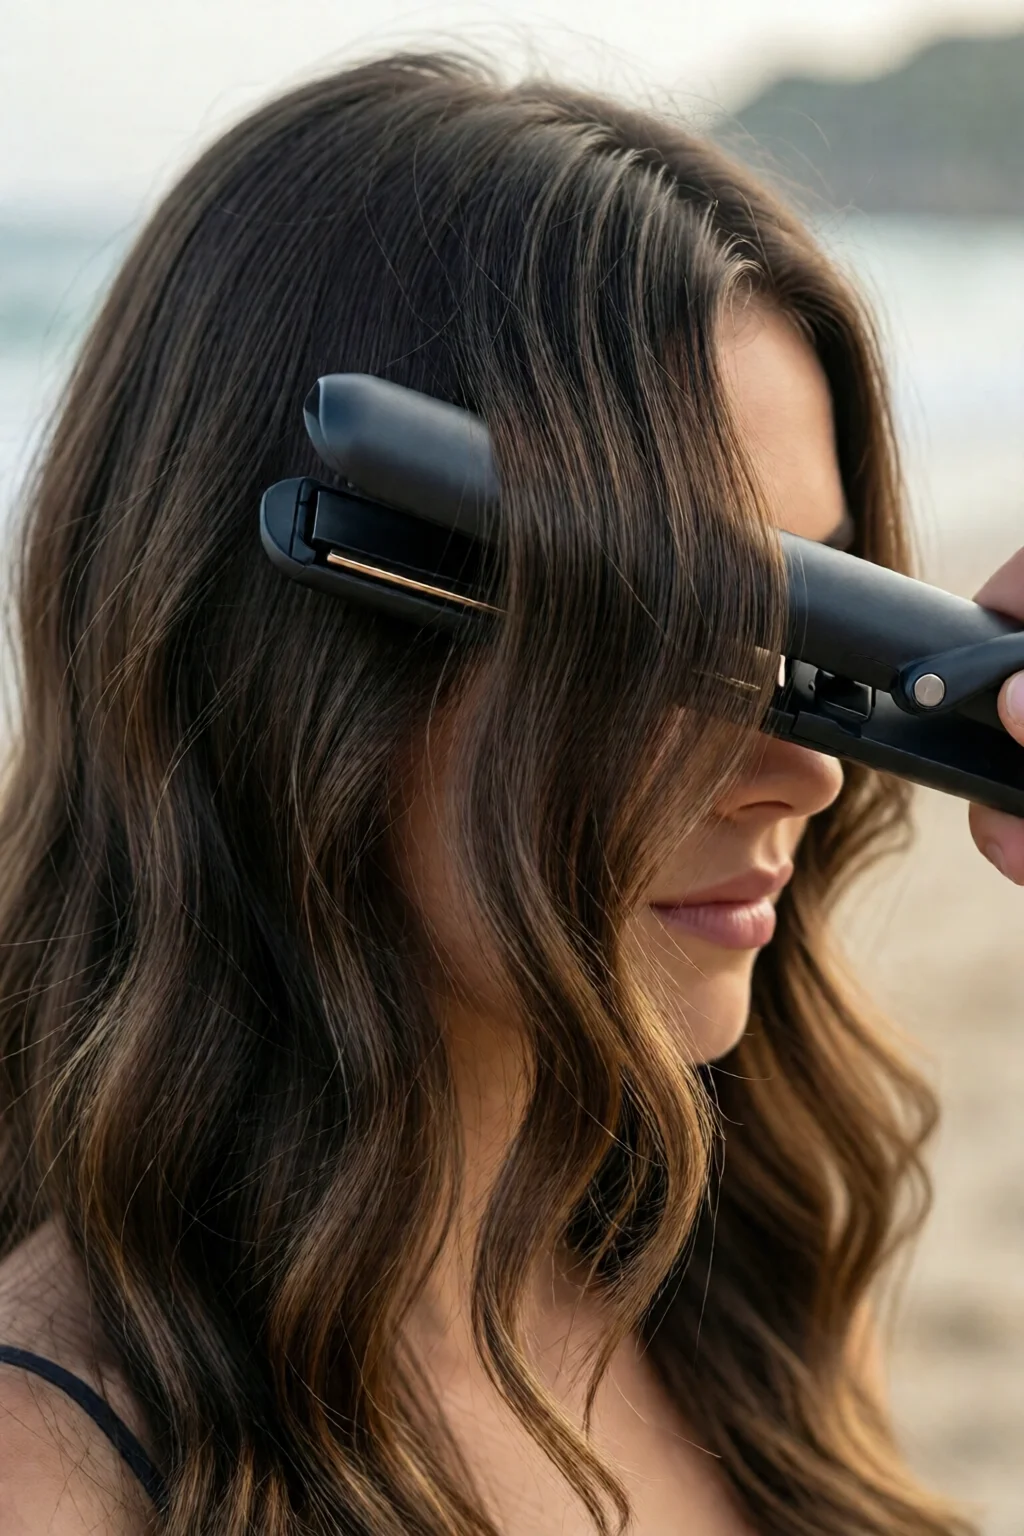
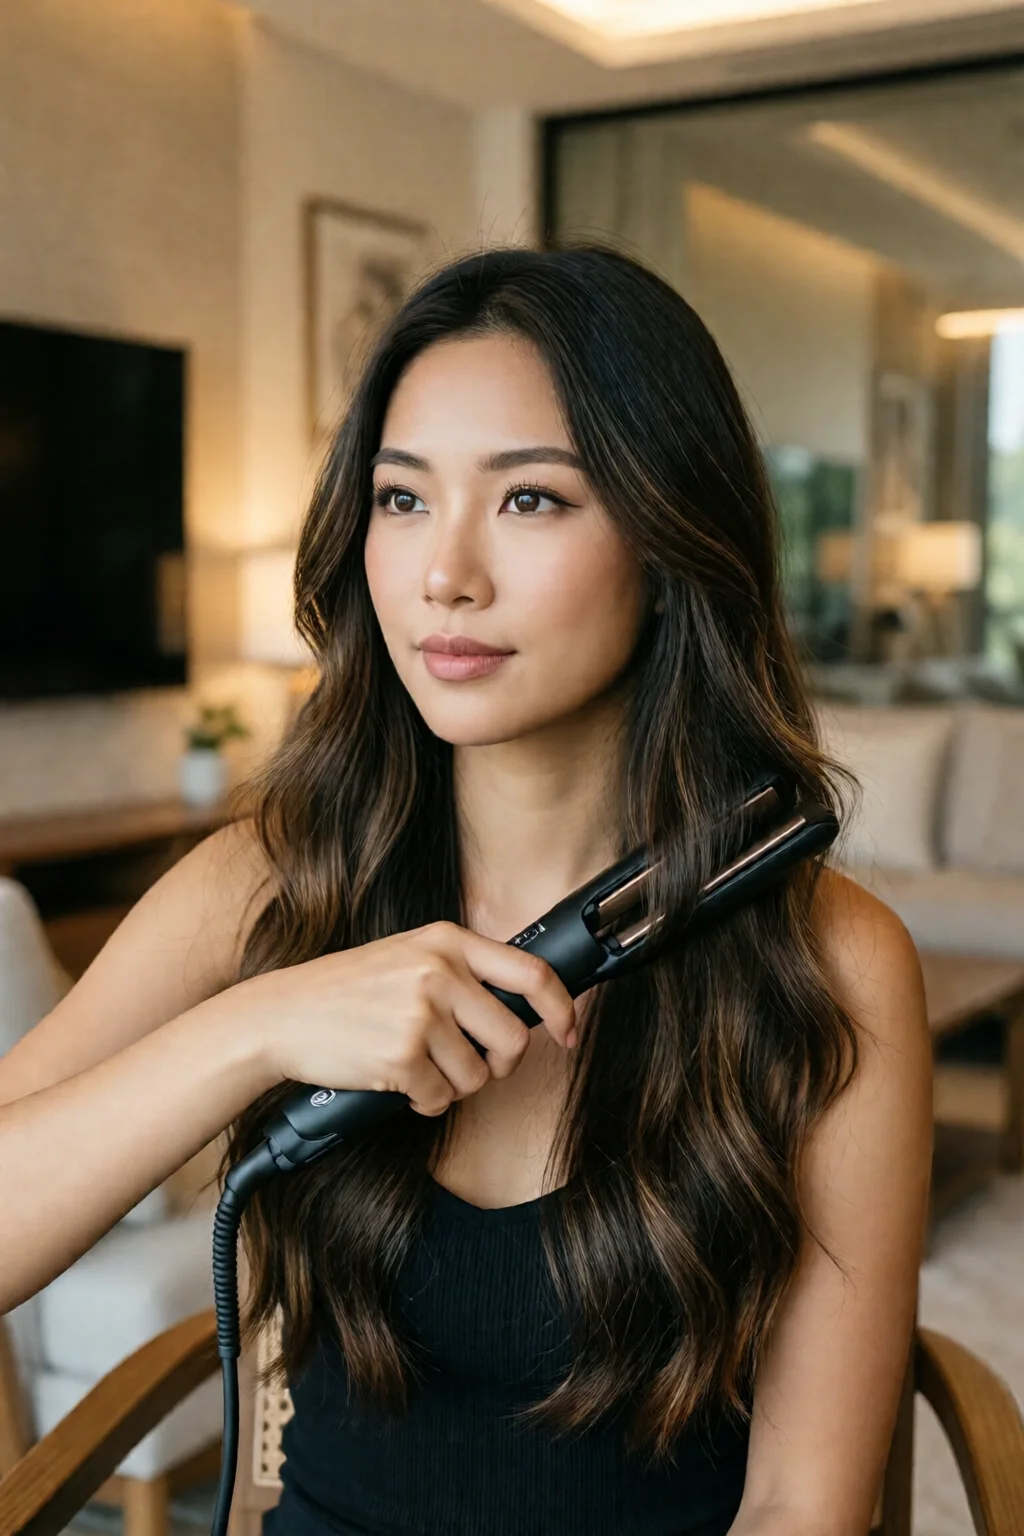
Step 4 – The Curling Motion
Take a 1‑inch strand, clamp the iron near the roots, and swivel the iron away from your face while sliding it down slowly. The motion should mimic a “S” shape: a gentle twist at the top, then a straight glide to the tip.
Hold for 2‑3 seconds, then release. The key is not to linger too long; excessive heat leads to brittleness.
Repeat this motion down the entire section, alternating the direction of the twist every other strand. This creates a natural, beach‑wave pattern rather than a uniform spiral.
Step 5 – Cool and Set
Once you’ve finished a section, allow the waves to cool for 10‑15 seconds before touching them. This locks the shape. If you have time, gently run your fingers through the curls to break them up a bit – think “soft wave” rather than “tight ringlet.”
When all sections are done, lightly mist your hair with a texturizing spray (optional). This adds grip and helps the waves hold through humidity.
Common Mistakes to Avoid
- Using too much heat. One mistake I see often is cranking the iron to 450°F for “faster results.” The waves may form quicker, but you’ll sacrifice shine and cause split ends.
- Skipping the protectant. Even a light mist can reduce moisture loss by up to 30% according to a 2022 study from the University of Texas.
- Holding the iron too long. A 5‑second hold can scorch the hair, making it brittle. Keep it under 3 seconds per strand.
- Sectioning too broadly. Wide sections produce a “straightened” look rather than true waves.
- Rubbing hair after curling. This breaks the wave pattern. Instead, let the hair set or use a soft brush.
Troubleshooting & Tips for Best Results
Waves fall flat by midday
Apply a light mist of sea‑salt spray (e.g., Bumble & bumble Surf Spray, $18). The salt adds texture, helping the wave hold through humidity.
Waves are too tight
Increase the width of your sections to 2‑inch and use a slightly cooler temperature (340°F). You can also gently pull apart the wave with your fingers while it’s still warm.
Hair feels dry after styling
Finish with a lightweight serum—just a pea‑size amount of Moroccanoil Treatment ($24, 1 oz) will restore shine without weighing down the waves.
Frizz in humid weather
Layer a silicone‑based anti‑frizz cream (e.g., Tiger Milk Anti‑Frizz Cream, $22) after you’ve set the waves. It creates a barrier against moisture.
FAQ
Can I use a regular 1‑inch straightener for beach waves?
Yes, a 1‑inch plate works well for most hair lengths. Just ensure the plates are ceramic or titanium for even heat distribution.
How long do the waves typically last?
With proper heat protection and a light texturizing spray, waves can stay vibrant for 8‑12 hours, even in moderate humidity.
Do I need a special flat iron for curly hair?
A flat iron with adjustable temperature and ceramic or titanium plates is ideal. Avoid metal plates that can create hot spots.
Can I combine this technique with a curling iron for extra volume?
Absolutely. Start with flat‑iron waves, then use a 25‑mm curling wand (like the T3 Micro 25mm, $149) to lift the roots for added bounce.
What’s the best way to store my flat iron to keep it safe?
Allow it to cool completely, wipe the plates with a microfiber cloth, and store it upright in a heat‑resistant pouch. This prevents scratches and prolongs the lifespan.
Summary & Final Thoughts
Mastering how to do beach waves with flat iron is less about fancy gadgets and more about technique, temperature control, and a little patience. With the right tools—like a reliable GHD or BaBylissPRO—proper sectioning, and a few pro tips, you can create salon‑quality waves in under 10 minutes.
Remember: protect, don’t over‑heat, and finish with texture for lasting hold. In my experience, the combination of a heat protectant, a cool‑down period, and a light sea‑salt mist yields the most natural, breezy look.
Now go ahead, flip that flat iron, and let the beach vibes roll in—no sand required.
1 réflexion au sujet de « How To Do Beach Waves With Flat Iron: Complete Guide for 2026 »